Introduction
This guide walks you through the preparation needed before running a injection cycle. Specifically, turning on machinery, preparing the mold, and loading material settings.
-
-
Turn on the chiller located at the bottom left of the machine. The power button is on the left of the screen.
-
Ensure that the chiller is set to 15°C.
-
If the chiller is not set to 15°C select "set = " and you can edit the temperature.
-
Once you've entered temperature hit green check icon at bottom right corner.
-
-
-
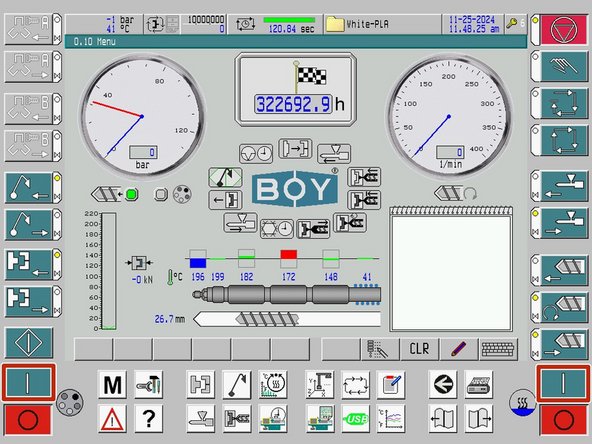
Turn main power on by rotating lever clockwise (currently in off state).
-
The lever has some resistance to it so it might be a little difficult to turn on. This is normal.
-
Once the lever is pointed downwards, the machine is on.
-
It is good practice to turn on the chiller before the main power, but if you accidentally forget, just make sure you turn on the chiller before turning on the screw heaters. Turning on the screw heater without the chiller could lead to damage in the screw housing from improperly controlled thermal expansion.
-
-
-
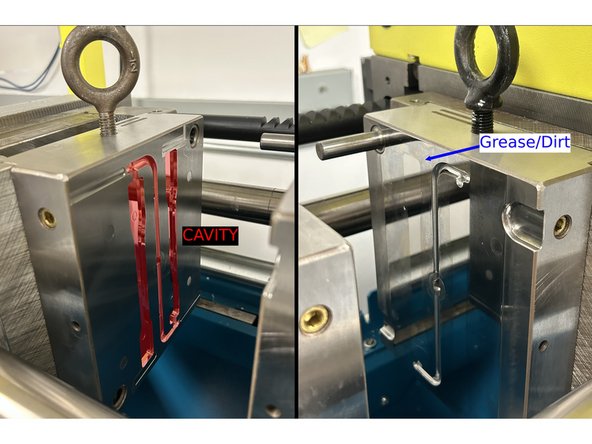
Using a paper towel, clean the mold surfaces and crevices with IPA to remove any present grease or dirt.
-
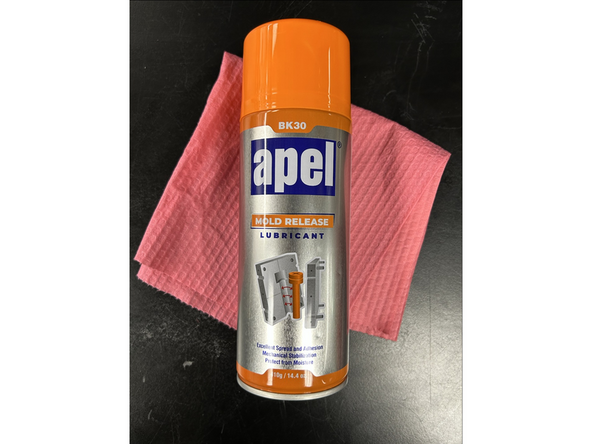
Apply Mold Release to a paper towel and spread a small amount across the mold cavity and faces to ensure parts come out easily.
-
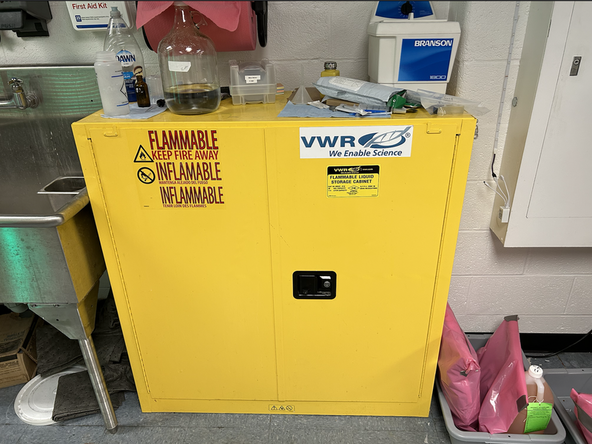
Mold Release & IPA can be found in the flammable safety cabinet by the door.
-
-
-
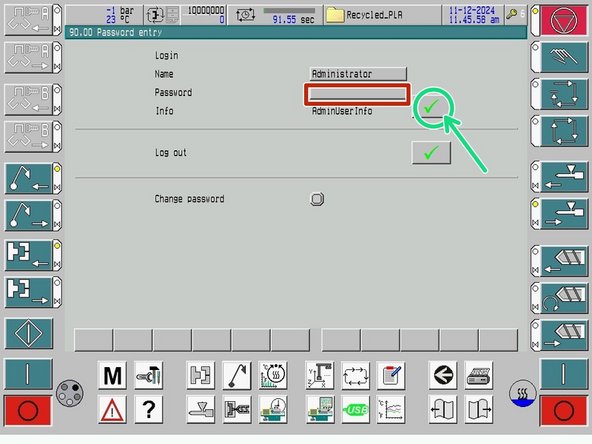
To load material files we need to log into the Admin user.
-
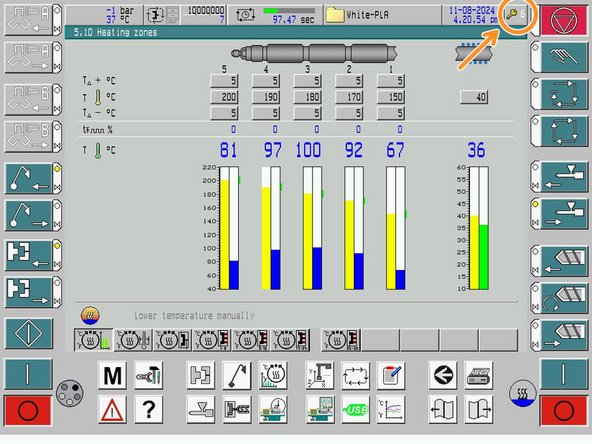
Press the key in the top right to enter the Password Entry screen.
-
The username is Administrator and the password can be found in the drive.
-
Once you've entered the password select the green check mark and you now have admin access.
-
-
-
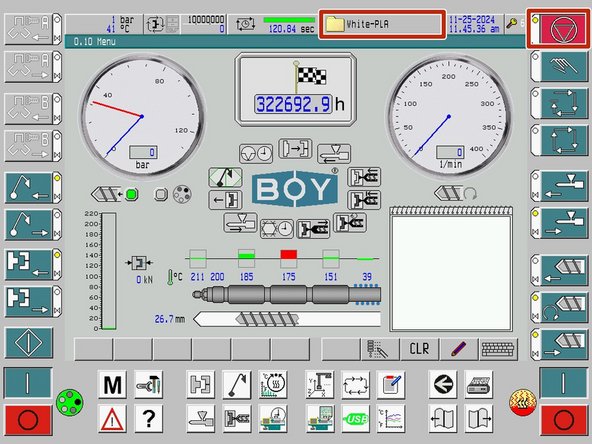
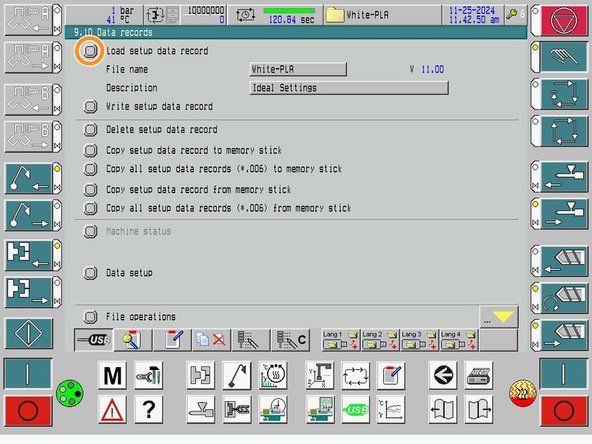
Enter the Data Records screen by pressing the folder icon in the top right.
-
The system must be on the selector switch (top right of the screen) in order to load a file.
-
To load a specific file for the material that will be injected, press Load setup data record
-
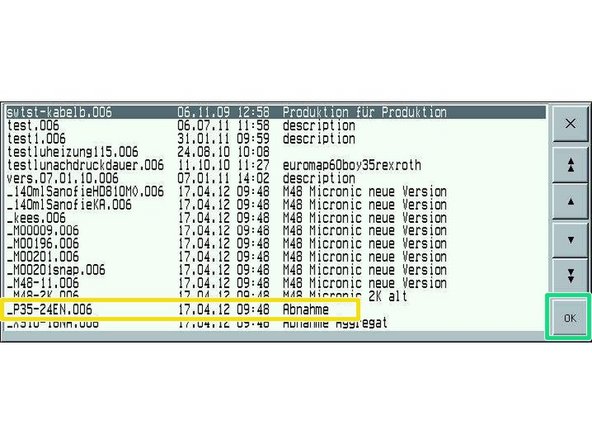
Find the specific labeled file you desire and select it.
-
Press OK. The file should now be loaded with the previously saved settings.
-
-
-
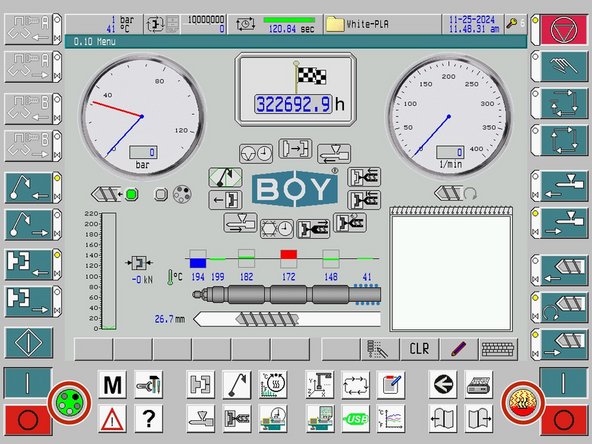
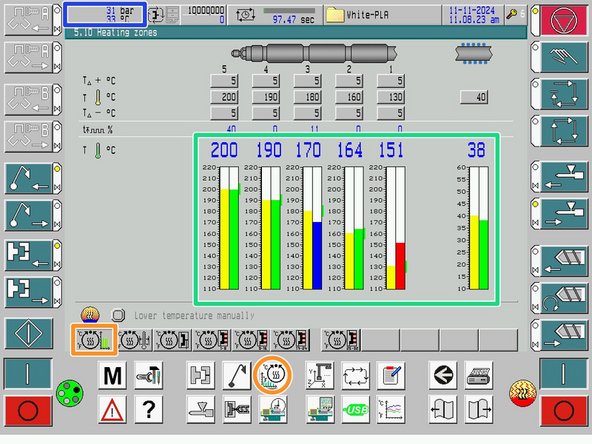
Turn on both the oil and screw heaters.
-
For a detailed view of temperatures, click the heating cylinder button at the bottom of the screen.
-
You must wait for both the oil and screw to reach their set temperatures before running the machine. The right bar for each section will be green once it reaches the correct temperature.
-
The oil temperature can be seen on the top left. During operation it should be 40°C
-
The machine is now ready to run a injection cycle!
-
Cancel: I did not complete this guide.
One other person completed this guide.


