Introduction
This guide is a checklist of items that need to be verified before running the Injection Molder on semi-automatic or automatic mode. You should be in manual mode when performing these checks on the machine.
-
-
Ensure both heaters are on and have reached operating temperatures. This can take several of minutes.
-
The navy blue values represent the actual zone temp of the screw, while the yellow bar is the set temp.
-
When the navy blue temperatures to the right match those of the yellow temperatures they will turn green indicating that the machine is at operating temperature.
-
-
-
Make sure there is adequate plastic in the hopper. The amount depends on how many cycles you plan to run.
-
If there is not enough plastic, insert more into the top of the hopper.
-
Finally make sure that the stopper is pulled all the way to the right allowing the plastic to enter the injection unit.
-
-
-
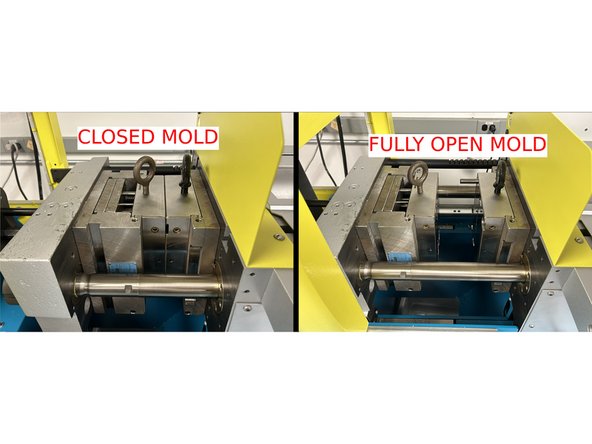
The mold must be in its fully open position in order to operate the machine in semi-automatic or automatic mode.
-
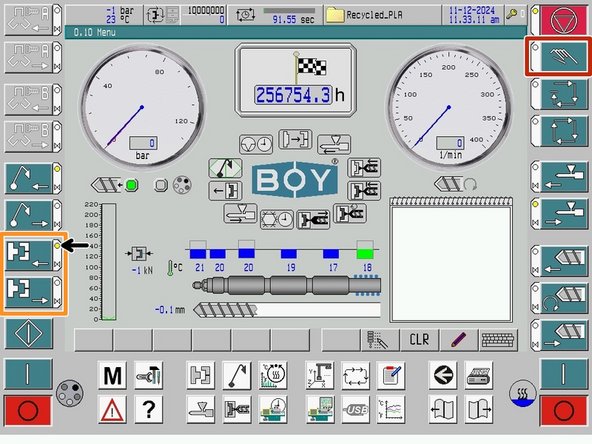
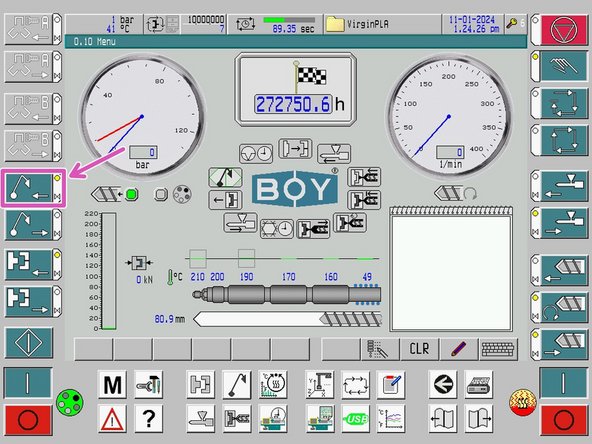
The clamping unit can be moved using the open/close mold buttons in the bottom left.
-
Hold the open mold button until the clamping unit stops moving and the circle indicator turns yellow.
-
Movement to any part of the machine can only be performed in manual mode.
-
-
-
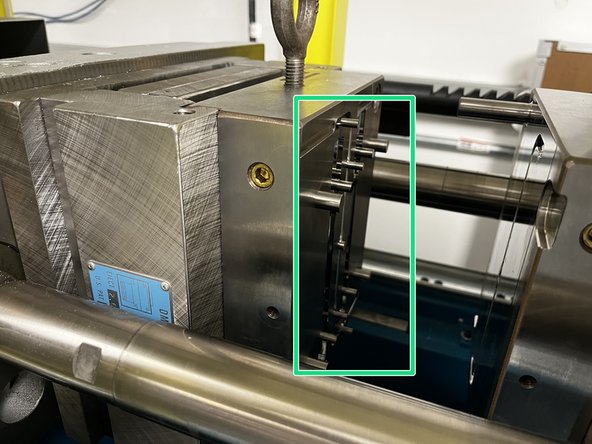
The mold must be completely open in order for the pins to eject properly.
-
Press the ejector pin advance button to eject the pins.
-
The ejector pins should fully extend past the mold cavity and mud plate surface.
-
Once you've confirmed that the ejector pins work, press the ejector pin retract button to retract the pins.
-
Ejector pins must be fully retracted to run a cycle in semi-automatic or automatic mode. The yellow circle indicates that the retraction limit has been reached.
-
-
-
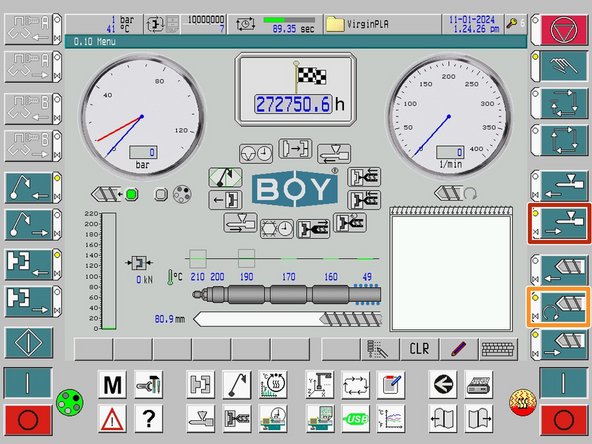
The plasticizing unit and screw must be retracted all the way back in order to run the machine in semi-automatic or automatic mode.
-
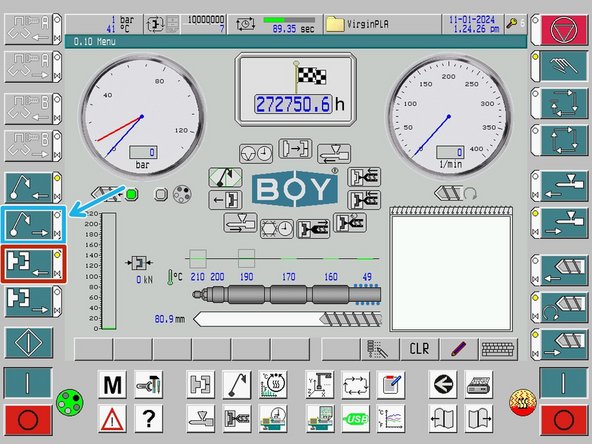
Move the plasticizing unit back by holding the unit back button until movement stops and the circle indicator turns yellow.
-
Move the screw back to the max shot size position by holding the plasticizing button until movement stops and the circle indicator turns yellow.
-
Open nozzle protection gate and wipe the nozzle with a cloth to ensure that no excess plastic from previous runs or purging is clogging nozzle.
-
When operating around the nozzle make sure that you are wearing the correct PPE. The nozzle reaches temperatures over 200°C. Make sure you are wearing heat resistant gloves.
-
Do NOT use the decompression button! (Screw back movement). This causes melted plastic to move backwards within the screw and can cause clogs. Only do so if necessary.
-


