Introduction
This guide will demonstrate how to add slides to a digital sign.
-
-
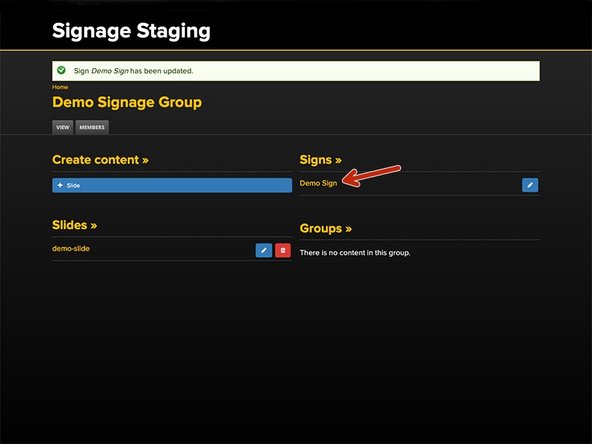
From your Signage Group page, under Signs, click on the blue edit icon of the sign that you wish to add a slide to.
-
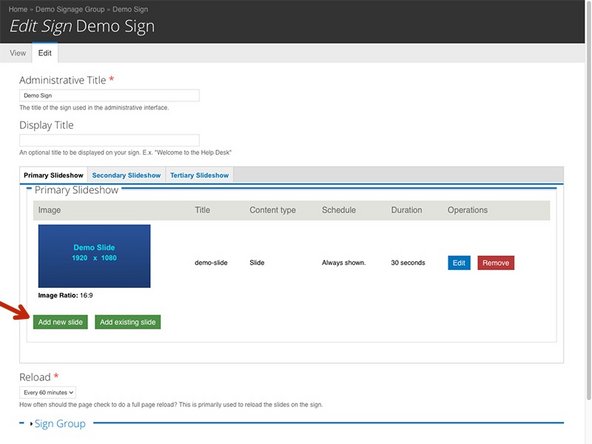
A new page will open. You may keep all the default settings.
-
The Primary Slideshow tab is selected by default. Click on Add existing slide.
-
Click on Search to see the available slides. Alternatively, you may begin typing the filename in the box if you know it.
-
-
-
Click on the thumbnail image of the slide that you want to use.
-
The slide name will populate the box. Click on Add slide.
-
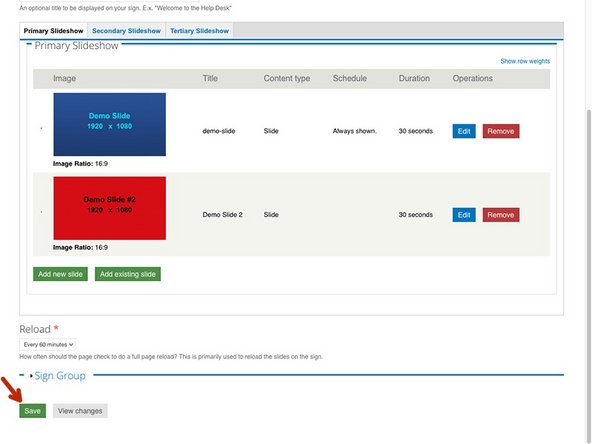
A new page will open showing the slide that you selected is a part of the Primary Slideshow.
-
Be sure to Click Save (at the bottom left of the page).
-
-
-
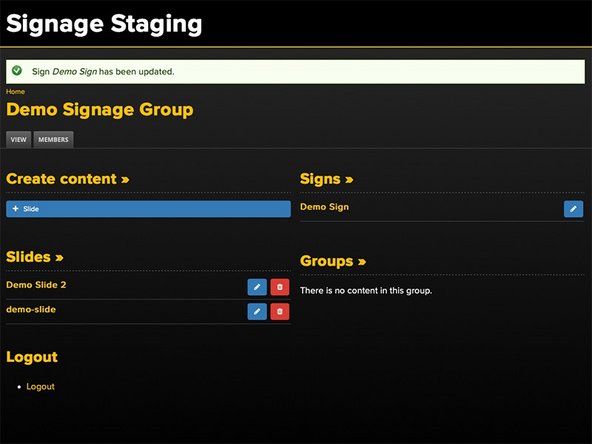
From your Group Page, you will see a message at the top of the page indicating that your sign has been updated.
-
You can click on the Title of the Sign to view it.
-
-
-
You may also Add a New Slide through the Sign Editing feature.
-
Click on Add New Slide
-
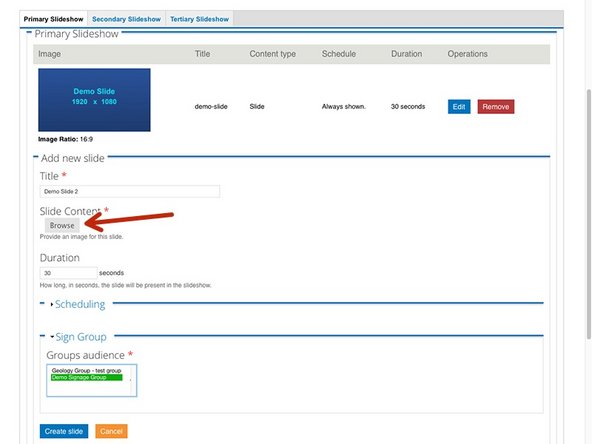
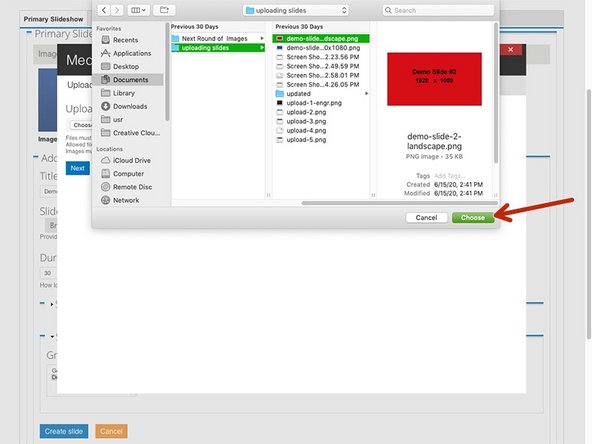
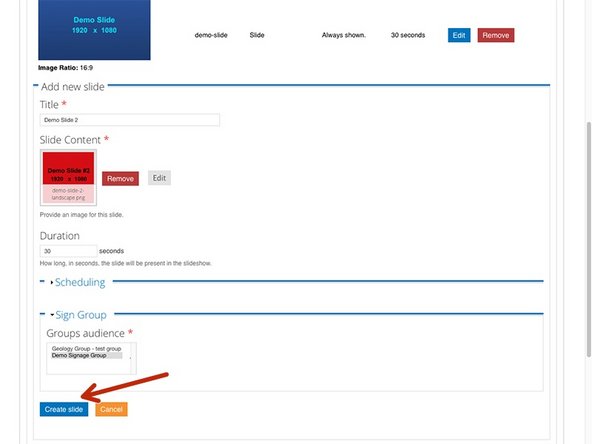
Give your new slide a Title, Duration, and Select a Sign Group. Click Browse to locate and click Choose.
-
-
-
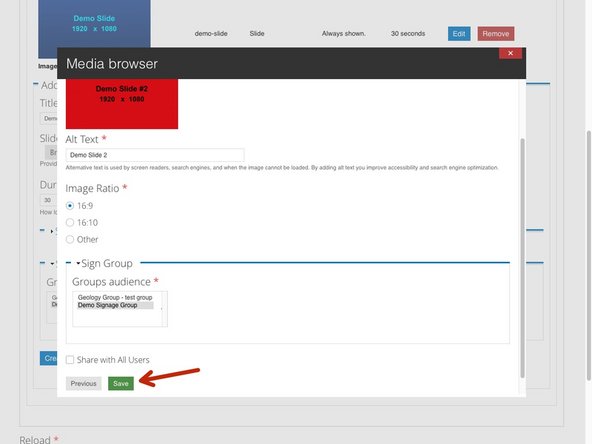
After you have chosen your image, supply the Alt Text Description, Image ratio, and Sign Group, Click Save.
-
Fill out any relevant information and Click Create Slide.
-
Finally, be sure to Click Save at the bottom left of the page.
-
-
-
Your new slide has been added to the sign.
-