
Introduction
This guide will walk you through the process of adding the Zoom for G Suite integration to your UMD G Suite Calendar. The Zoom for G Suite integration allows you to quickly add Zoom meeting details to a calendar invite, without the need to visit the Zoom website (umd.zoom.us).
-
-
Before you start this guide, make sure you have signed in to Zoom via https://umd.zoom.us and configured your account.
-
Tip: Click on images to see the full size version.
-
-
-
Browse to https://calendar.google.com/a/umd.edu to log in to your UMD G Suite Calendar.
-
Click the + icon in the sidebar on the right side of the page.
-
In the corresponding window that pops up, search for Zoom for G Suite.
-
Click on Zoom for G Suite and then click the blue install button.
-
Click Continue in the window that pops up after you click Install.
-
-
-
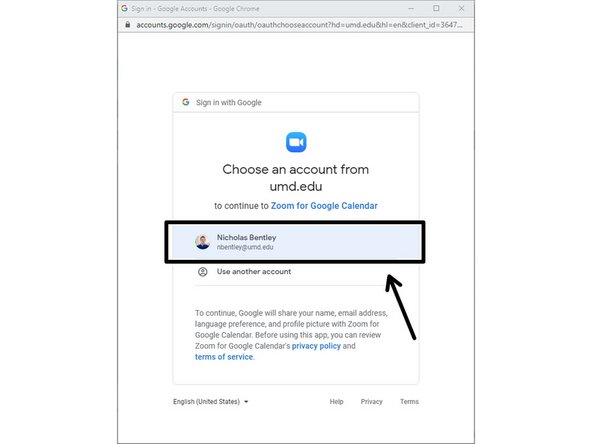
In the new window that pops up, either enter your directoryid@umd.edu email address or choose it from the list.
-
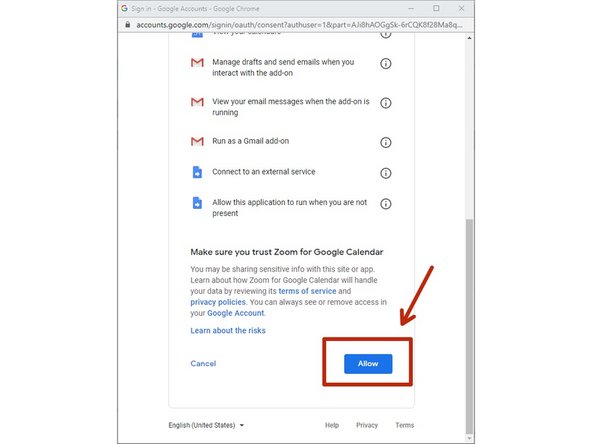
Scroll down to the bottom of the permissions screen and click the blue Allow button.
-
Zoom will now install. It may take a couple of minutes to complete.
-
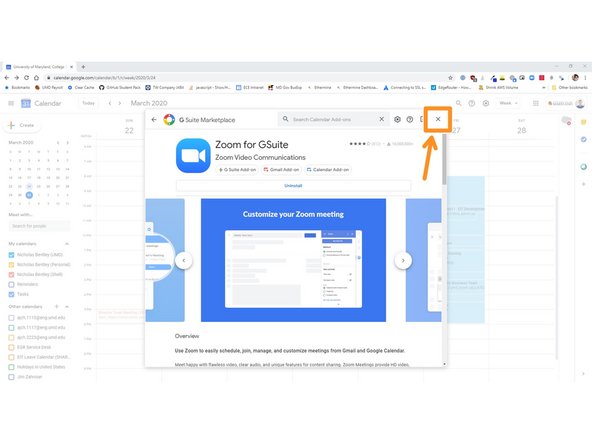
After installation is complete, click Done and then close out of the G Suite Marketplace dialog to return to Google Calendar.
-
-
-
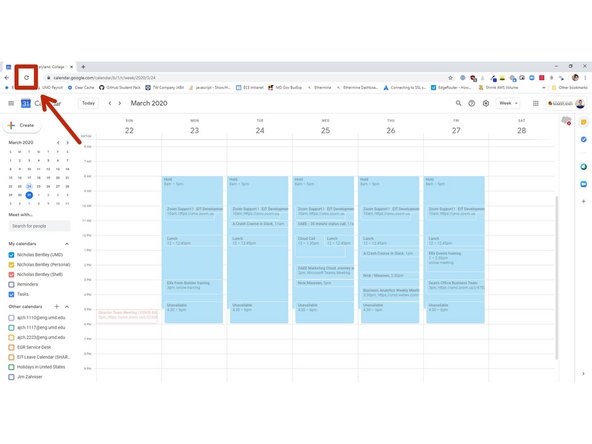
When you are back on the Google Calendar screen, reload the page in your browser.
-
On the right side of your screen, you should now see a Zoom icon in the sidebar. This indicates Zoom is installed.
-
You do not need to click the icon to use the Zoom functionality.
-
Create a new event in Google Calendar. Click the More Options button when creating an event.
-
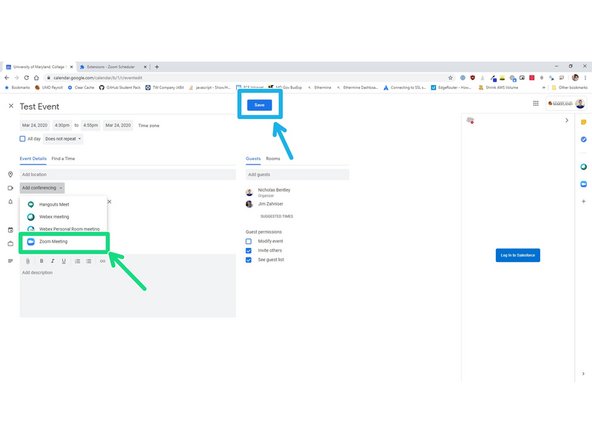
In the new event window, click the Add conferencing dropdown and choose Zoom Meeting.
-
Finish editing the event and click Save to save the event to your calendar.
-
-
-
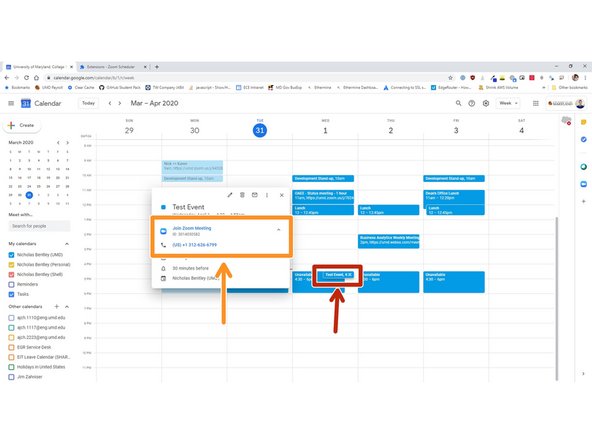
Find the event you just created in your calendar and click it to see the detail view.
-
The Zoom meeting details will be visible on the calendar event detail view to all participants of your meeting.
-


Congratulations, you have successfully added the Zoom for G Suite integration to your UMD G Suite account. You can now add Zoom meeting details to any Google Calendar event.
Congratulations, you have successfully added the Zoom for G Suite integration to your UMD G Suite account. You can now add Zoom meeting details to any Google Calendar event.