-
-
Before making any changes make sure that the machine is in setup mode.
-
In order to enter setup mode you must have Admin access. in order to login as an admin select the key icon at the top right corner of main display.
-
Select the the bar next to password and insert the password that can be found on the slack.
-
Password can be found in google drive. (Labs and Teams->RPL- EGR 0126->[] injection molder-> Documentation)
-
Once you've entered the password select the green check mark you now have admin access.
-
To enter setup mode press the manual (hand) icon until it starts flashing red. this indicates that you are in setup mode.
-
-
-
This is the main control panel, from this page you'll be able to click into each control section.
-
The "M" button will always bring you back to the main home screen.
-
If any errors pop up the caution button will bring up a log of all the errors time stamped.
-
If an error pops up. The "?" icon will take you to an online help manual with information helpful to the error.
-
-
-
The injection molder follows the same 11 steps per cycle. all of them will be covered in this dozuki.
-
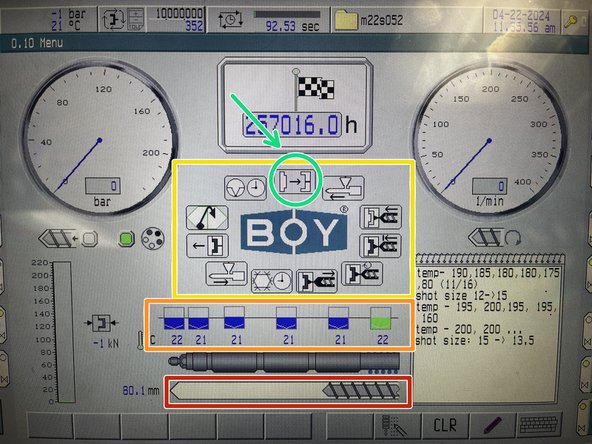
The main menu allows you to see what is actively happening during each cycle.
-
The main cycle has an icon for each step on the injection process if you want to view/edit the parameters for any step, just press on the icon of the step you want to enter.
-
The cycle begins with the closing of the mold.
-
Current temperatures of each heating zone.
-
Current location of screw.
-
-
-
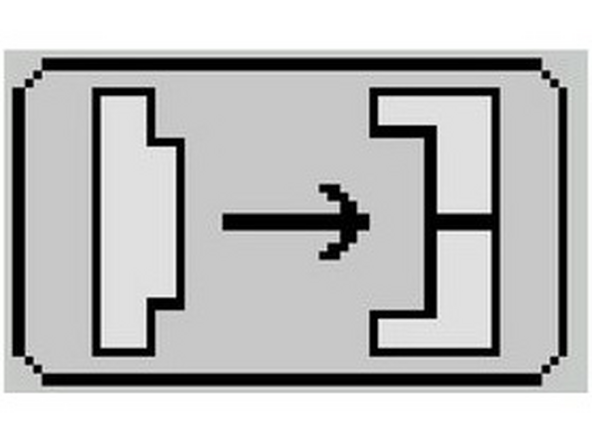
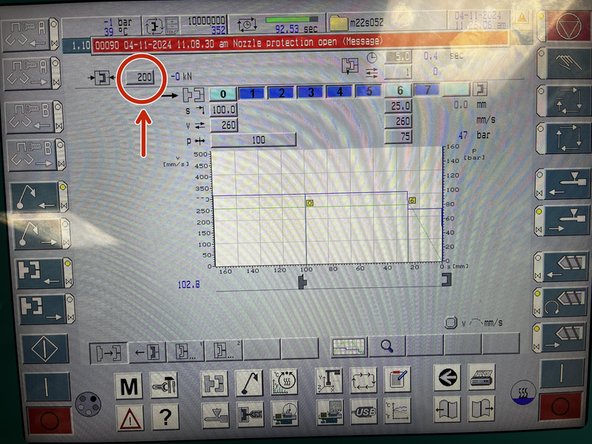
The clamping unit close function is used to ensure that there is enough clamping force. this is important to ensure that mold doesn't open up due internal pressure caused by injection process.
-
the clamping force that should be used is 200 KN
-
in order to change clamping force select the space next to clamping icon enter value and press enter icon.
-
-
-
the advance Nozzle icon is used to move the nozzle forward towards the mold.
-
Changing parameters in these doesn't have an affect on the part produced so you should never have to adjust these parameters.
-
-
-
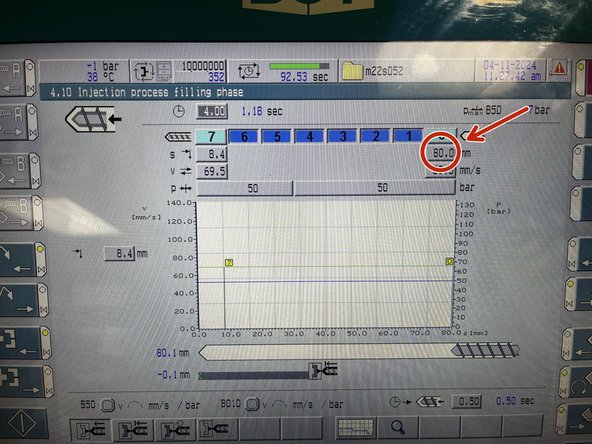
In the injection filling phase controls the amount of plastic injected into the molds.
-
Having a small shot size will cause the the part to be incomplete while having a too large shot size will cause parts to be defected.
-
Select button to adjust shot size accordingly.
-
-
-
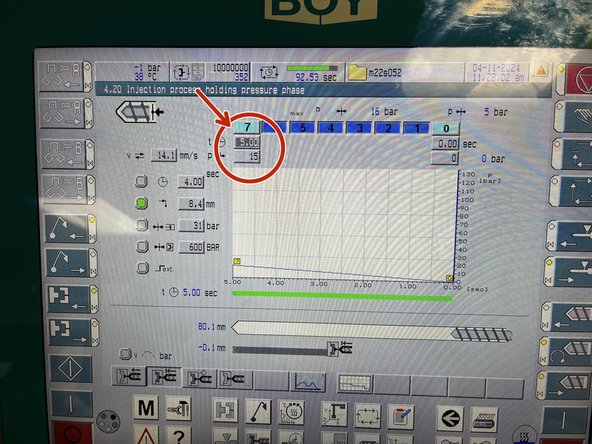
The holding pressure comes into play once the mold is filled this . the point of holding pressure is to minimize defects in the part.
-
To adjust the holding pressure and holding time click on these buttons to adjust accordingly.
-
-
-
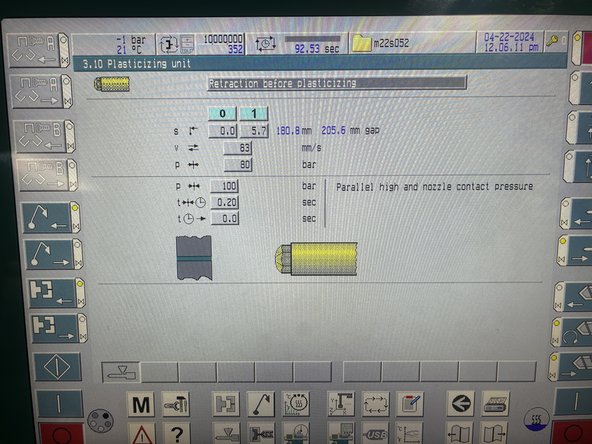
During the plasticizing process the the plastic is phase. the liquified PLA is solidifying. and the nozzle will start to slowly retract
-
no parameters need to be adjusted during this time.
-
-
-
During the decompression process the parameter that is most important is back pressure.
-
Back pressure is the pressure applied during the retraction of the screw.
-
Back pressure aids in proper mixing and melting of the PLA ensuring evenly distribution of plastic through the mold.
-
To adjust the back pressure select the spaces next to the "P".
-
-
-
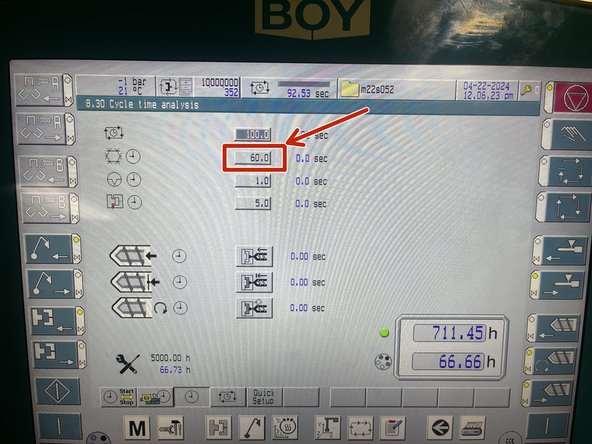
Cooling time allows the molten plastic within the mold to cool and solidify into to its intended shape.
-
having a too short cycle time will lead to warping of the part.
-
to adjust cooling time select highlighted space. type in time and select enter.
-
-
-
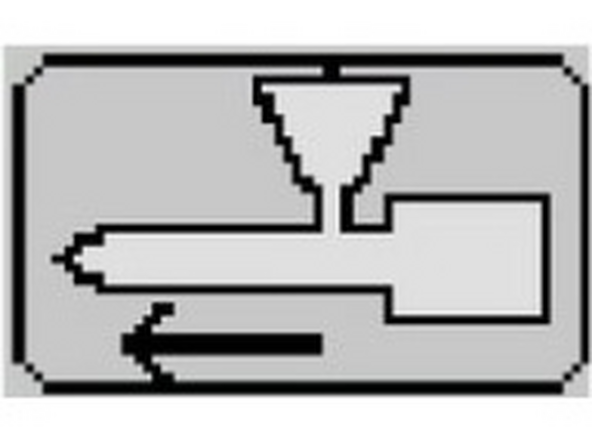
This section represents the the retraction of the nozzle.
-
No parameters in this phase need to be adjusted.
-
-
-
Insert wisdom here
-
-
-
Insert wisdom here
-
-
-
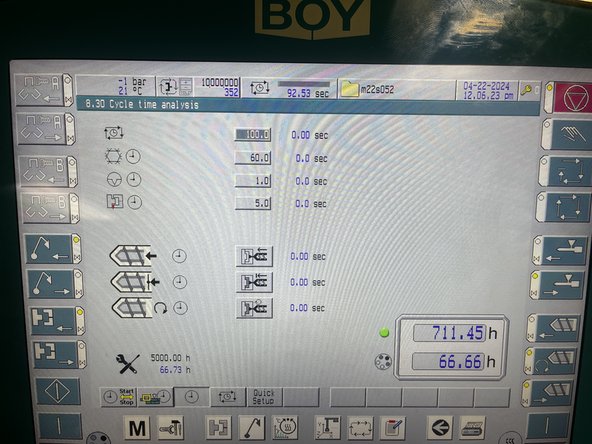
End of the cycle phase will show how long a cycle last and the total runtime of the machine.
-
No parameters are required to adjusted during this phase
-
Almost done!
Finish Line


