-
-
The main power switch is on the top left, and each tool must be plugged in to its respective connector (desolderer on the left, parallel remover in the middle, soldering iron on the right). If this is set up exactly as described, upon turning on the system, it should give no errors and begin heating each tool.
-
Ensure the desolderer's air hose is also connected to the left nozzle, marked "VACUUM".
-
Do not exceed 750 degrees Fahrenheit for each tool. The machine may be able to go higher, but you risk damaging equipment and the components you work on.
-
650-700F is optimal for most soldering.
-
-
-
Only hold by the plastic handle!
-
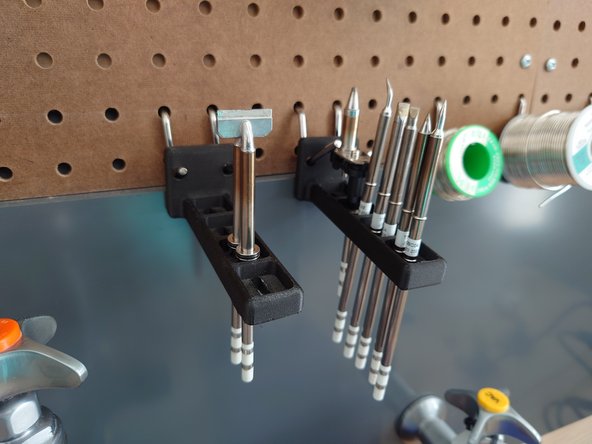
Replacement tips are available on the pegboard wall. Use a rubber pad to remove and reassemble with the desired tip. Make sure to fully insert the tip, or the machine will warn you.
-
650 degrees F is good for most uses. If you find that you can't heat up what you're trying to solder sufficiently, try to use a larger solder tip instead of raising the temperature.
-
Brush solder flux on the surface you plan to solder before soldering, to prevent corrosion and ensure good heat transfer.
-
If the tip is corroding, use a dampened sponge, brass pad, or tip tinner to clean it.
-
When done, while the solder tip is still hot, dip the tip into the tip tinner to protect the tip from corrosion.
-
-
-
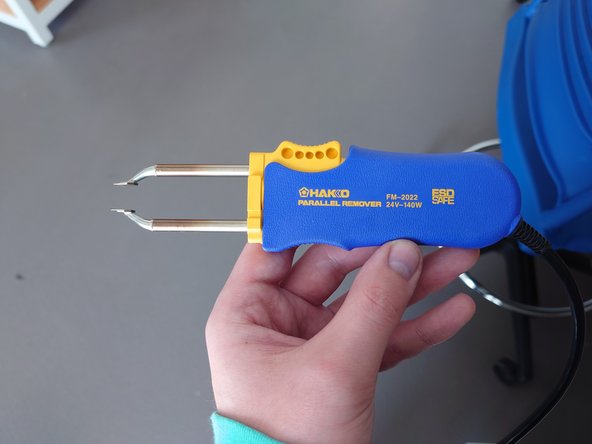
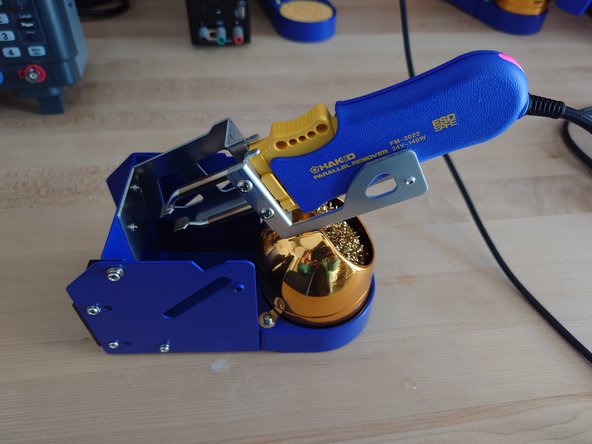
The parallel remover should be used similarly to the soldering iron, just with two hot tips instead of one.
-
Squeeze the trigger to press the two tips together. Do this in order to solder both sides of an IC, or grasp it to desolder and remove it all at once.
-
There are 8mm and 20mm tip pairs. To swap the tips, use a rubber pad and pull the tips out, then insert the new tips until fully seated, as you would for the standard soldering iron.
-
-
-
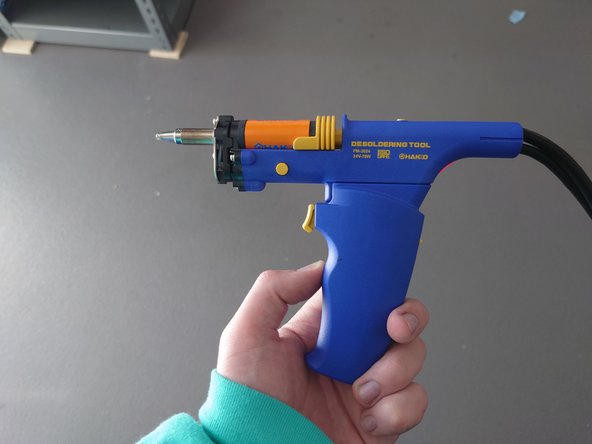
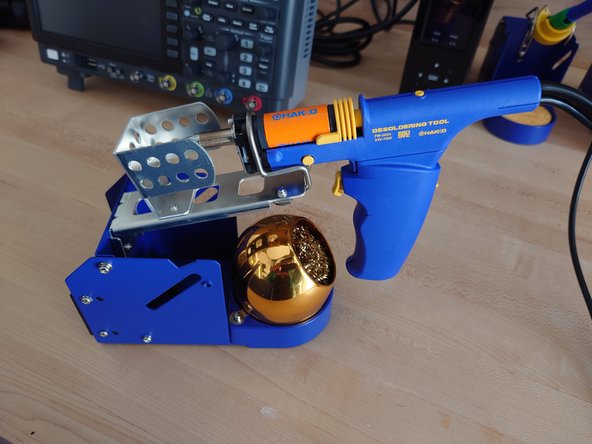
The desolderer is connected to a pump on the Hakko system, and will heat up the tip so that solder can be first melted, then sucked into the cardboard filter behind the desoldering tip.
-
To desolder, first melt the solder in question with the tip, and press the button on the desolderer to suck the solder.
-
A larger and smaller tip are available if you need a wider area with less force, or a smaller area with more force. Usually the larger tip is sufficient but smaller joints may need the smaller tip.
-
If the filter wears out or fills up, you may replace the filter. Extras are in the top drawer nearest the iron.
-
Pull back on the yellow cover over the filter to remove, and after inserting the new filter, press the yellow button on top (behind the filter) to secure.
-
Cancel: I did not complete this guide.
2 other people completed this guide.


