
-
-
Identify which cones you have by checking the label on the box or the printed number at the base of the cone.
-
Cone 010 is NOT the same as Cone 10. Be sure to note the cone number exactly as it is printed on the cone.
-
The list of temperatures for each cone number is attached, but you won't need it because the kiln comes with built-in cone-firing programs.
-
-
-
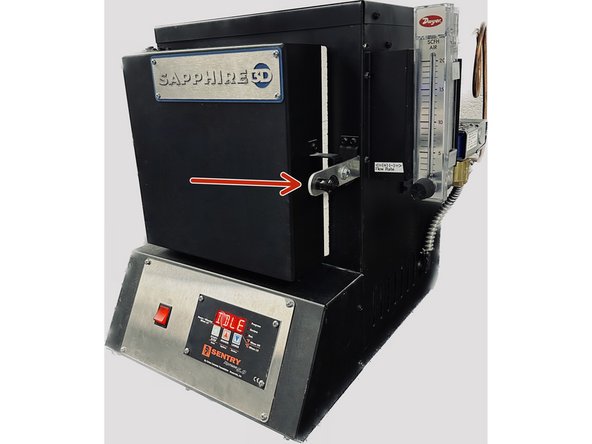
Turn on the Sapphire3D Sintering Oven using the red power switch.
-
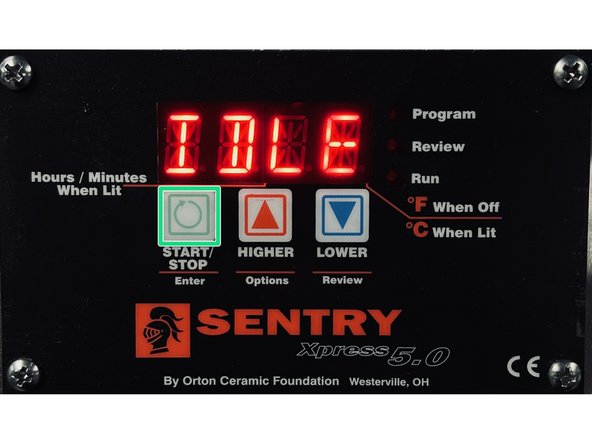
The controller will default to the IDLE screen. The display will alternate between IDLE and a number, which is the current temperature in the kiln.
-
-
-
From the IDLE screen, press the GREEN button (START/STOP or Enter)
-
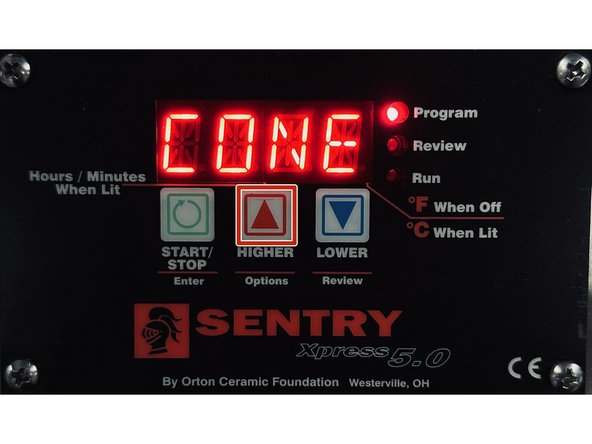
Navigate using the RED button (HIGHER or Options) until the display says CONE.
-
Press the GREEN button to enter the CONE menu.
-
Navigate using the RED and BLUE buttons to search for the program that matches the number on your cone.
-
Press the GREEN button to select the program.
-
-
-
Once you select the program, there will be a few options that you will have to set before starting the program.
-
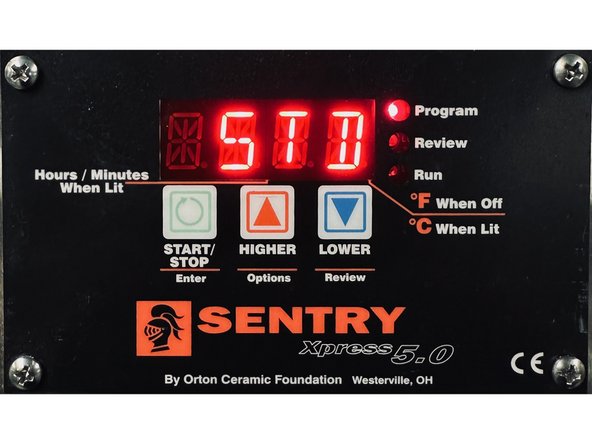
The display will alternate between "SPD" and "STD/SLOW/FAST". This is used to set the firing speed. Use the RED and BLUE buttons to navigate to STD.
-
Press the GREEN button to select the STD firing speed.
-
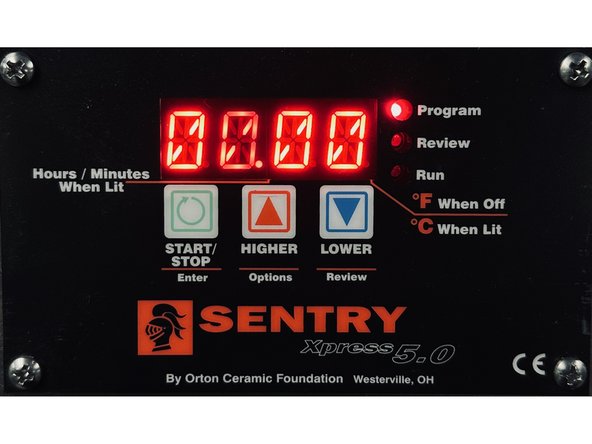
The display will alternate between "HOLD" and a number. If you chose the matching program for your cone, use the RED and BLUE buttons to set the value to 00.00.
-
Press the GREEN button to set the HOLD time.
-
-
-
The display will show "START" once you have completed all the previous steps. At this point, the program has been initialized completely, but has not begun yet.
-
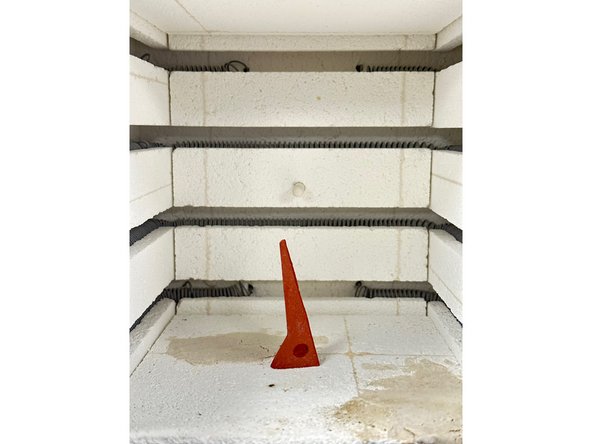
Place the cone in the center of the chamber to ensure even heating.
-
Close the chamber and ensure that it is tightly sealed.
-
Press the GREEN button to start the program.
-


Cancel: I did not complete this guide.
One other person completed this guide.