-
-
Options -> Go to Head Inspection
-
Gather materials needed
-
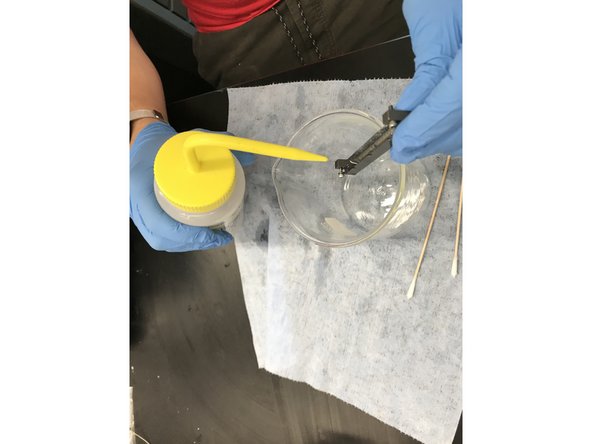
Set up blue towel, medium sized beaker, and two cotton tips on the table next to the Connex
-
Get a blue towel to lay next to the build plate, container for the screws, and the two smallest allen wrenches from the blue pouch
-
-
-
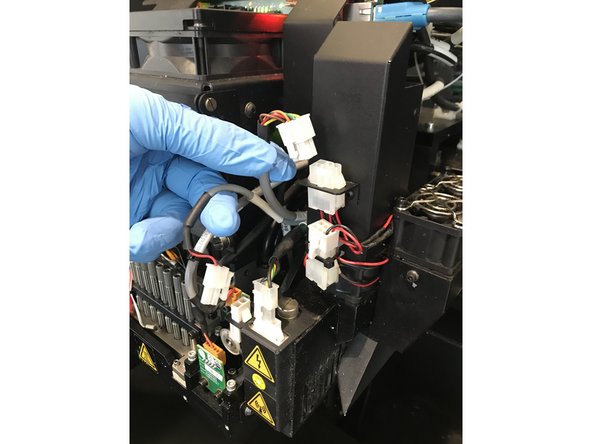
Detach the three clips on the right UV lamp, this will disconnect the fans
-
-
-
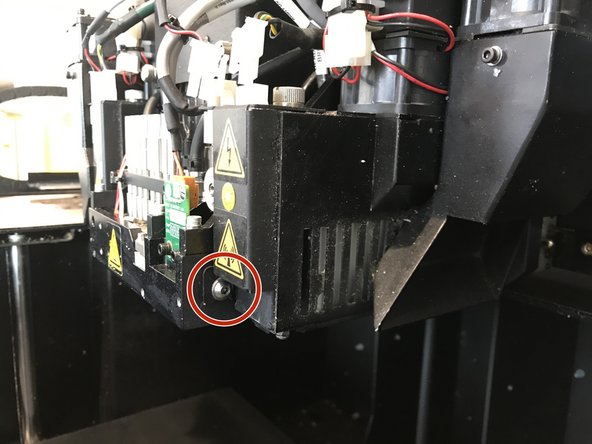
Supporting the entire UV lamp with one hand, unscrew the screw circled using the larger of the two allen wrenches
-
The UV lamp is only supported by a small ledge in the back and the screw, make sure to hold the lamp or it will fall and damage the build plate
-
Remove UV lamp, setting it aside on blue towel
-
-
-
Unscrew the two screws circled using the smallest allen wrench
-
Pull the black lid towards you, then down to remove from the print block
-
-
-
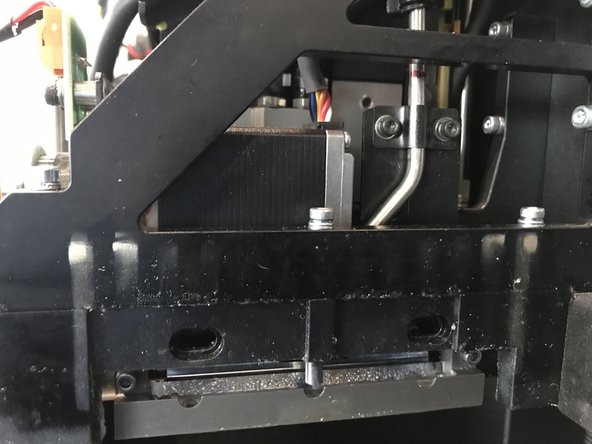
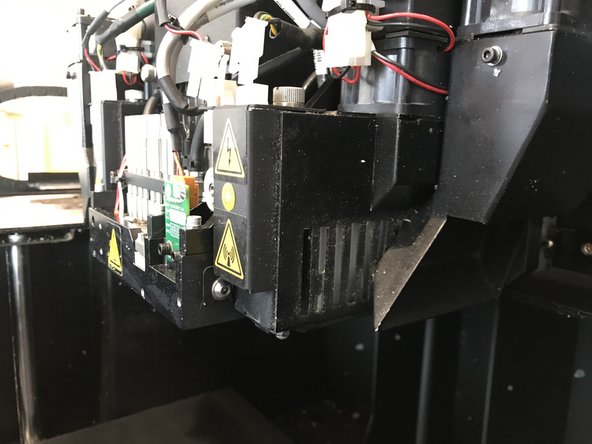
Loosen both screws holding the "straw"
-
Pull the "straw" up, while supporting the "straw", tighten one of the screws to keep "straw" in place
-
-
-
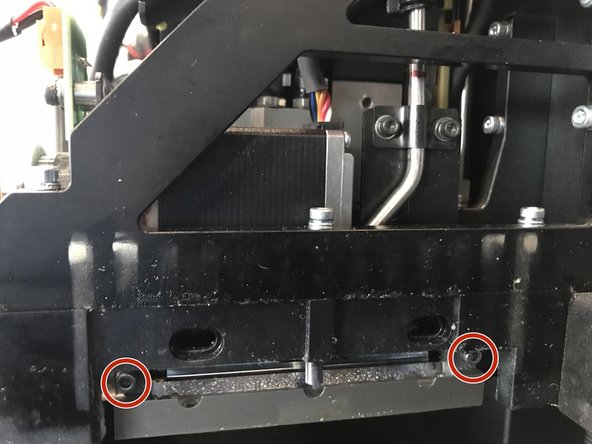
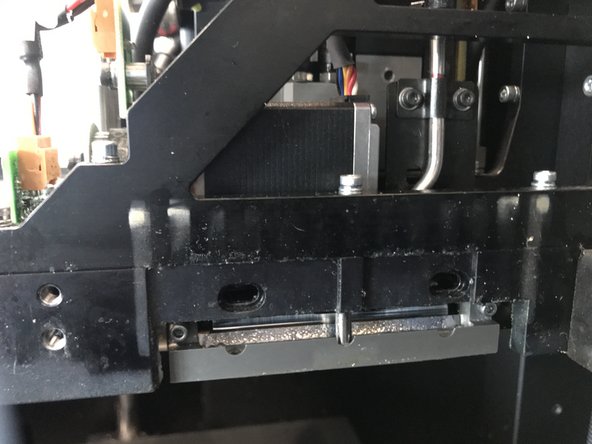
While supporting the bottom of the roller bath, unscrew the two screws circled
-
-
-
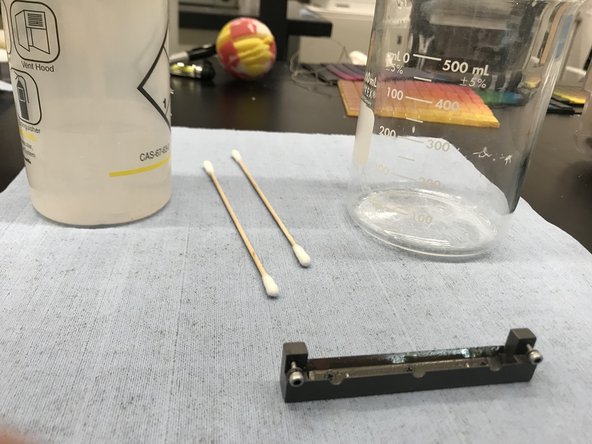
Using Isopropyl Alcohol, spray down the roller bath into the beaker
-
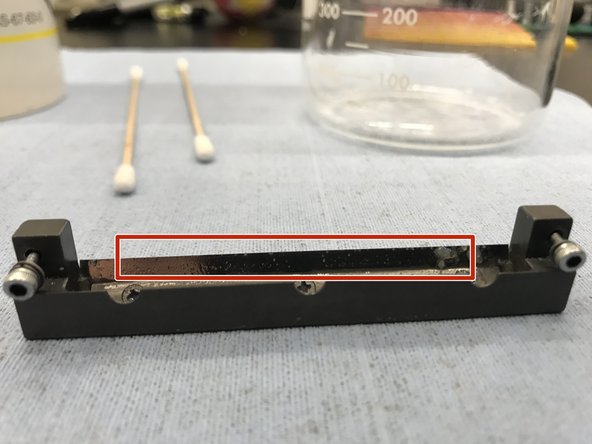
If there are clumps sticking to the roller bath, use the cotton tips to clean it away
-
Be careful not to touch or bend the blade, it needs to remain flush with the roller to be effective
-
-
-
Reattach the roller bath
-
Make sure the roller bath is flush against where it is screwed into place
-
Loosen the screw holding up the "straw" and push the "straw" down until the red mark is just visible above the screws
-
The "straw" is spring-loaded so you will need to use one hand to keep the "straw" down and tighten the screws with the other
-
Reattach the UV lamp, slotting it onto the ledge and screwing the single screw in place
-
Use one hand to hold UV lamp and the other to screw, it will not hold itself in place and can fall and damage the build plate
-
Reattach the white clips, letting the fans run
-
If the clips are not put back in place, the Connex will not recognize that the cover is closed when needed
-
-
-
Options -> Maintenance Counters
-
Hit "Reset" next to "Roller Bath Inspection"
-