-
-
Options -> Wizards -> Wiper Cleaning
-
-
-
After the wiper is exposed, slide one finger under the top left corner of the beam and keep one finger on the bottom right corner
-
Using the right corner as leverage, lift up the left side, popping the wiper out of the socket
-
Be careful not to bend the 8 metal strips holding the rubber wipers
-
If the metal strips bend, the wiper will not come in contact with the print heads
-
-
-
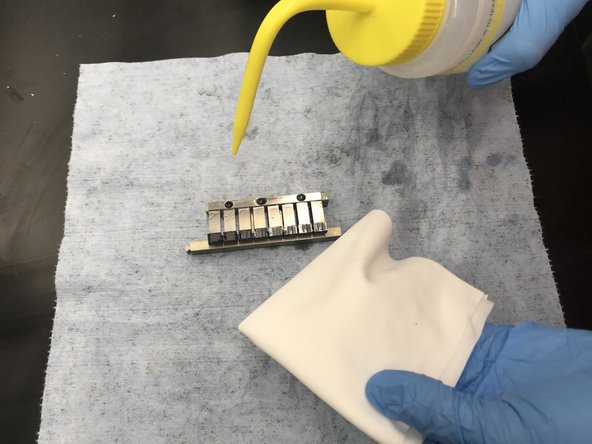
Set the wiper on a blue towel and Isopropyl Alcohol and a microfiber cloth
-
Soak the microfiber cloth with IPA
-
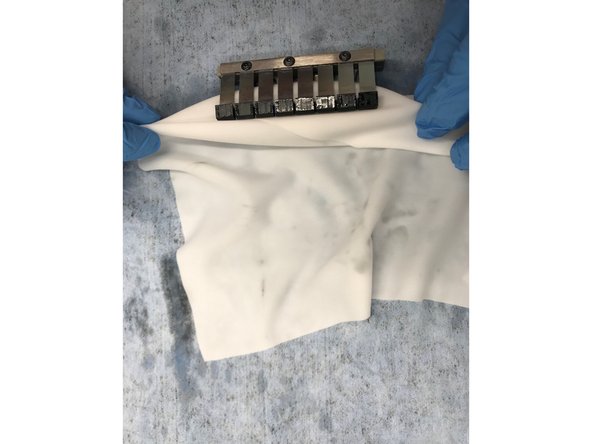
Start by cleaning the sturdy frame, making sure to wipe down all the corners
-
Clean in-between the rubber wipers and the frame, dragging the cloth slowly to catch resin
-
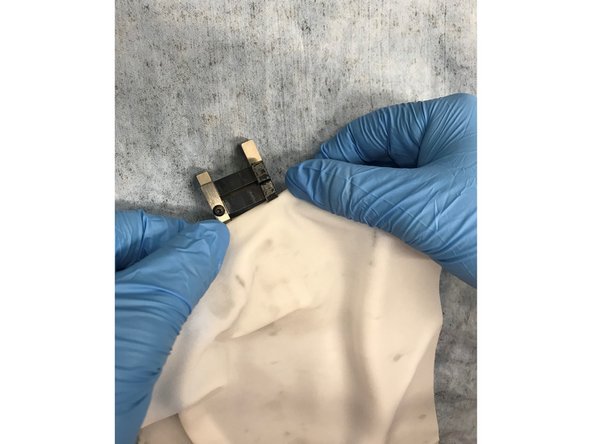
Using a single layer of the microfiber cloth, "floss" between each rubber wiper
-
-
-
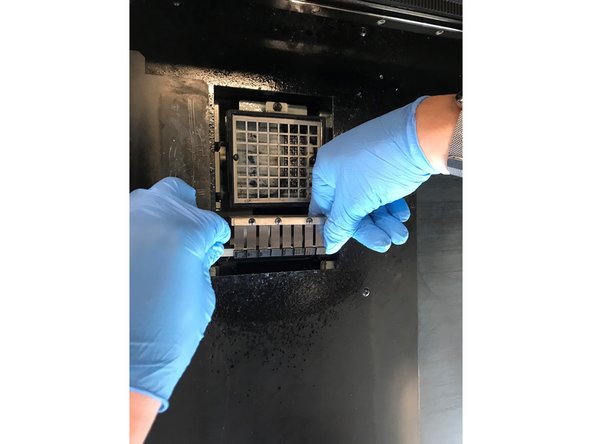
To insert wiper back into the printer, insert the wiper from the non-slotted end first
-
Support the black frame with one finger underneath and push the metal frame into the socket
-
Once the right side is in, push the left side into the notch and the wiper will be in place
-
If the black frame is not supported, it will get pushed down, you can reset the black frame by pushing back the door under the south side of the opening
-