Tools
Parts
No parts specified.
-
-
Remove the honeycomb.
-
Use a vacuum to clean up any small parts.
-
Use a damp shop towel to clean off any remaining dust/debris.
-
-
-
With a shop towel wipe down:
-
X and Y rails.
-
Side panels.
-
Lid.
-
-
-
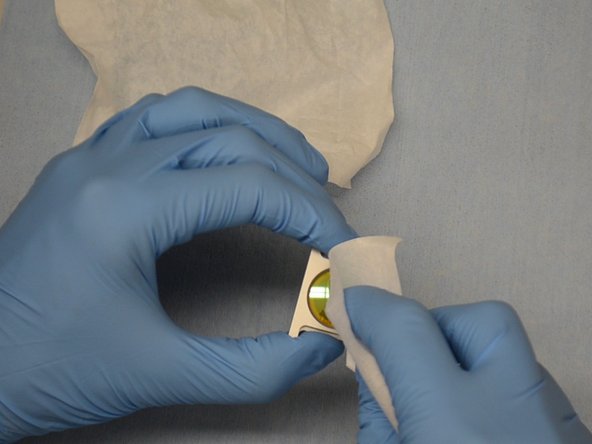
Do not touch the lens directly.
-
Only hold the lens by the metal holder.
-
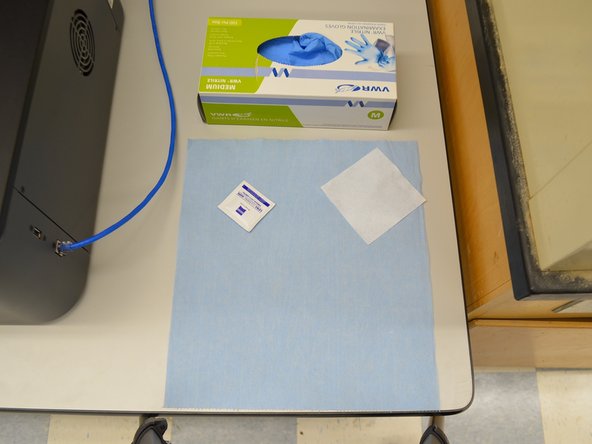
Set up a clean workspace.
-
Have a cleaning wipe and pec pads out and ready.
-
Place a clean cloth down on the table to place the lens down.
-
Put on Nitrile Gloves.
-
-
-
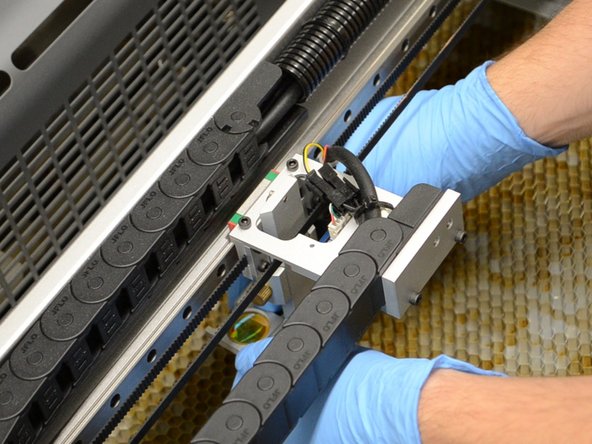
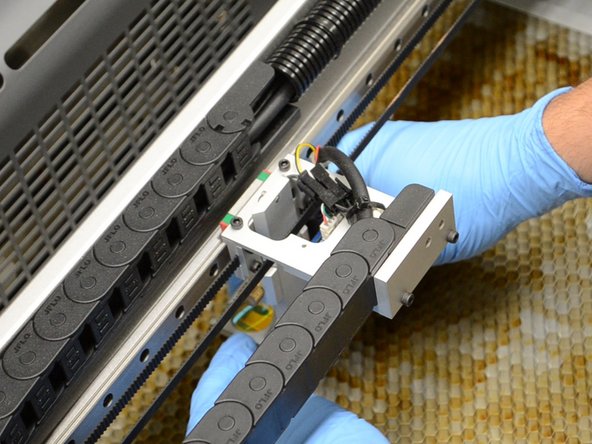
Remove the lens from the machine.
-
Use a Ziess wipe to clean one side at a time.
-
Lightly wipe the lens spiraling out from the center.
-
Use a new section of the wipe for each pass.
-
This prevents rubbing and debris over a clean area.
-
Once debris is removed, lightly wipe with a dry PEC-PAD to dry and remove streaks.
-
Repeat for both sides of lens.
-
-
-
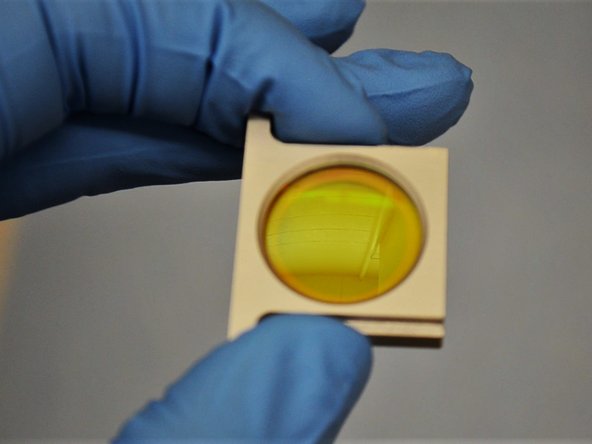
Inspect both sides of the lens.
-
It can be helpful to hold the lens up to the light.
-
Check for any debris, streaks, or lint.
-
If any debris is left return to step 4.
-
Return lens to the machine.
-
Make sure that the lens clicks in.
-
Be sure to not touch the lens while returning it to the head assembly.
-