
Introduction
This guide will walk you through the basic use of the drum sander. The drum sander is used to take off a small amount of material at a time to give your work piece a nice smooth surface. The drum sander is used over the planer when the amount of material to remove is a smaller than 1/8”.
-
-
Ensure all proper PPE is worn.
-
Goggles
-
Ear Protection (optional but HIGHLY recommended)
-
-
-
Ensure you have done the following:
-
Tied back any loose hair
-
Removed any jewelry from wrists or hands
-
Rolled back any long sleeves
-
Wore closed toed shoes
-
Secured any and all loose and baggy clothing
-
-
-
The drum sander should NOT take off more than 1/16th" per pass. Doing so will result in damage to the sandpaper and burning of the wood.
-
Max infeed height is 3 1/8"
-
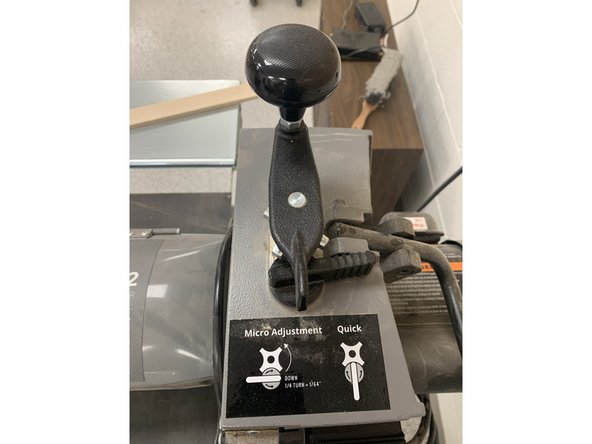
Adjust the locking arm to the vertical position to make gross adjustments.
-
Use the angled black arm to raise and lower the sanding head.
-
Adjust the locking arm to the horizontal position to make minute adjustments
-
Turn the crank handle to make adjustments. One quarter turn equates to a 1/64" height adjustment.
-
-
-
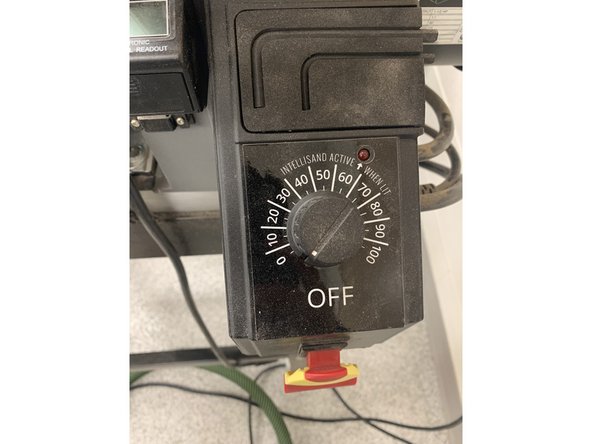
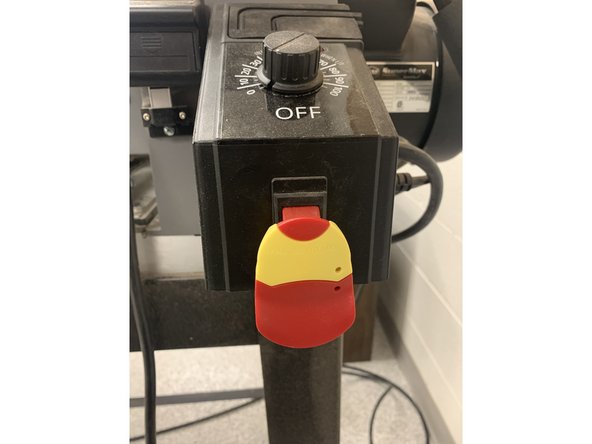
Use knob to adjust feed speed.
-
Feed speed automatically slows down as necessary. However, this does incur burning. Avoid this by taking off less material.
-
Start with a speed of 50 and a light pass.
-
If the wood burns or the wood slows down, decrease the amount of material taken off on the next pass and increase feed speed.
-
-
-
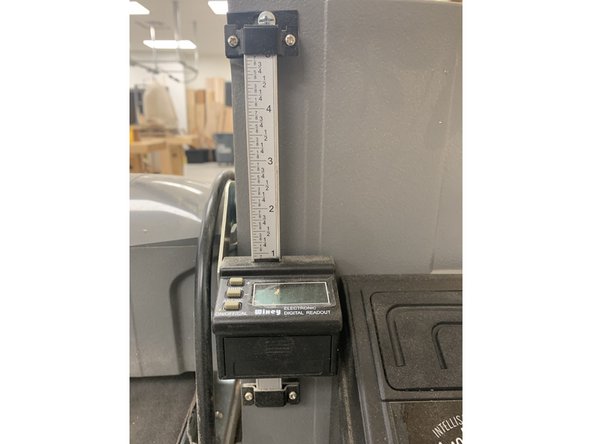
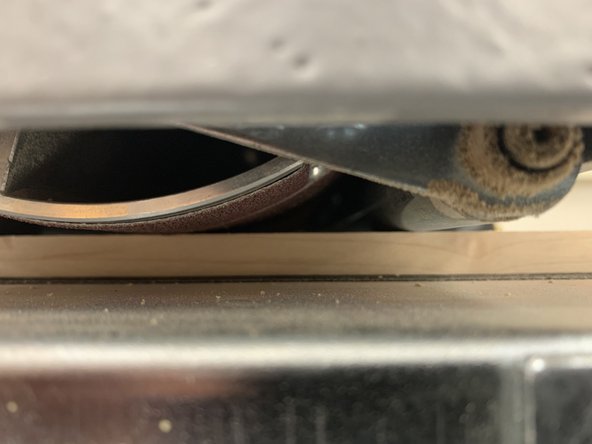
Adjust height to the current height of your workpiece using depth gauge, or by placing piece under drum, and lowering until drum lightly touches top of work piece.
-
Raise height by 1/64" (quarter turn of fine adjustment knob) to remove high spots from piece.
-
-
-
Move blast gate on the intake of Laguna dust collector to open position.
-
Turn on dust collector.
-
-
-
Flip large red switch underneath feed rate knob.
-
Infeed belt and drum sander can turn on and off independently of each other. Make sure both are on before operating.
-
-
-
Place piece on infeed side of the belt.
-
Apply pressure to workpiece as piece gets grabbed by rollers to reduce snipe.
-
Skew the workpiece to avoid dust buildup on one spot of the drum.
-
-
-
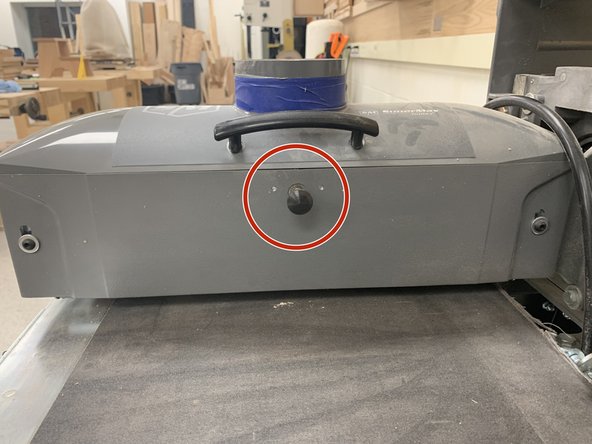
Open drum cover by pressing button and lifting lid.
-
Ensure dust collector and air filters are on.
-
Grab sandpaper cleaning stick from utility closet.
-
Turn on drum sander.
-
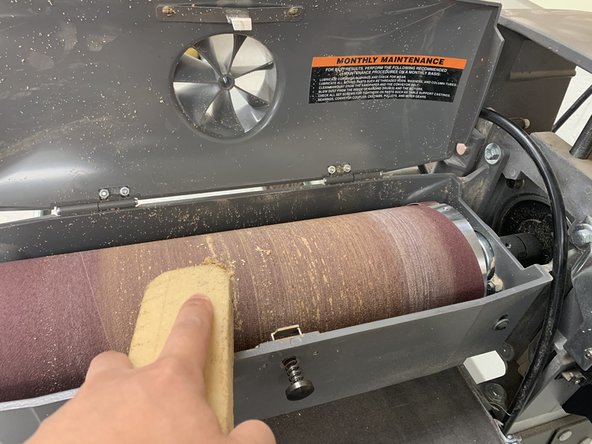
Run cleaning stick along drum to evenly remove dust build up.
-
Maintain firm pressure on the top of the cleaning stick to prevent stick from flying out of your hands.
-
Turn off drum sander to inspect drum and remove rubber shavings from housing. Turn on and clean spots missed from initial pass.
-


Cancel: I did not complete this guide.
One other person completed this guide.
Team
