Introduction
This guide explains every feature available in the laser dashboard. Except for the basic features such as positioning and material settings, the features described in this guide are not necessary for regular use cases.
-
-
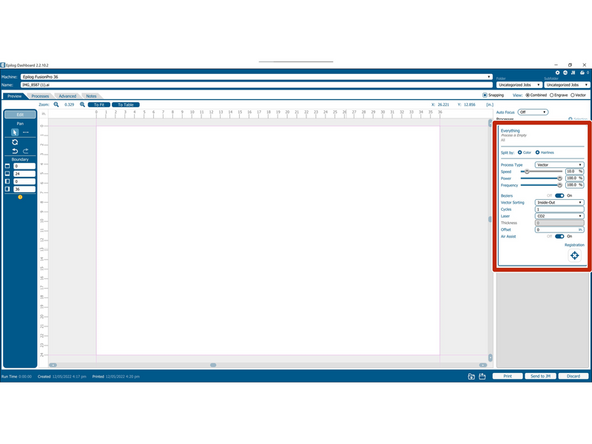
This is the Epilog Dashboard, it is the only interface used to communicate from the computer to the laser engraver.
-
All of the basic features of the dashboard are fairly self-explanatory such as the cut settings and positioning, but the more complicated features require a little more explanation, and some features are not necessary for regular use.
-
These are the four tabs for the different operations of the laser dashboard.
-
In general, only the preview tab needs to be used for simple jobs.
-
-
-
The preview tab allows you to manipulate both the file position and the cut settings for your job. It also can show a live preview of the file position on your stock.
-
The camera system is not perfect and you should always position your file based on the rulers, and not on just the image seen in in the preview.
-
You can turn the camera system on and off by unselecting the files and pressing the video button.
-
To move the file around, first select it and then use either the mouse or the position controls on the left hand side.
-
Take note that the reference for the position is determined by the selected box in the 9x9 grid.
-
There are also mirroring and grouping options for your files as well as undo buttons and reset buttons.
-
-
-
The righthand side of the preview tab is where all of the cut/engraving settings are managed.
-
You can edit all of the different settings for the laser or preload an already saved setting to use for your job.
-
If you have any questions about what a certain type of setting is used for, feel free to consult the machine page for a list of definitions for all of the different cutting and engraving settings.
-
-
-
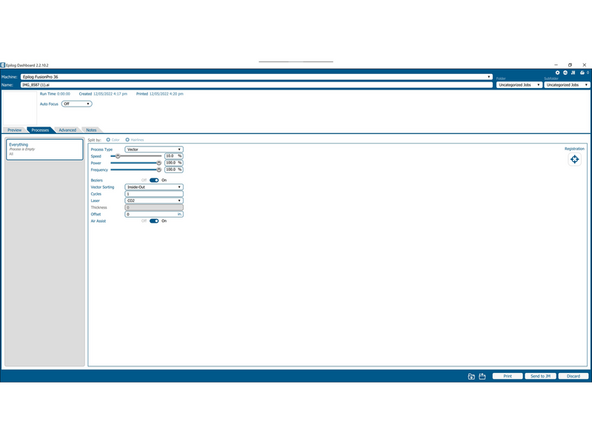
This is the processes tab. It is all of the settings you have for your job but without the live video feed/the placement features.
-
-
-
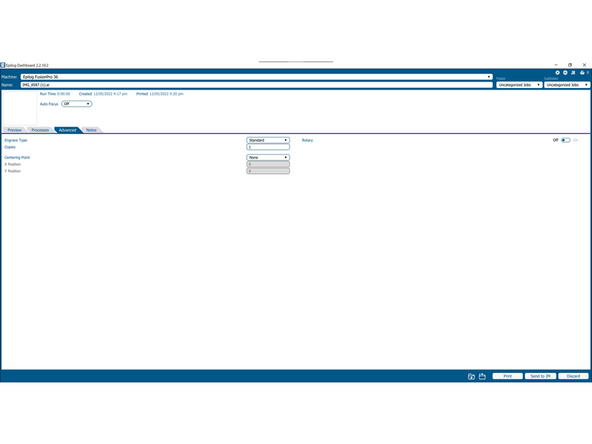
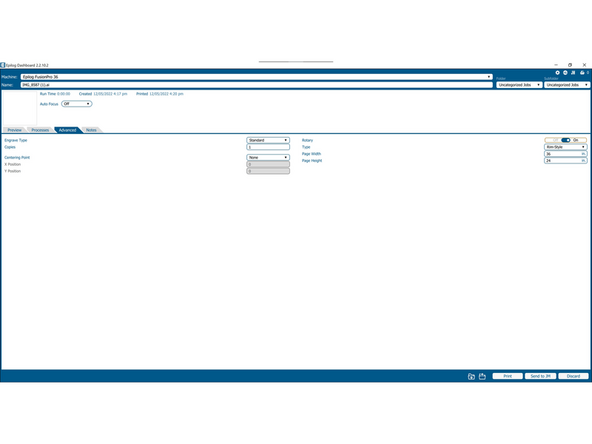
This is the advanced tab. It can be used to change the engraving type to stamp or 3D as well as set the centering point or the rotary type.
-
Using stamp mode is not recommended without extensive testing first and 3D mode is usually not necessary for normal jobs.
-
-
-
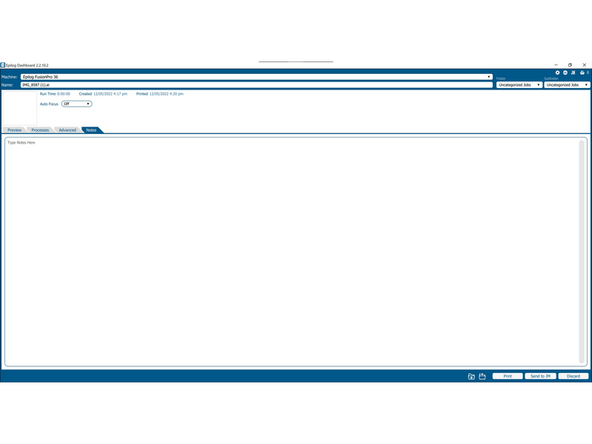
This is the notes tab. It can be used to save any relevant information about the job being run and will be saved if you choose to send this job to the Job Manager.
-
If you have any additional concerns about the Laser Dashboard features, please refer to the attached document that has Section 5: The Laser Dashboard.
If you have any additional concerns about the Laser Dashboard features, please refer to the attached document that has Section 5: The Laser Dashboard.
Cancel: I did not complete this guide.
6 other people completed this guide.


