Introduction
This guide will walk users through the proper cleaning and replacing, if needed, of the Epilog Laser Fusion M2 Lens. This should not be attempted unless you have received specialized training and permission from a LC.
Here is a in depth video to familiarize you with the cleaning process of the optics of the Epilog. Please follow the steps in the Dozuki as they differ from the video.
Sometimes the final focusing lens can get scratched or cracked. It will be necessary to replace the lens. Please inform a LC if the lens needs to be replaced.
Images by: TW
Video Overview
-
-
Make sure the Epilog is turned off and open the lid.
-
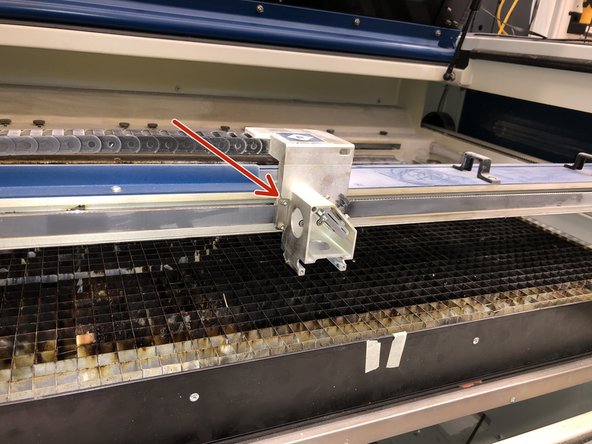
Gently move the gantry to a central, easy to access location.
-
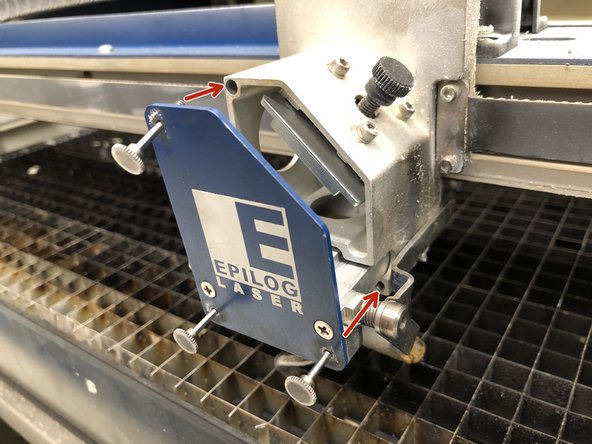
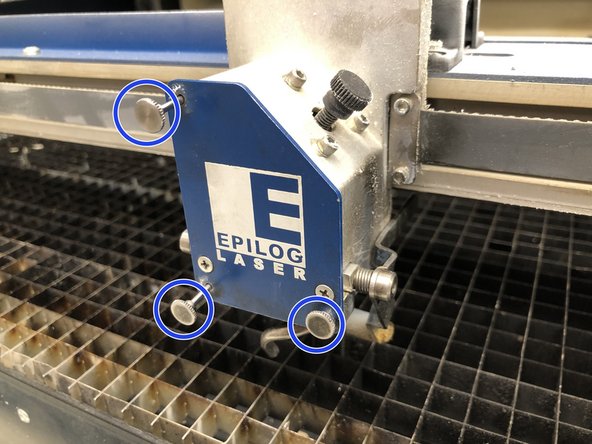
Unscrew the three thumbscrews.
-
Put on a pair of nitrile gloves to keep your fingerprints off the lens.
-
-
-
The lens carrier will slide out.
-
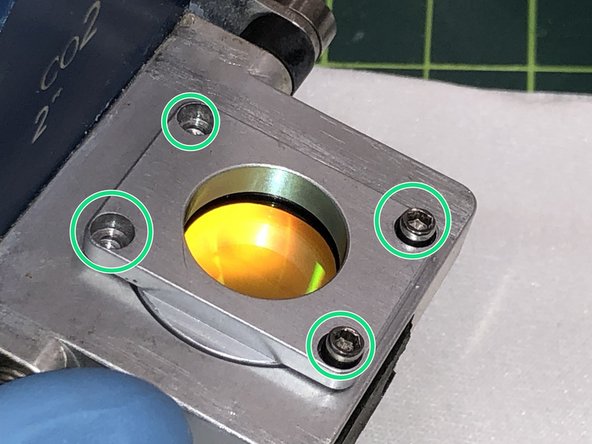
Remove the 4 hex head screws with a 1.5mm Allen wrench.
-
Be careful not to drop the screws on the lens.
-
-
-
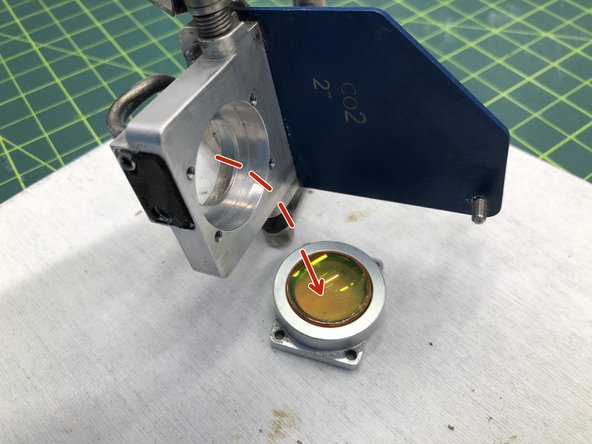
Carefully remove the lens holder
-
Be sure to not let the lens touch anything but lens paper.
-
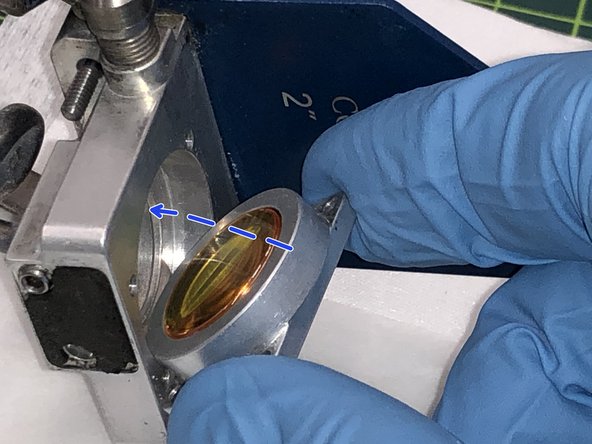
The lens can now be removed from its holder.
-
The lens and "O" ring should fall out.
-
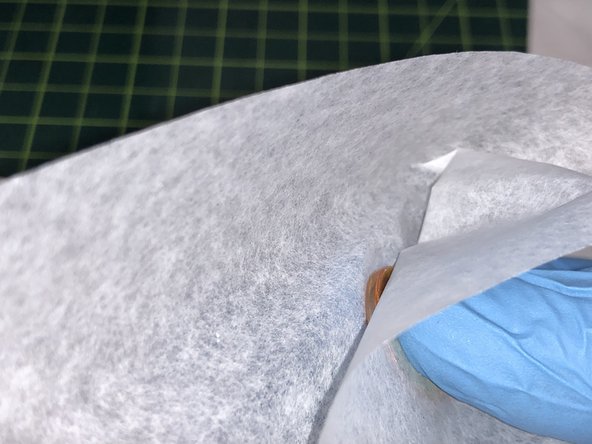
You may need to push the lens out with a piece of lens paper
-
-
-
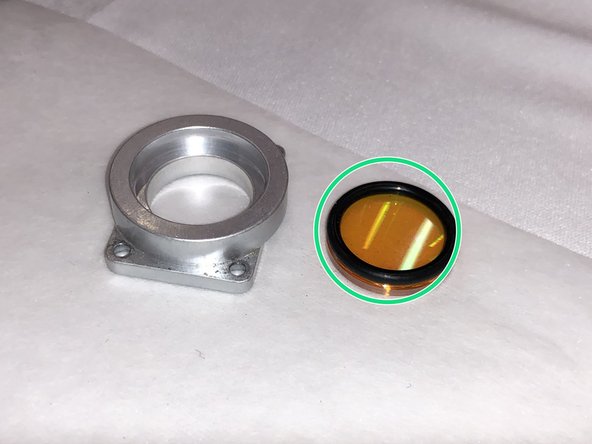
Check the "O" ring for any rips or tears. Replace if necessary. Put the "O" ring back into the lens holder.
-
Use some Acetone and lens paper to gently clean the lens in circular motion.
-
Do not touch the faces of the lens with your bare hands. Only use lens paper to handle the lens.
-
-
-
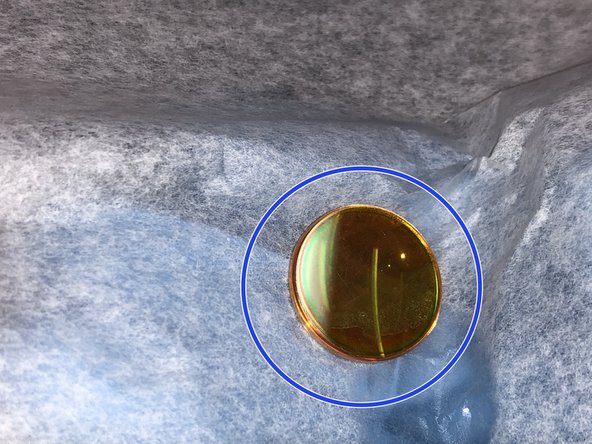
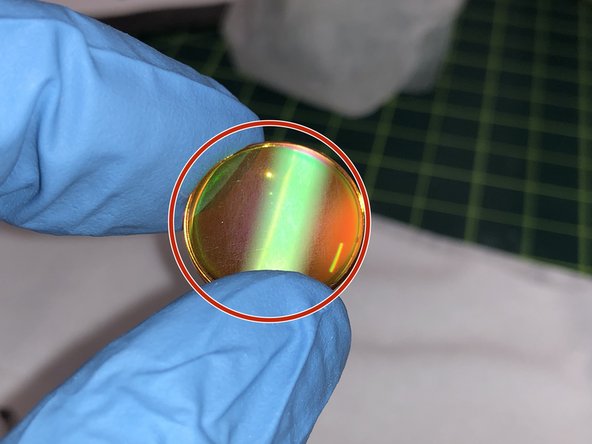
Inspect the lens. The lens should be clean and free of any dust or smudges.
-
If there are any cracks or burn marks on the lens that do not clean off, it's time to replace the lens. Please ask a lab coordinator for assistance.
-
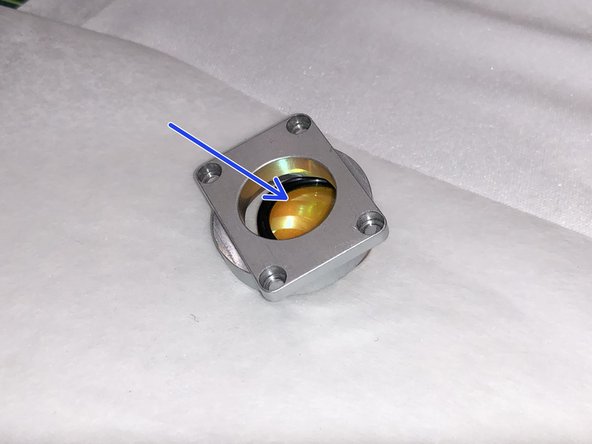
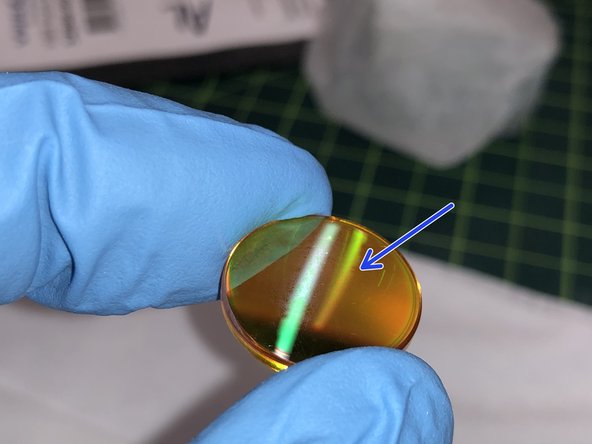
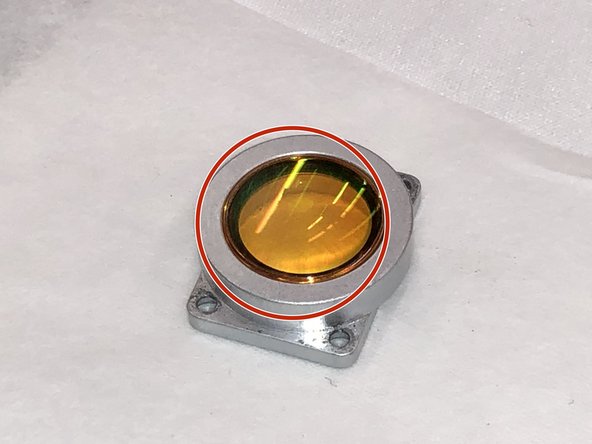
The lens has a curved and flat side
-
The blue arrow is pointing to the curved side
-
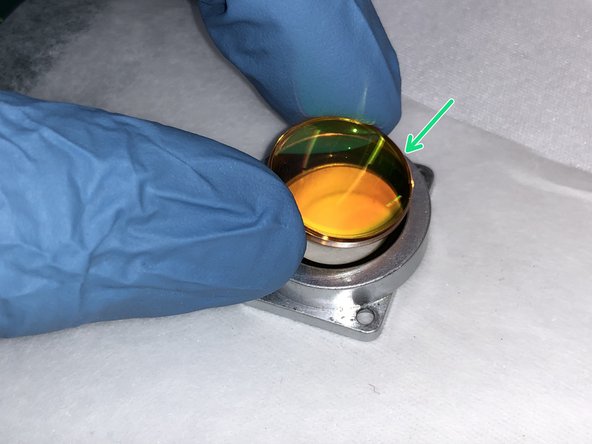
Place the lens back into its holder with the curved side touching the "O" ring.
-
-
-
Ensure the flat side of the lens is facing upwards
-
Carefully reinstall the lens holder back into the carriage
-
Gently tighten the four screws that hold the holder in place
-
-
-
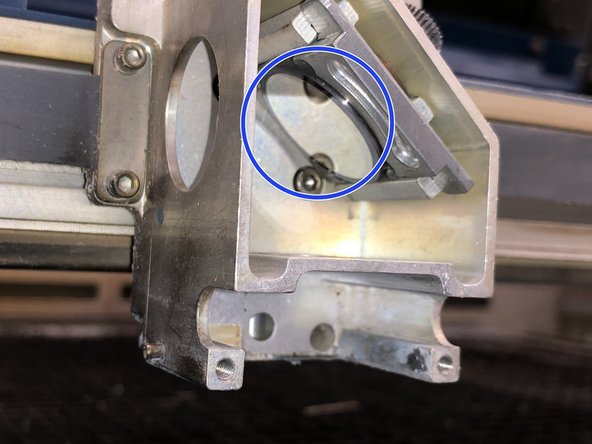
Gently move the gantry to a easy to reach position
-
This is the mirror you are going to clean
-
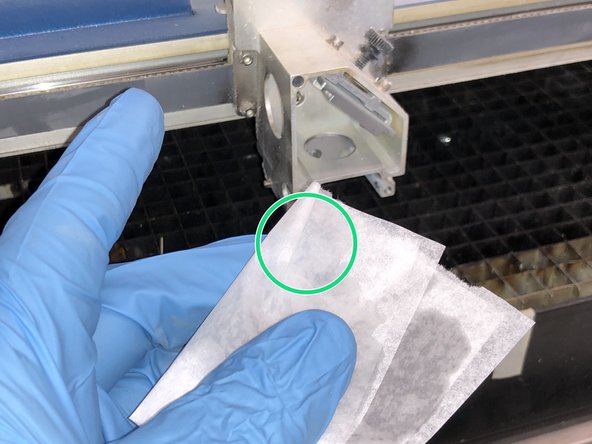
Wet a piece of lens paper with some Acetone
-
-
-
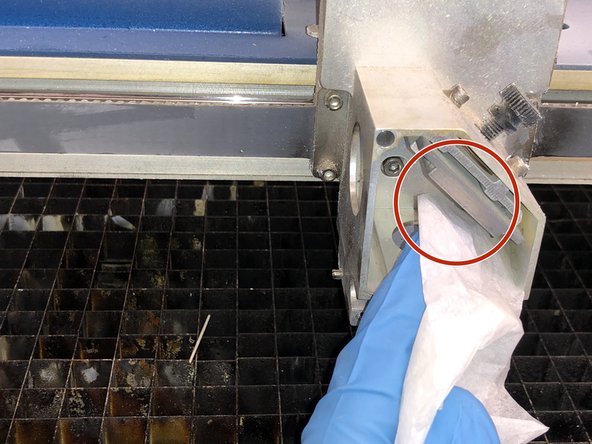
Gently wipe the mirror with lens paper
-
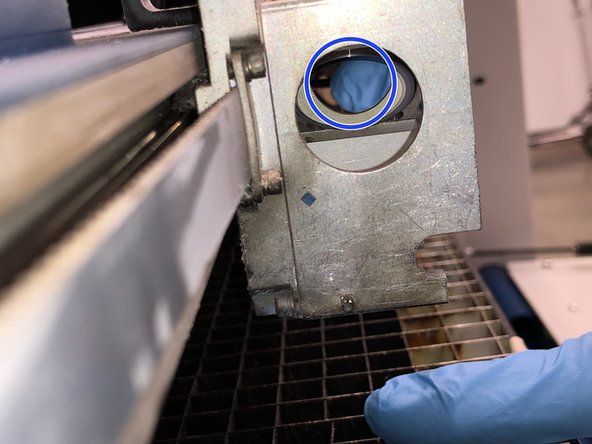
The mirror should be clean and free from dust and smudges
-
Reinstall the lens being careful to place the crash bar legs on the little pegs
-
-
-
Line up the thumb screws with their proper holes and slide the lens holder into place
-
Tighten the three thumbscrews
-
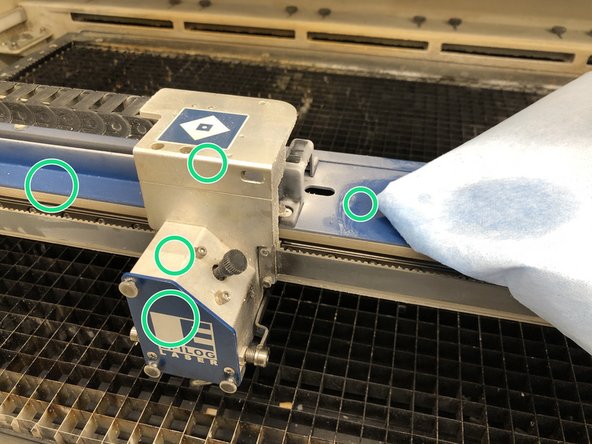
Clean the outside of the gantry with a paper towel and some IPA
-
Run a test engrave/cut to make sure that the Epilog is working properly
-