Introduction
This guide will show you how to remove and clean out the cutting bed on the Epilog Laser Fusion M2.
Images by: TW
-
-
Lower the cutting bed a few inches and open the door
-
Lower the front door for access to the cutting bed
-
Lift up on the cutting bed and move it out toward the front of the machine
-
-
-
Remove the cutting bed and place it on a table for cleaning.
-
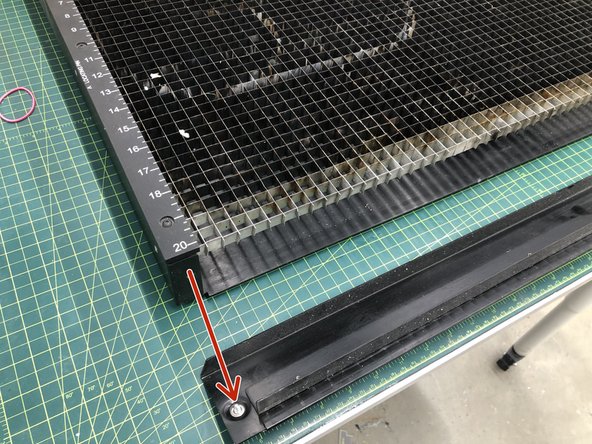
Loosen the two green thumb screws on the front of the cutting bed
-
The thumb screws are captured and will not fall out .
-
The cutting bed access panel should now be removable
-
-
-
Set the panel aside
-
Tilt the cutting bed up and empty out all the cutting debris from the cutting bed
-
Throw away any left over debris
-
Reattach the panel and finger tighten the thumb screws
-
Place the cutting bed back into the Epilog
-
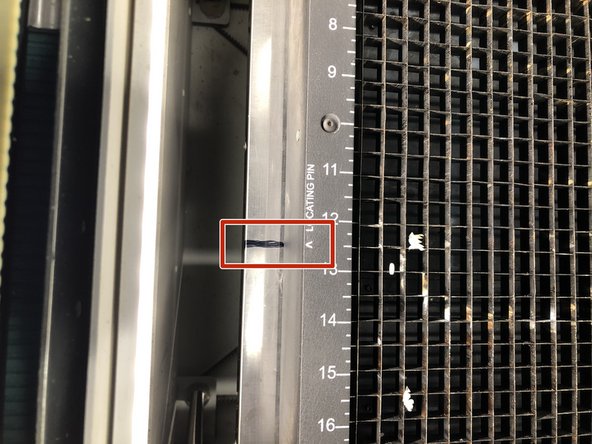
Make note of the location pin marks on the bed and corresponding marks on the table
-
-
-
The cutting bed should be keyed into place and aligned with the marks
-
When in place the cutting bed should cover up the silver ruler one the fixture table
-
Clean up and put away any tools you have out
-