Introduction
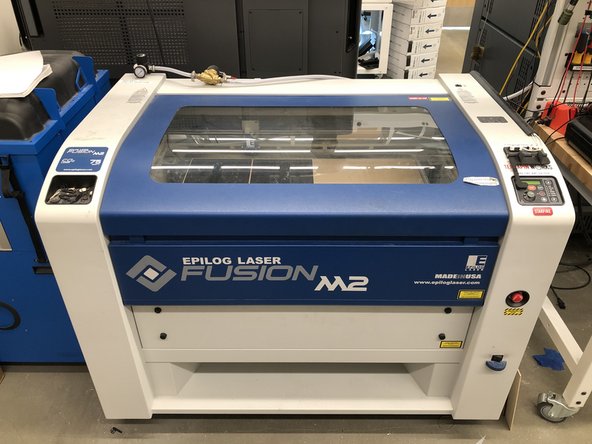
This guide will walk you through how to set up the Epilog Laser Fusion M2 to cut or engrave material.
Images by: TW
-
-
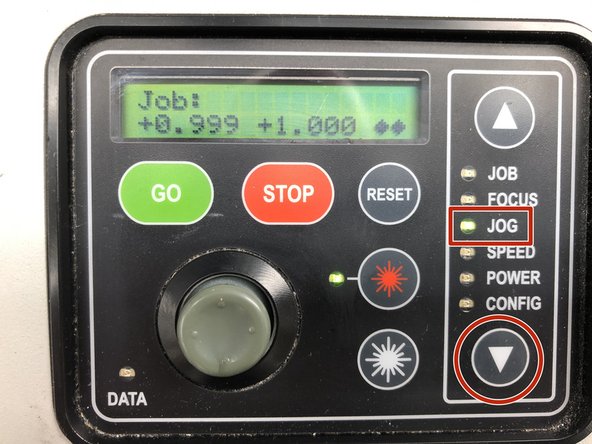
The most used menus on the Epilog are Job, Focus, and Jog.
-
The green light will illuminate when a menu is selected
-
The Up and Down arrows are used to move between menus
-
The Joystick moves the parameter of the specific menu
-
The screen displays these parameters
-
The door to the Epilog opens upwards and is lifted from the lip at the front
-
There are pneumatic pistons on the door, so it will remain open on its own
-
-
-
Place the material on the cut bed
-
Move the joystick to position the gantry over the center of the work piece
-
The joystick works just like a game controller.
-
Press the up arrow and select the FOCUS option.
-
The light will be green and the screen will say "FOCUS" on it.
-
While in the FOCUS option, the joystick now moves the bed up and down. Gently move the joystick up until the focusing tool just touches the workpiece.
-
Be careful when moving up, not to crash the the bed into the gantery, ( in the yellow box).
-
Once the focusing tool is just touching the workpiece it can be removed and place back into the tray on the front left of the Epilog. The focus is now set. Use an arrow to return to "JOG" function.
-
-
-
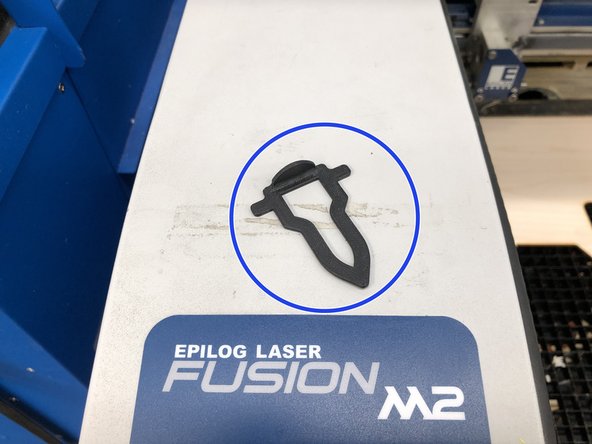
Grab the focusing tool from the tray on the front left corner of the Epilog
-
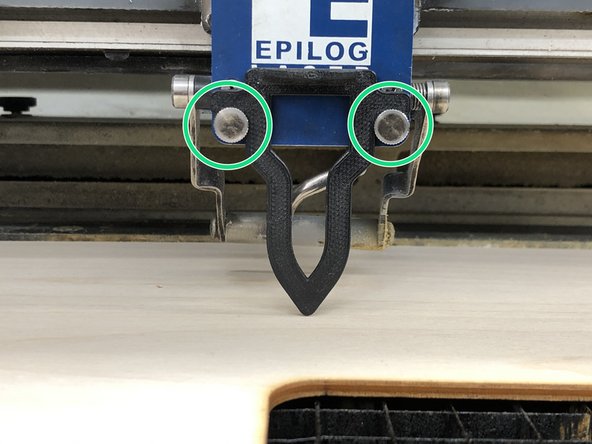
Hang it on the front studs of the gantry
-
The focusing tool should drop and hang loosely behind the studs
-
-
-
Use the down arrow to select the "JOG" function
-
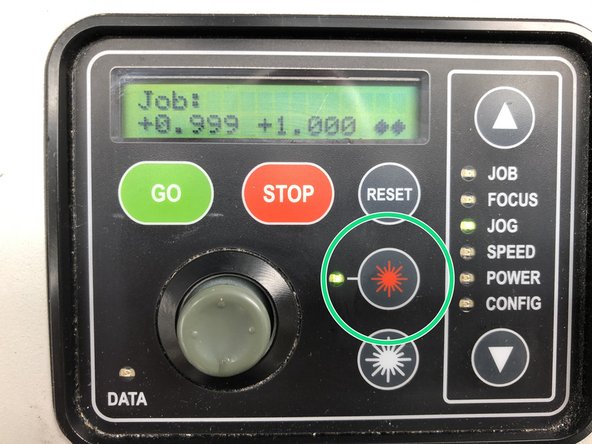
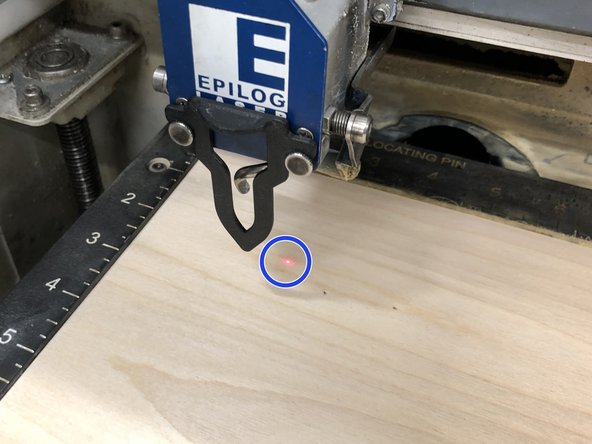
Now press the Red Star to activate the red laser pointer.
-
This red dot shows you where, (blue circle), the actual laser will cut and where your laser position will be.
-
-
-
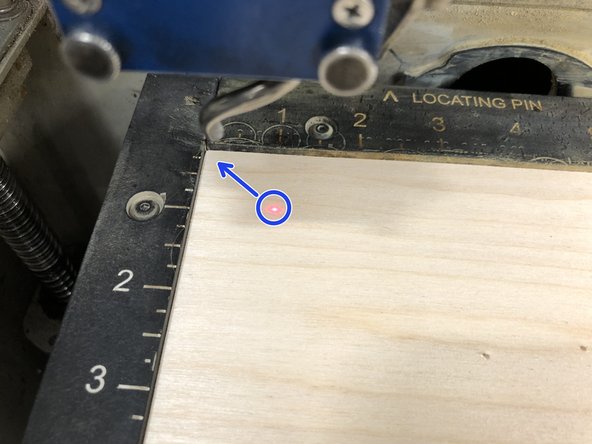
Now select the JOG function, use the joystick to move the red laser point close to the top left corner of your work piece.
-
Once you have chosen the starting point of your workpiece, you will need to set that position by pressing the joystick into the control pad.
-
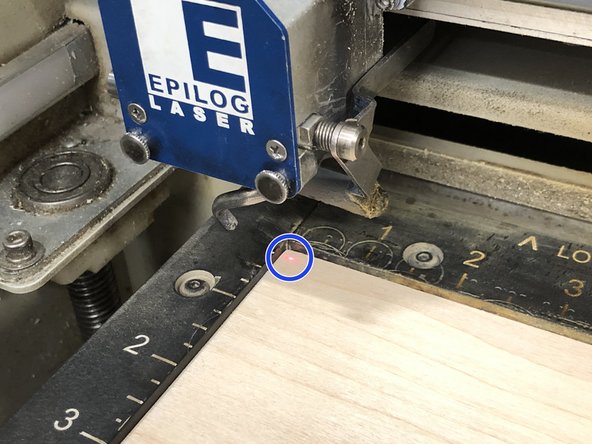
The red laser point should be close to the corner but not touching the rulers.
-
-
-
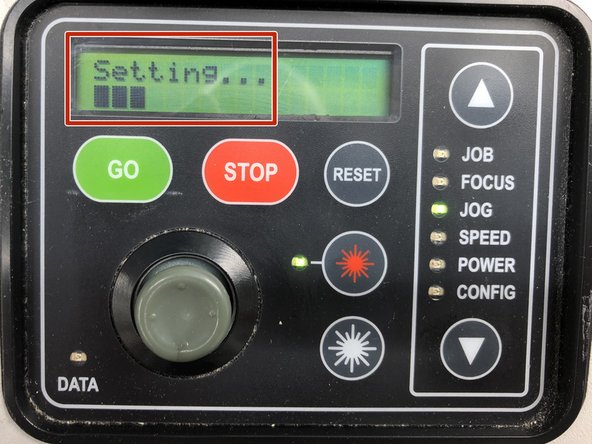
The screen will briefly show a "setting" prompt and returns to the "JOB" menu automatically .
-
This is now the new home position and the Epilog will always start a job from this position.
-
It can be changed to a new place if the job needs to be in a different location on the workpiece .
-
The Epilog is now set for the location and thickness of the material.
-