Introduction
This process was taken directly from the Epilog manual. This may not be the exact process needed to install the Epilog print driver on your computer. Please ask for assistance if you have trouble getting it to work.
-
-
Download the driver files from the website. One of the following screens will appear. For the USB installation, you will want to close them. We do not want the computer to automatically try to install the driver.
-
Epilog driver can be found here. https://www.epiloglaser.com/tech-support...
-
Link to Epilog manual for reference. (Pg.30) https://www.epiloglaser.com/assets/downl...
-
With the power of your laser turned off, connect the USB cable to your computer and your Fusion.
-
Power on your laser system. It will take about a minute for the laser to initialize. After it initializes it will start the process of installing the driver. You will see activity on the USB icon in your system tray (lower right corner of your computer screen).
-
-
-
A small window will appear in the lower right corner of your computer screen that indicates installation was successful. This is only partially true.
-
After a short wait you will see another small window that indicates the installation was not successful. If your computer is connected to the Internet, it will take a few minutes for your computer to display these windows. Interrupting the computer at this point will require you to restart the process.
-
After the failure notification, go to the Windows start key (lower left corner of your computer screen). Click Devices and Printers.
-
-
-
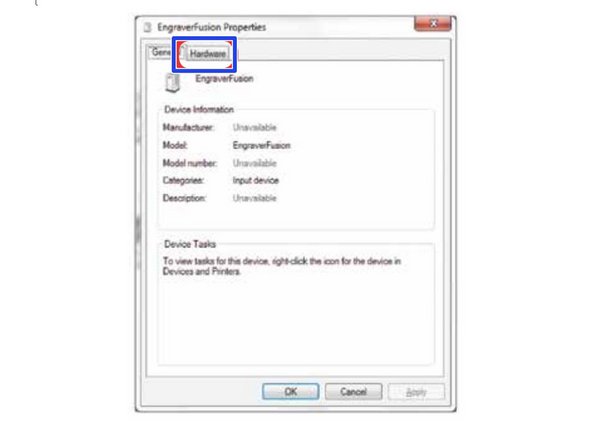
Right click on the Fusion. Then click Properties.
-
Select the Hardware tab.
-
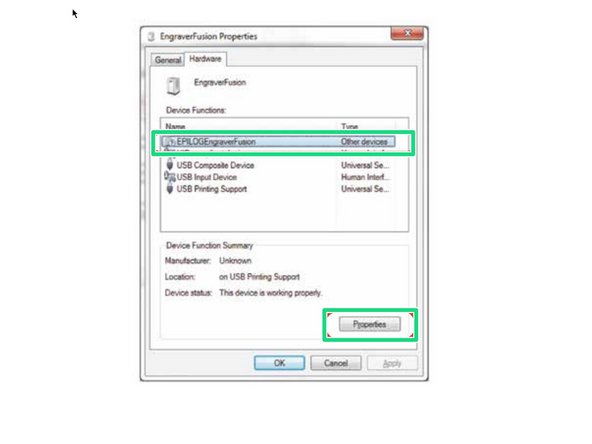
Select the device Epilog Engraver then click Properties.
-
-
-
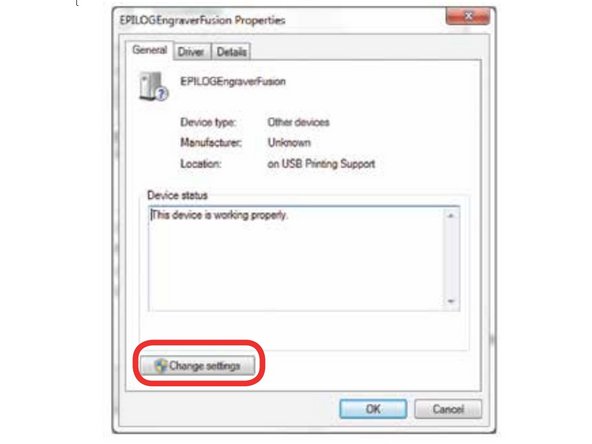
Click Change Settings.
-
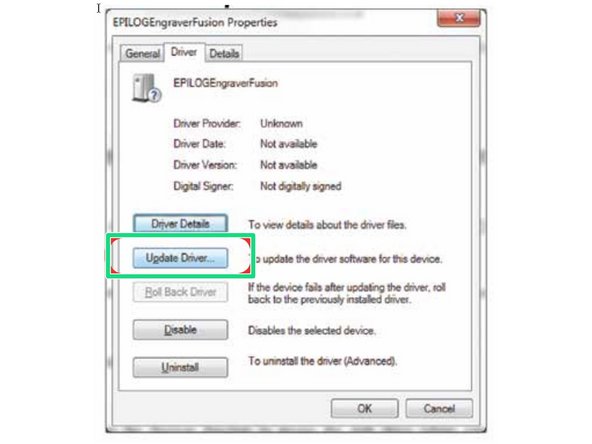
Click the Driver tab.
-
Click Update Driver
-
-
-
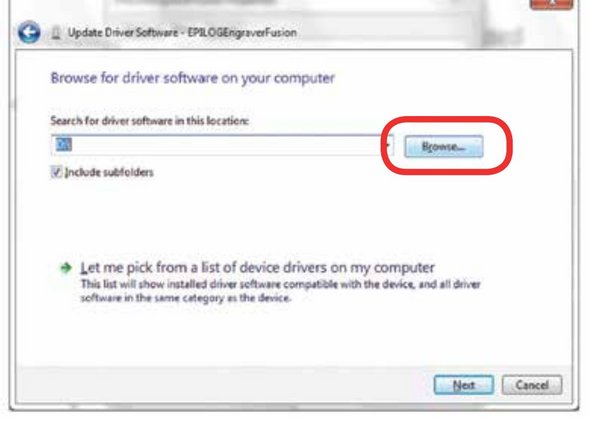
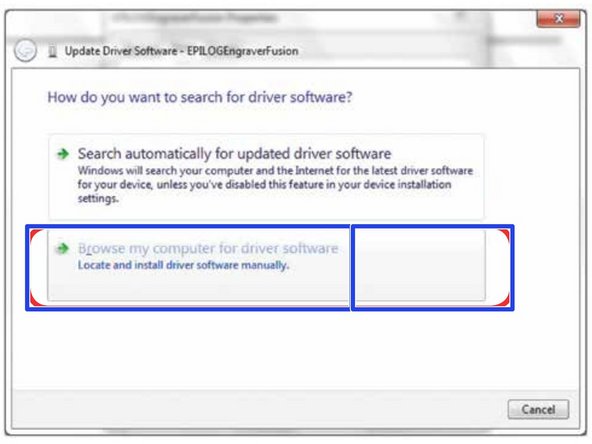
Click Browse my Computer for driver software.
-
Use the Browse key to direct your computer to your disc drive that contains the Epilog driver disc that you inserted earlier in this process. (You can also download the latest driver from epiloglaser.com/ tech-support/epilog-drivers.htm.)
-
For this document we show the DVD RW drive as the drive where the disc is located.
-
-
-
Once you have the proper disc drive showing click on the Next key.
-
The progress window will appear.
-
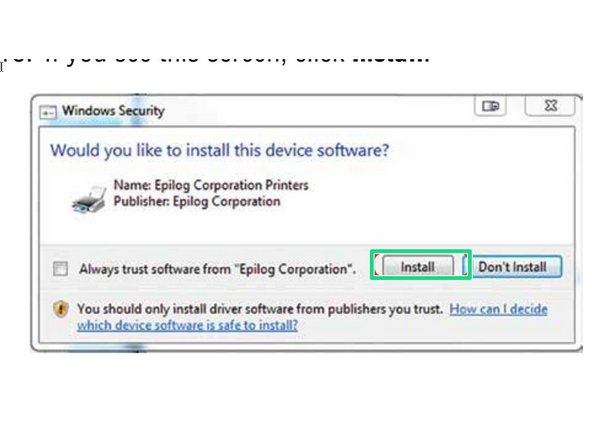
If you see this screen, click Install
-
-
-
Your Epilog Laser Dashboard print driver has been successfully installed on the USB port. Click Close.
-
Click Close in the next window and then Close again. You will then see your laser driver in the Devices and Printers page. Click on the red X in the upper right corner of this page. That’s it! You are ready to print to your laser.
-