-
-
Download the driver from here: https://www.epiloglaser.com/assets/downl...
-
Run the downloaded program, it will self-extract and then auto-start the windows “Add a device” prompt.
-
This window should pop-up. Select “The printer that I want isn’t listed”
-
-
-
Must be on wifi network to send files to the Epilog laser: Terrapin Works AFL
-
In the new window, select “Add a new printer using standard TCP/IP".
-
Create a new port, Type: “standard TCP/IP”
-
-
-
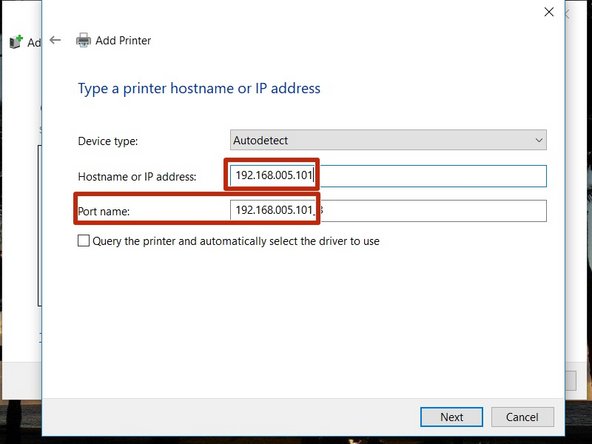
Type in “192.168.005.101” and hit next (port name should auto fill)
-
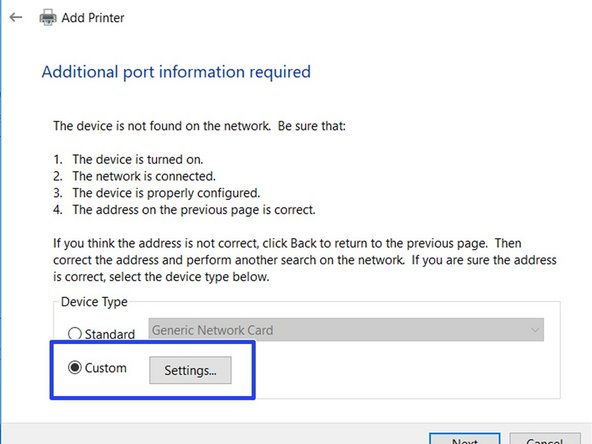
Select custom setting
-
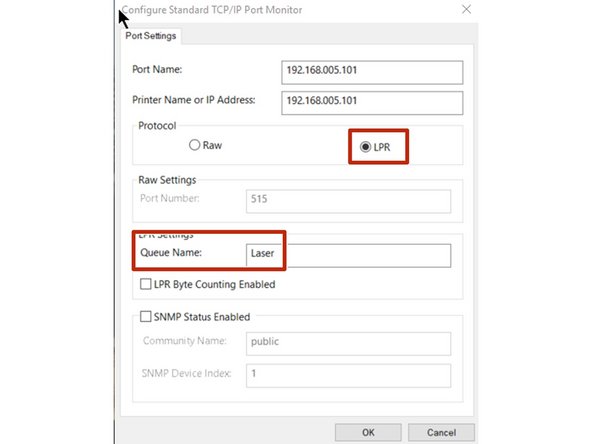
Select "Raw" then change the port number to 515.
-
-
-
Change the protocol from RAW to LPR and add the name "Laser" to the Queue Name. Click "OK" when done.
-
Click the "Custom" Settings, then click "Next.
-
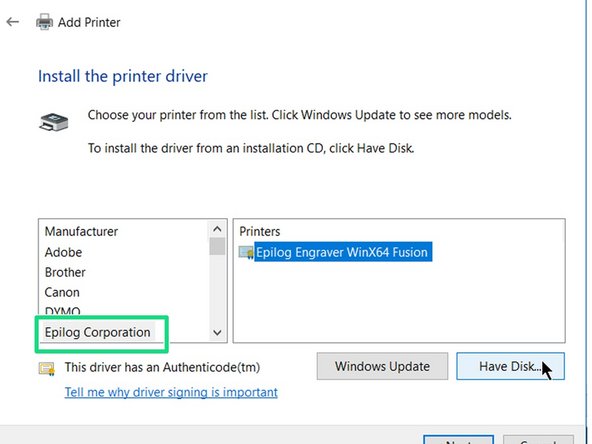
Select "Epilog Corporation", Click "Next".
-
-
-
Printer name should auto fill.
-
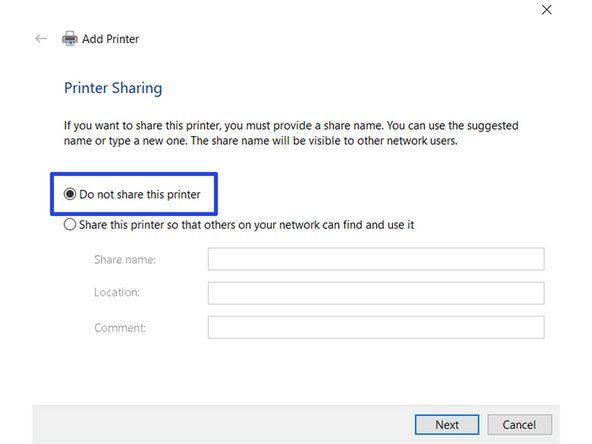
Select "Do not share this printer" then click "Next"
-
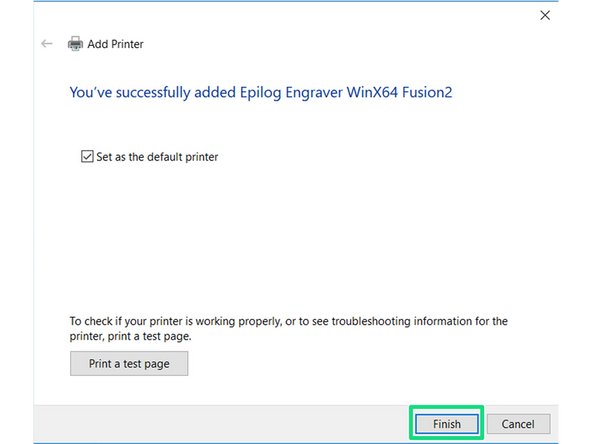
Click "Finish"
-