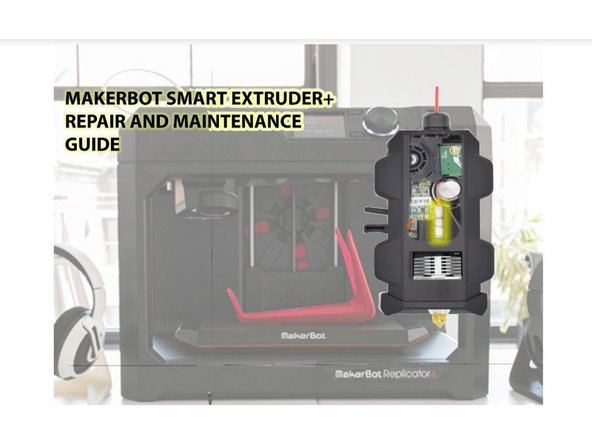
Introduction
Part of your role of SLM is to handle or oversee extruder retirement and disassembly. When an extruder becomes irreparable, we need to strip it of all functional parts to be used in future extruder repairs. You will also be refreshed on how to retire an extruder in the asset management system.
-
-
Typically, an extruder will be retired once there have been 3 separate attempts to fix the issue. One of these 3 repair attempts must be completed by an SLM to qualify for retirement.
-
Occasionally, you will have a broken extruder that might need a bit more expertise. In case of a problem with the board, collect a functional board from the parts bin or a retired extruder casing and send the broken extruder as well as the functional board to Andy with a note detailing the problem.
-
Some issues do not require the "3 attempts" rule to retire. Issues such as cut/broken wires, damaged board, or should PLA melt and solidify into a mass over the entire heating block, you can retire immediately.
-
-
-
To start, break down the extruder as you would for an advanced extruder repair. You will sort the housing, spring, homing magnet, PTFE tube, heat sink, nut, and plate into the parts bins.
-
If any of these pieces are not in good/working condition, throw them out.
-
You will also remove the bearing, filament driving cog, unscrew the filament detection wheel (keep the screw), and carefully remove the filament detection board so as to not bend the prongs. Sort these parts into the parts bins so long as they are in good/working order.
-
We will also keep the fan shroud, the screws that hold the extruder casing together, the 4 magnets, and the nozzle.
-
When all is said and done, you should be left with the casing, the board within the casing, and the heat block. If the extruder was retired due to broken wires, remove and keep the heat block if it is in good condition.
-
Once you have stripped the extruder of all necessary parts, you will tape the casing shut with blue painters tape. On the tape, write the reason for retirement and the date.
-
Finally, make sure to retire the extruder on the asset management system. To do this, search the extruder label or serial number, click the edit icon to the far right of the listed extruder, and change the status to archive.
-
Be sure to leave a note when you change the extruder status to archived. In the note section, detail the reason for retirement and the date retired.
-
-
-
In the MIC, there will be a physical copy of the extruder repair guide. This guide also outlines the steps for disassembly for your reference.
-
There is also an online version that is accessible through the team drive. Enter the team drive and search "Extruder repair manual v1." Feel free to look it over for additional instruction or clarification.
-