Introduction
This guide will explain how to change the material on the Formlabs Form 2
Source: Inspecting the Tank, Replacing Resin Tank
Pictures by: Nico Lagendyk
-
-
Put on nitrile gloves and keep them on throughout this entire process
-
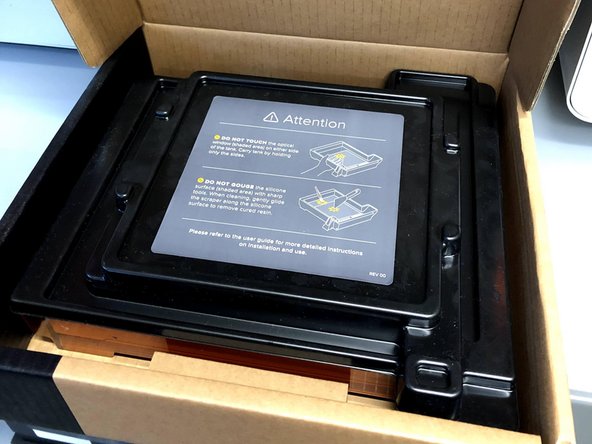
Retrieve the cardboard empty resin tank box and the new resin tank box you will be putting on the machine
-
Using the cardboard box is safer than leaving the tank out in the open
-
Getting the new tank box out helps minimize potential dust settling on the exposed glass window and ensures you actually have the material you want to switch to
-
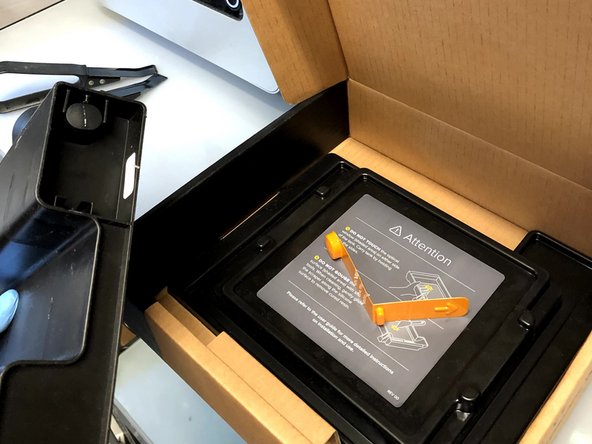
Take the orange nipple cap and tank cover out of the empty box
-
The orange nipple cap is used to keep the resin from dripping out of the nipple on the bottom of the resin cartridge when it is being stored
-
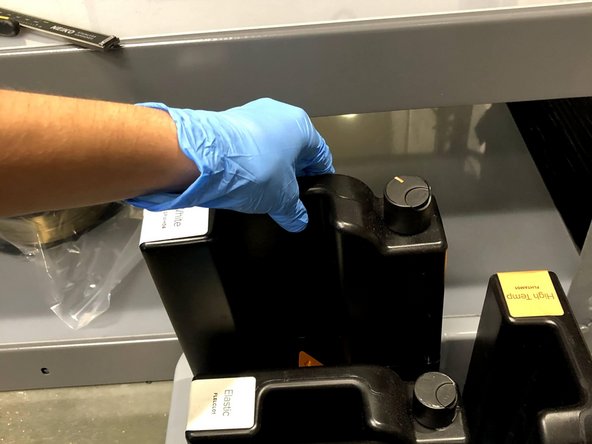
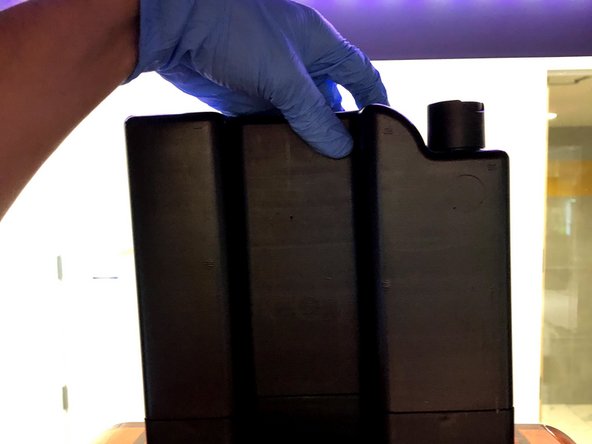
Push down the cap of the resin cartridge if it is not already closed
-
Pull the resin cartridge straight up using the indent in the back of the container
-
-
-
Clean the nipple on the bottom of the resin cartridge with a paper towel
-
Place the orange nipple cover on the nipple
-
Place the resin cartridge in the specified storage location
-
-
-
Lift up orange hood of printer
-
Pull back on base of wiper arm to release it from machine
-
Leave the wiper in the tank
-
-
-
Never touch the underside of the resin tank as light needs to propagate unobstructed by dust or other particulate to achieve successful prints
-
Never touch the glass optical window
-
Grip the edges of the resin tank with your four fingers on the bottom and your thumb on the top edge
-
Use your pinky finger to push directly back on the front lip of the resin tank
-
Keep the edge of your palm against the base of the printer to act in a frictional capacity
-
Instead of pulling directly back rotate your hands about the pivot point created from the edge of your palm to limit sudden movement
-
-
-
Carefully rotate your hands to remove the tank from the machine
-
This is going to take some force so be careful to not jolt back and spill the resin
-
-
-
Open empty tank storage box
-
Make sure the label on the box matches the resin you're about to put in it
-
Gently place the tank in the box and cover with the black plastic cover
-
Make sure the wiper arm is situated in the pocket of the cover so the box is able to close
-
Place the tank box in the specified storage location
-
-
-
Open the box and remove the cover from the tank
-
-
-
After confirming the integrity of the tank place it in the printer
-
Line up the tracks on the bottom of the tank with their mates on the printer
-
Then using the same grip discussed in step 3 rotate your hands forward until you hear the tank click into place
-
Slot the wiper arm into place by placing the male end of the wiper into the female slot on the machine
-
This functions exactly like the industrial teardrop pallet shelving
-
-
-
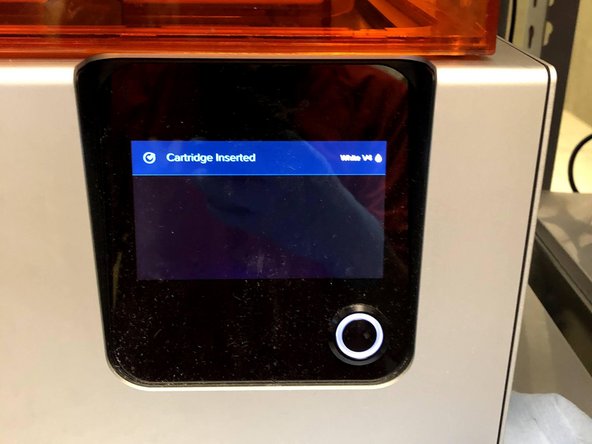
The printer should automatically recognize the resin that is inside the tank from the data connector
-
If the printer doesn't recognize the tank pull it out and try again
-
If the problem persists talk to your peers or contact Formlabs support for guidance on how to proceed
-
-
-
Retrieve the cartridge from the specified storage location
-
If the material is not there, get a new cartridge from storage
-
Remove the orange tab from the bottom nipple and place it in the same box that you just got the tank out of
-
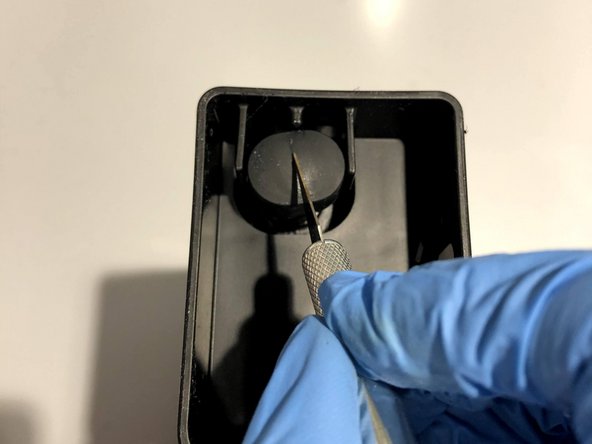
If you open a new cartridge you'll need to cut the bottom nipple so that it opens properly
-
Turn the cartridge upside down and use a razor knife to trace the pre-cut line until you're able to open the nipple and see into the cartridge
-
-
-
Orient the cartridge so that the label faces away from you
-
Proceed to lower the cartridge into place at the back of the machine
-
The machine should automatically recognize the cartridge just like the tank so once it does you're all set
-