-
-
Put on nitrile gloves and keep them on throughout this entire process
-
Retrieve the empty resin tank box and the new resin tank box you will be putting in the machine
-
Take the orange nipple cap and tank cover out of the empty box
-
The orange nipple cap is used to keep the resin from dripping out of the nipple on the bottom of the resin cartridge when it is being stored
-
Push down the cap of the resin cartridge if it is not already closed
-
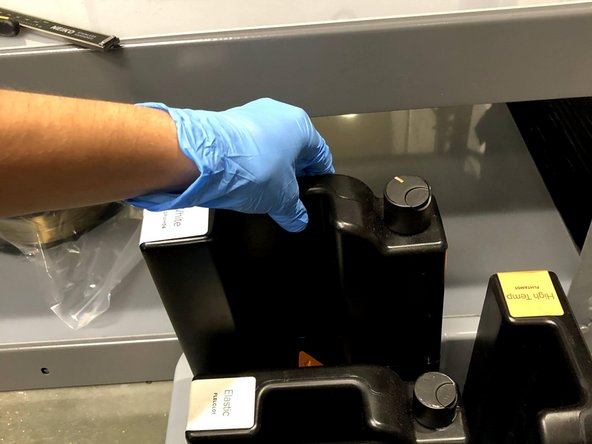
Pull the resin cartridge straight up using the indent in the back of the container
-
-
-
Clean the nipple on the bottom of the resin cartridge with a paper towel
-
Place the orange nipple cover on the nipple
-
Place the resin cartridge in the specified storage location
-
-
-
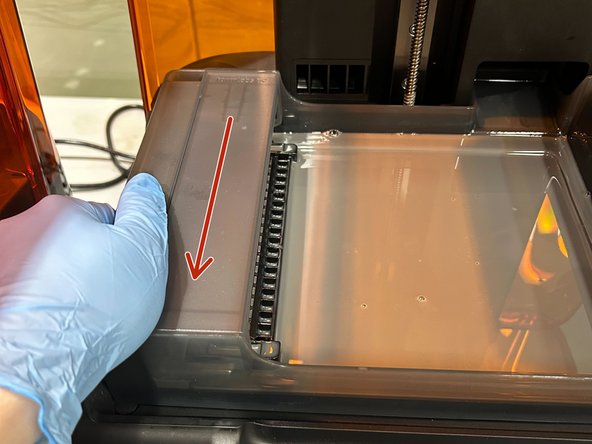
Grip both sides of the resin tank and pull backwards
-
After you feel the tank pop out it should be safe to lift up and out to store
-
-
-
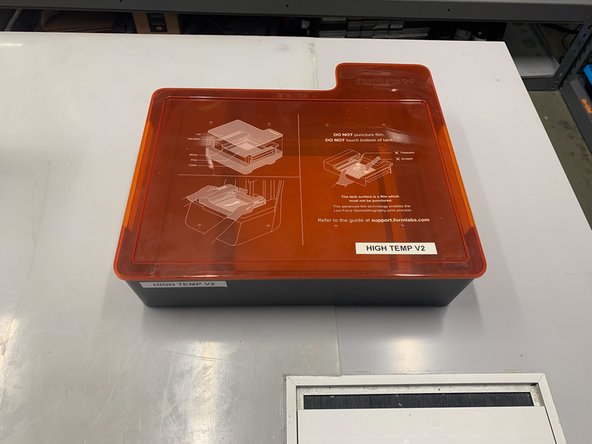
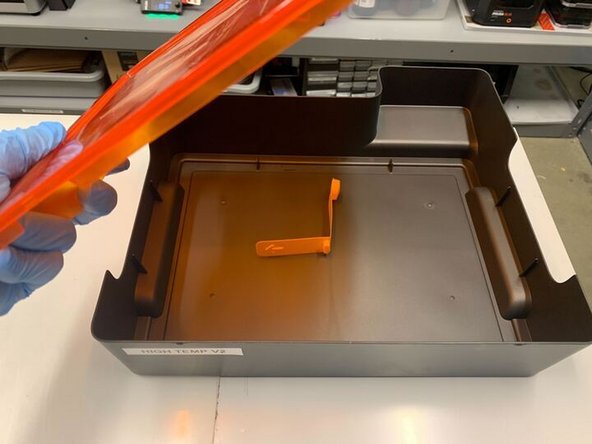
Take the cover off of the resin tank box
-
Make sure the label on the cover and box match the resin tank being put in
-
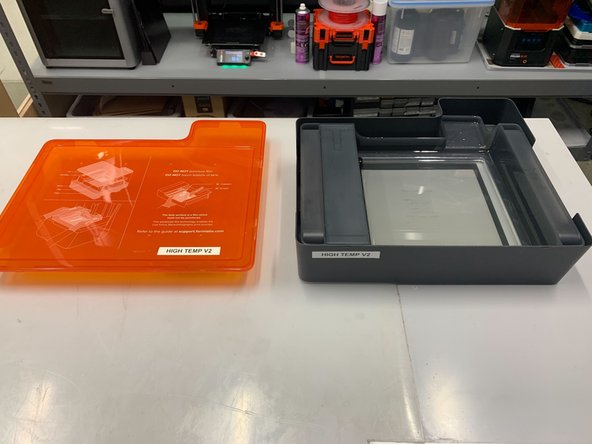
Gently place the tank in the box and place the cover back on
-
Place the tank box in the specified storage location
-
-
-
Open the box and remove the cover from the tank
-
-
-
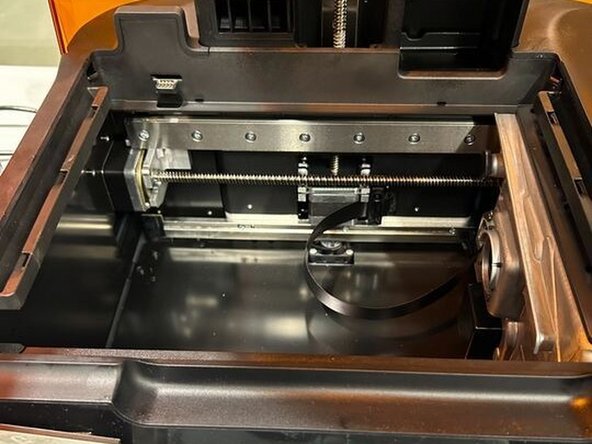
After confirming the integrity of the tank place it in the printer
-
Line up the tracks on the bottom of the tank with their mates on the printer
-
Push the tank forward until you feel the tank move into place
-
-
-
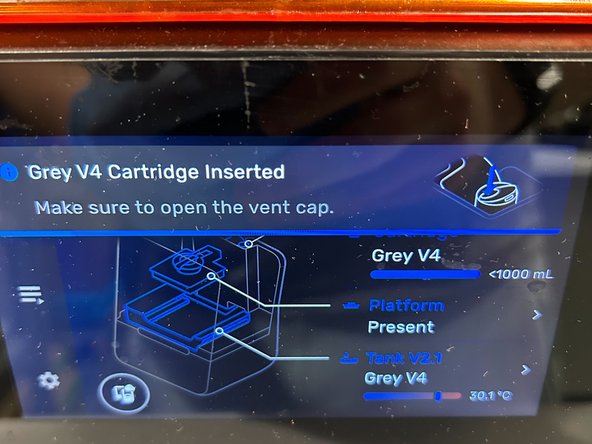
The printer should automatically recognize the resin that is inside the tank from the data connector
-
If the printer doesn't recognize the tank pull it out and try again
-
If the problem persists talk to your peers or contact Formlabs support for guidance on how to proceed
-
-
-
Retrieve the cartridge from the specified storage location
-
If the material is not there, get a new cartridge from storage
-
Remove the orange tab from the bottom nipple and place it in the same box that you just got the tank out of
-
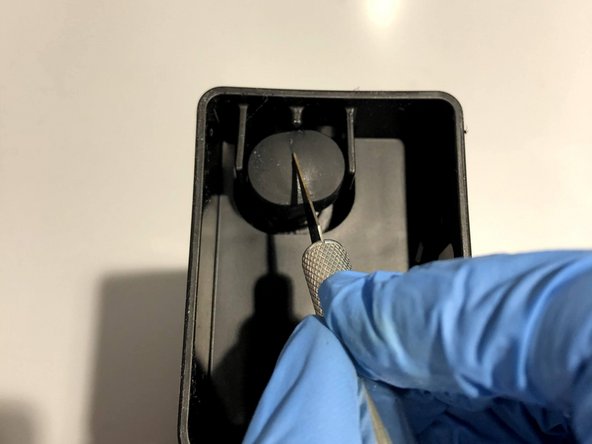
If you open a new cartridge you'll need to cut the bottom nipple so that it opens properly
-
Turn the cartridge upside down and use a razor knife to trace the pre-cut line until you're able to open the nipple and see into the cartridge
-
-
-
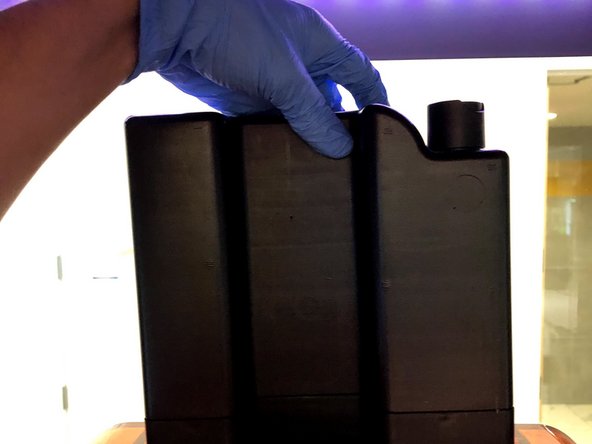
Orient the cartridge so that the label faces away from you
-
Proceed to lower the cartridge into place at the back of the machine
-
The machine should automatically recognize the cartridge just like the tank so once it does you're all set
-