Introduction
This guide will cover all the necessary steps including safety check to begin a print on the Formlabs Form 3+
Source: Formlabs Guide
Images by: Nico Lagendyk
-
-
Every job sent to the printer will be queued up and will need confirmation from an operator to begin
-
You can only send a job to a printer with the correct resin so be sure to change (add link to guide once it exists) that prior to sending the job over
-
Confirm that your job has made it to the printer by clicking on the jobs tab on the touchscreen
-
-
-
Look for small build-ups of resin gathering at the bottom of the tank
-
These are essentially artifacts of cured resin that were cured but adhered to the FEP film rather than the build platform. These cured resin build-ups can prevent future prints from sticking to the build plate as well
-
Gently move the rubber spatula back and forth around the tank to check for these cured resin build-ups
-
Don't use a metal spatula, move too fast, or push to hard to avoid scraping or puncturing the tank's film
-
If the window at the bottom of the resin tank looks and feels clear you're good to continue with this guide
-
-
-
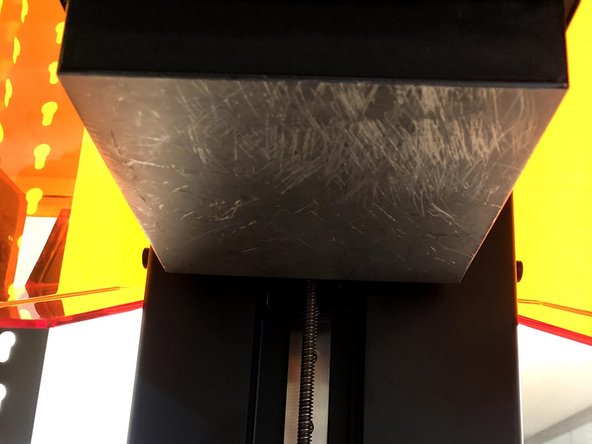
Check to see that the build platform was cleaned after its last job and is free of any resin residue
-
Remove the build platform and look it over with a light to see if any residue stains catch the glare
-
If the build platform is dirty or damaged either clean or replace it with an adequate one
-
Specialty resins like 'Tough', 'High Temp', 'Elastic' are more sensitive to build plate quality, so your workflow may include special build plates reserved for these materials
-
-
-
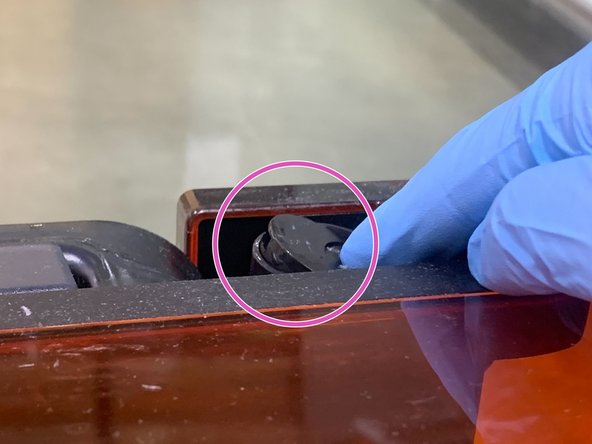
Ensure that the Resin Cartridge Vent is open
-
-
-
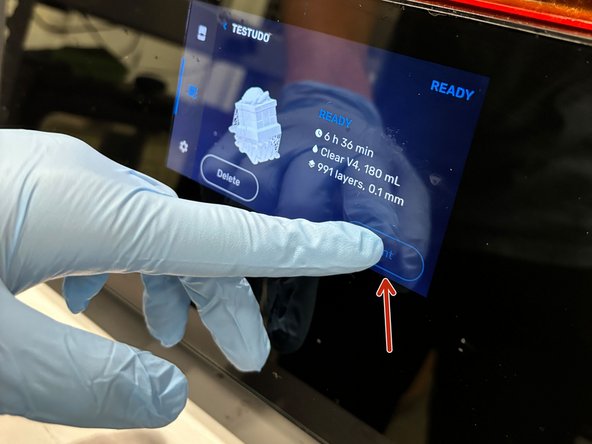
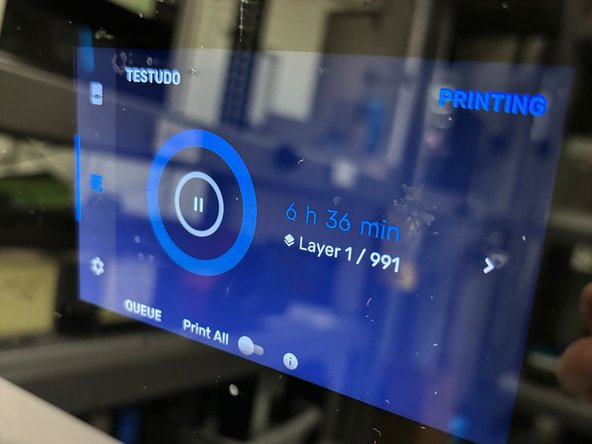
Start the print by pressing print on the main display screen
-
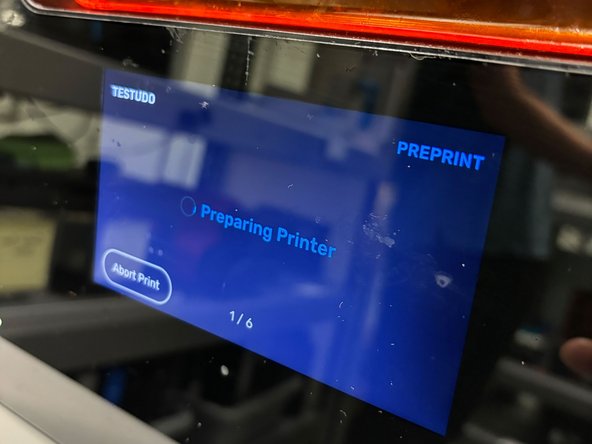
The tank will prepare for printing by filling the tank with resin, heating it to its printing temperature, and mixing the resin by moving the wiper back and forth
-
Once the machine's preparations are complete the print will begin
-


