Introduction
This guide includes all the the necessary steps that must be taken before starting a print on the Fortus.
-
-
If you are using the Insight/Control Center combination, see this guide for slicing instructions and this guide for print management instructions
-
If you are using GrabCAD Print, see this guide for instructions
-
-
-
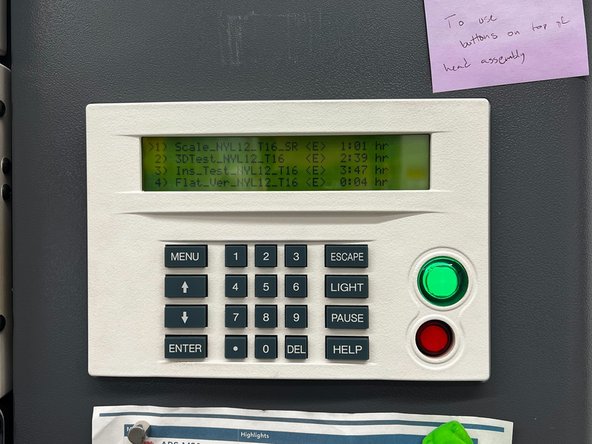
If the Fortus is off, power it on by pressing the flashing green button on the control panel
-
Once the machine is on, select AutoHome XYZ from the startup dialog
-
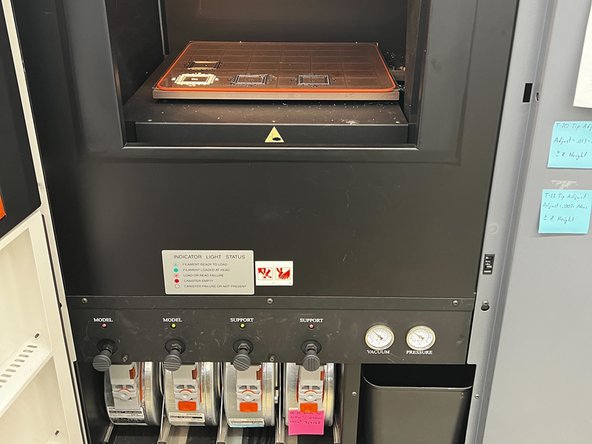
Verify that the air pressure gauge reads 36-40 psi
-
-
-
Check that the model and support materials that are loaded match what you set in the print file
-
If necessary, see this guide for instructions on changing material
-
If the materials are correct, use the estimates from the print file to ensure there is enough material currently loaded
-
If necessary, see this guide for instructions on loading material
-
-
-
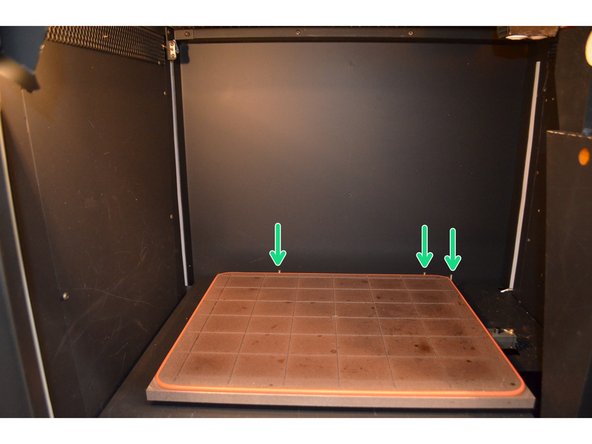
Place the appropriate build sheet on the platen and wait for a vacuum to be achieved. The vacuum gauge should read -15 inHg or greater (more negative)
-
Amber-colored sheets are for Ultem and PPSF. Green-tinted sheets are for Nylon 12. Clear sheets are for all other materials (ABS, ASA, PC, etc.)
-
Note that the sheets are not square, so they have a specific orientation. Amber build sheets must be placed with the glossy side against the platen
-
The build sheet will need to heat up before it can create a seal with the platen o-ring. Place the sheet down on the platen, close the door, and wait several minutes before making adjustments
-
If the machine was just changed from a high temperature material to a lower temperature material, allow the oven to cool before trying to put the sheet in
-
Use the locating pins on the far side of the platen to help with positioning the sheet
-
If the build sheet refuses to seal, check the platen for debris and inspect the o-ring for damage
-
-
-
With the oven door closed, select Build Job from the main menu on the control panel
-
Select the appropriate option from the menu, either Build Next Job, Build Last Job, or Show Job Queue to choose a specific job in the print queue
-
If one model canister bay and/or one support canister bay is empty, a warning will appear. As long as you have checked that there is enough material to complete the job, select Continue to bypass this
-
If desired, you can select Locate Part Start and jog the head to the point you want to define as the front left corner of the print bounding box
-
Select Continue to begin the build sequence
-