
Introduction
This guide will walk you through removing a completed print from the Fuse 1 and postprocessing to remove excess powder from the printed parts.
-
-
A mask and gloves should be worn at all times when working with the Fuse and Sift
-
Gloves can be found in the cabinet to the right of the Sift
-
Oven mitts should be worn if handling a hot build chamber
-
Oven mitts can be found in the cabinet under the Fuse
-
Oven mitts are required for handling the build chamber if the chamber is above 45°C
-
-
-
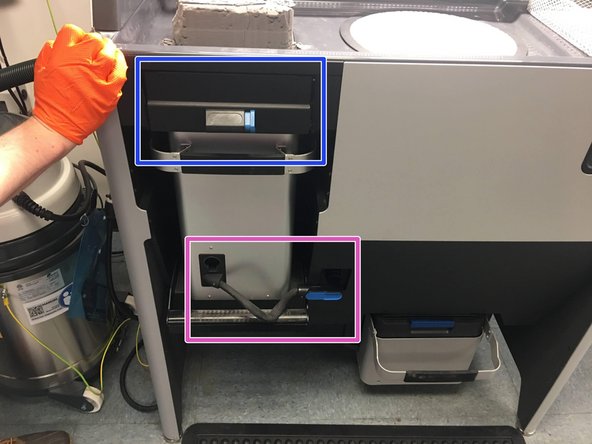
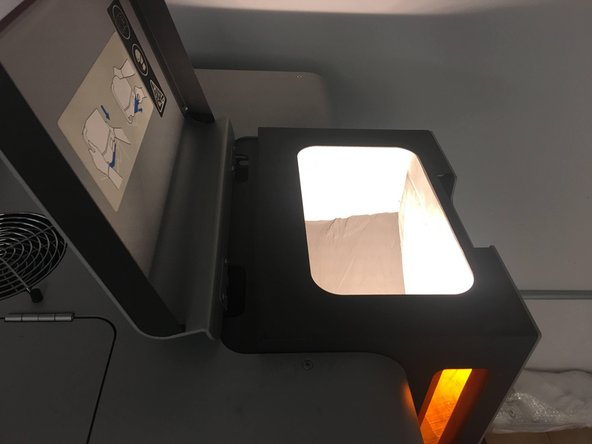
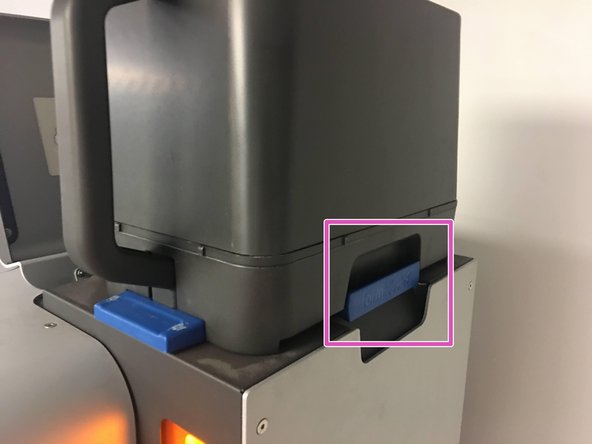
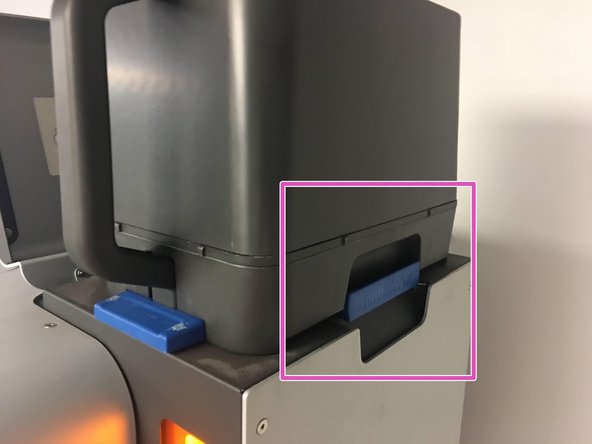
Open the latch with the blue button on the Sift
-
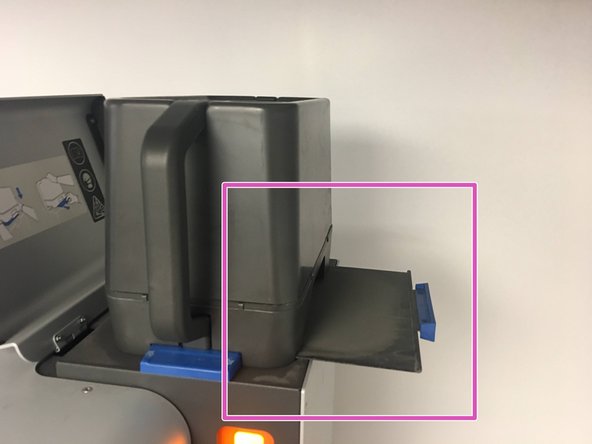
Make sure the build chamber area on the Sift is empty and ready to accept the build chamber
-
Make sure the vacuum hose is not hanging down into the build chamber area
-
-
-
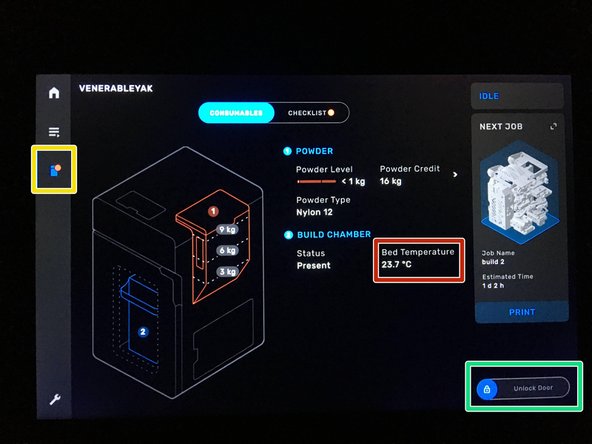
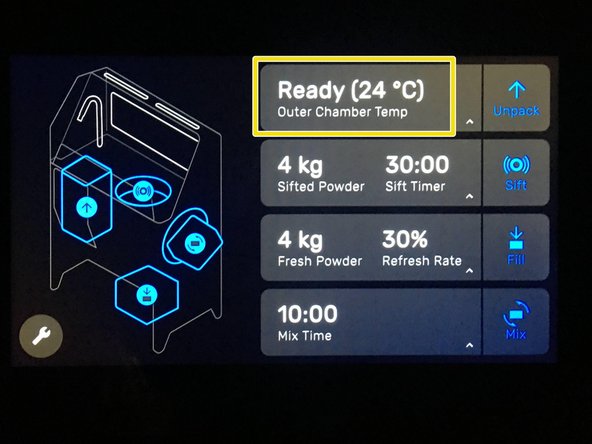
Switch to the Build Chamber status view on the Fuse touchpad
-
Ensure that the build chamber is below 45°C. Otherwise, you must use oven mitts for handling the build chamber
-
Open the Fuse door by sliding over the "Unlock Door" on the Fuse touchpad
-
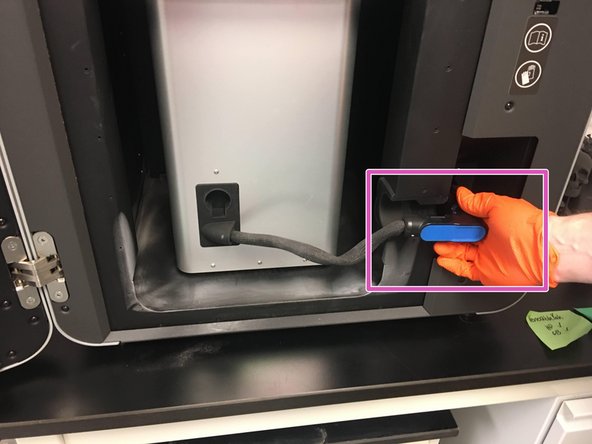
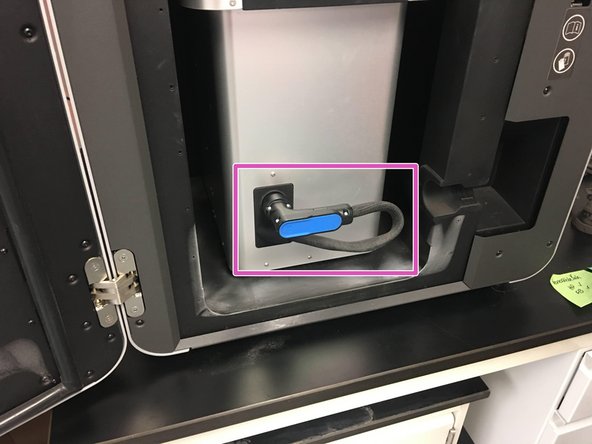
Disconnect and stow the build chamber data cable in the rubber slot on the build chamber
-
-
-
If necessary, use the oven mitts located in the cabinet below the Fuse
-
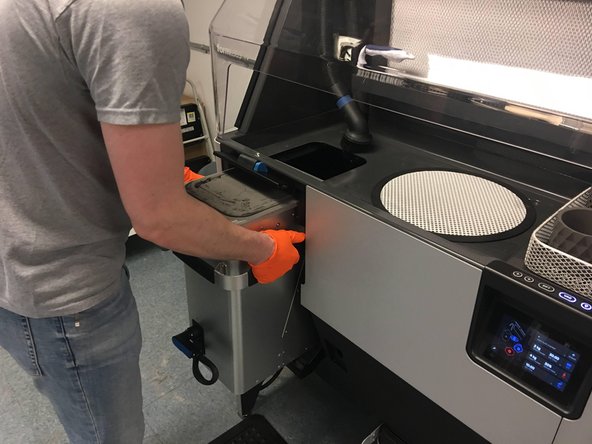
Using two hands, slide the build chamber out of the Fuse, and slide it in to the corresponding area on the Sift
-
Close the latches on the Fuse and Sift
-
Connect the data cable to the Sift
-
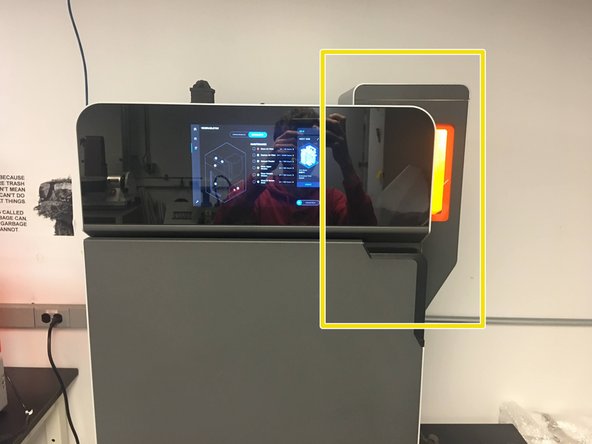
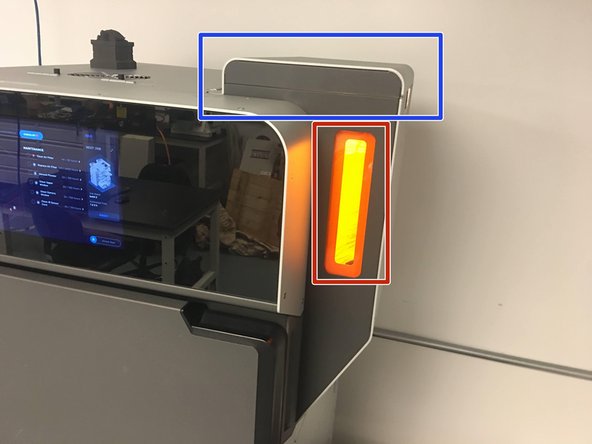
Check that the Build Chamber status now reads "Ready" on the Sift
-
Blue indicates Ready, Red indicates too hot (>45°C)
-
-
-
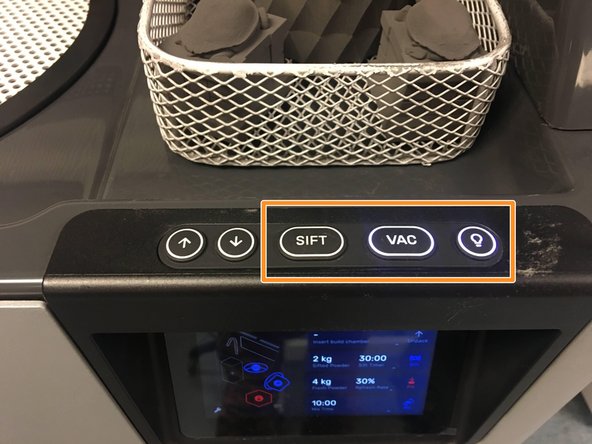
Using the buttons to the right of the Sift (or the touchpad), turn on the "Light" and "Sift" functions
-
The light help illuminate the work pieces while you are cleaning them
-
Turning on the Light will also turn on the filter fan, which is mandatory for powder handling
-
The sift will vibrate the grate, helping separate the parts from the powder cake, and move the excess powder through the grate and fine screen
-
-
-
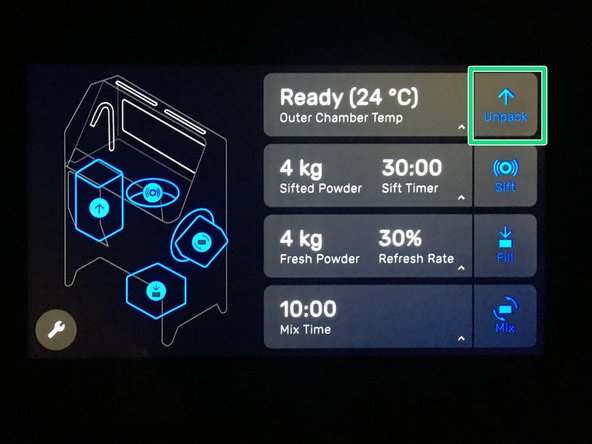
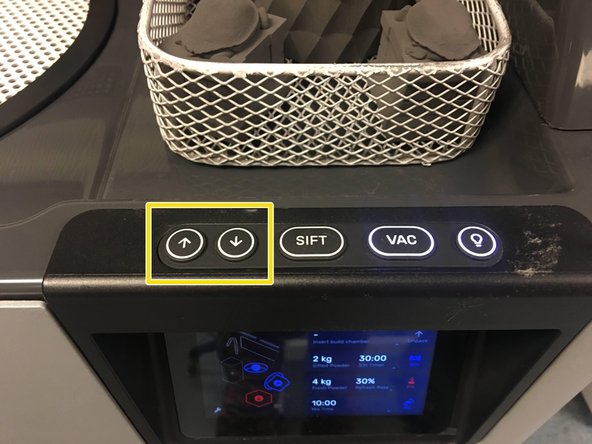
Press the "Unpack" button on the Sift touchpad to lift the powder cake out of the build chamber
-
You may also use the manual Up and Down buttons on the right side of the Sift to unpack the powder cake
-
For tall builds it is mandatory that you use the manual up/down buttons
-
-
-
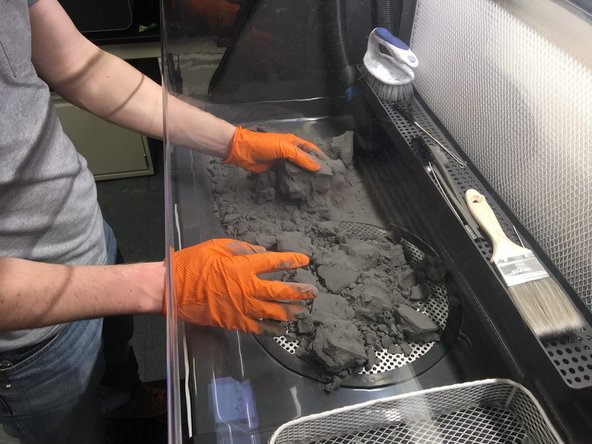
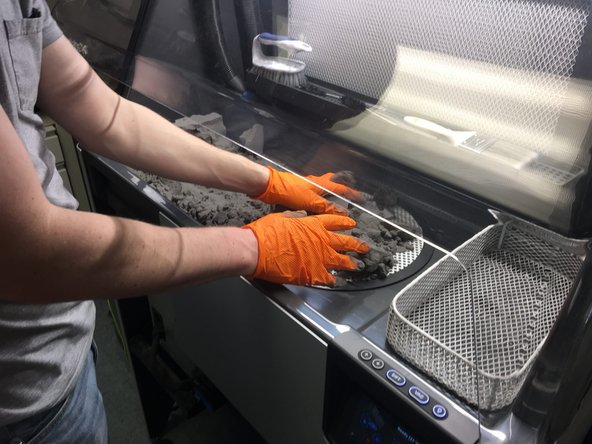
Move the powder cake (or top section if working with a taller cake) to the grate in the center of the work area
-
Push the bulk of the powder cake into the grate. As you uncover parts, place them in the wire tray to the right of the work area. We will clean them better in the next steps.
-
-
-
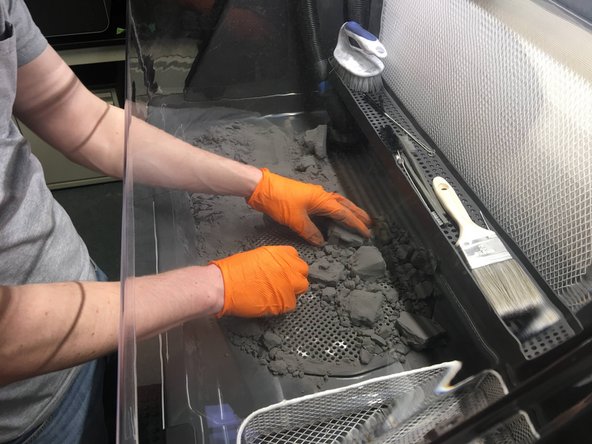
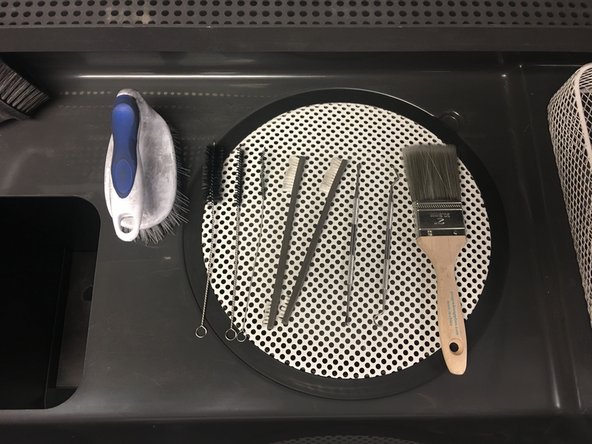
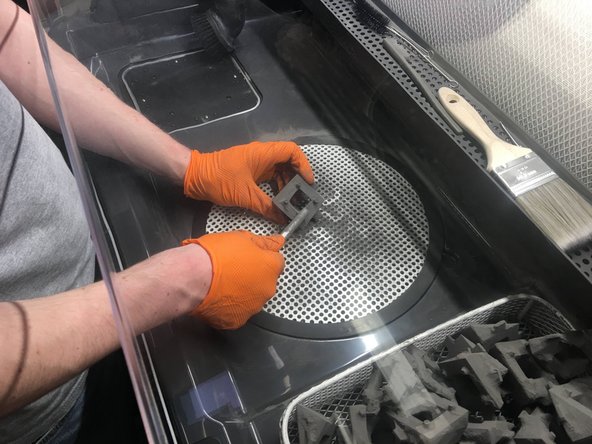
Use brushes, picks, and other tools to clean the powder off of the prints
-
Try lightly tapping the part on the grate to knock powder out of hard to reach areas
-
As you finish cleaning parts, place them in the wire tray to the right of the work area
-
-
-
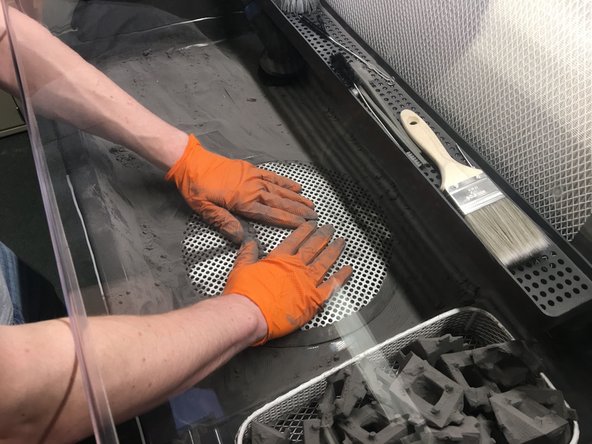
Push the bulk of the remaining powder into the grate
-
-
-
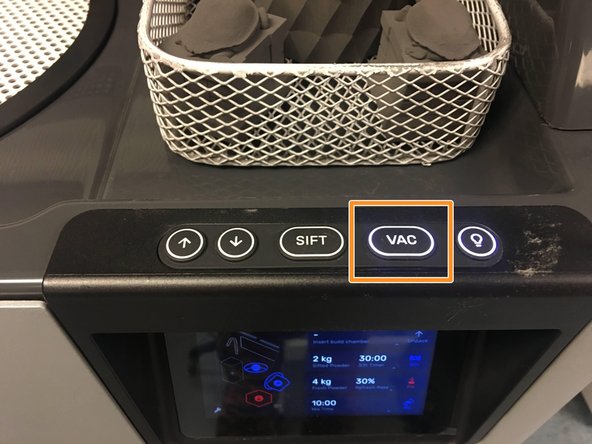
Press the "Vac" button to turn on the vacuum
-
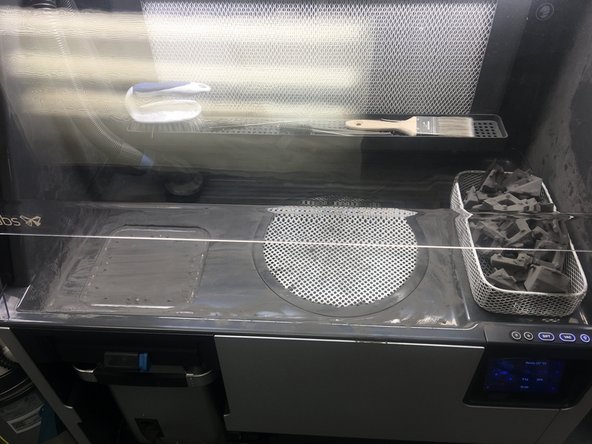
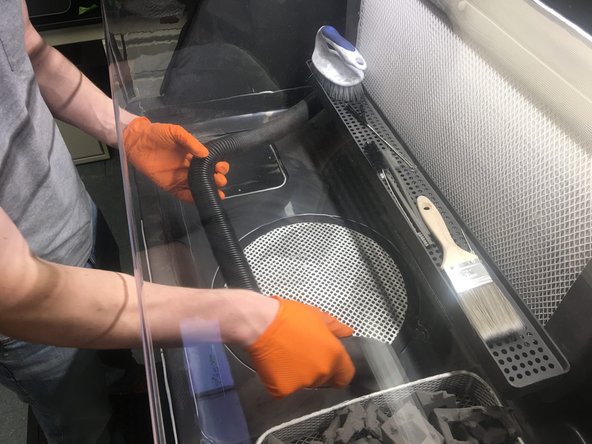
Use the vacuum to clean up any remaining powder left in the work area
-
Use the vacuum to remove residual powder from the surface of the printed parts
-
You may carefully lift the hood to have easier access into the work area, although this is usually unnecessary
-
Lift the grate, and very carefully vacuum the sift screen
-
Press the "Vac" button again to turn the vacuum off
-
-
-
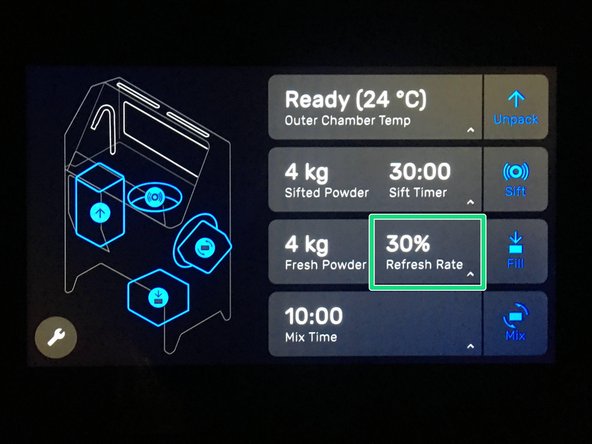
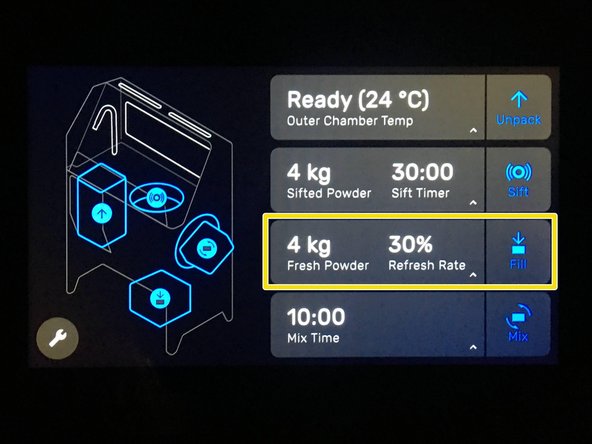
Check that there is enough "Fresh Powder" to mix with the "Sifted Powder" for the desired Refresh Rate (usually 30%)
-
If there is not sufficient fresh powder, proceed to the next step
-
The Refresh Rate is the percentage of the powder that will be Fresh Powder.
-
Ex: If the refresh rate is 30%, for every 0.7 kg of Sifted Powder, the Sift will mix in 0.3 kg of Fresh Powder
-
-
-
If opening a new shipment of fresh powder, ask an LC or SME to swipe the credit card to add the new powder credit to the Fuse
-
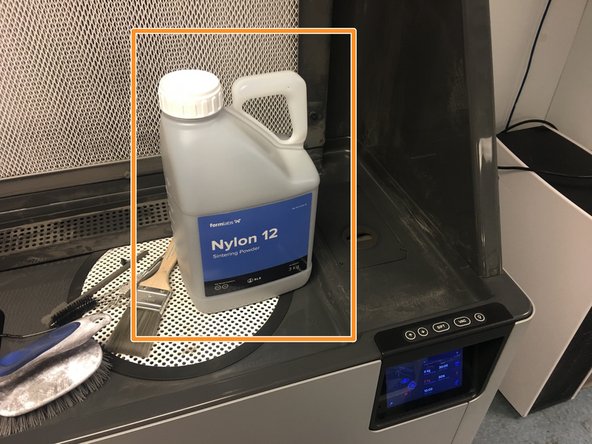
Find a bottle of Nylon 12 Powder
-
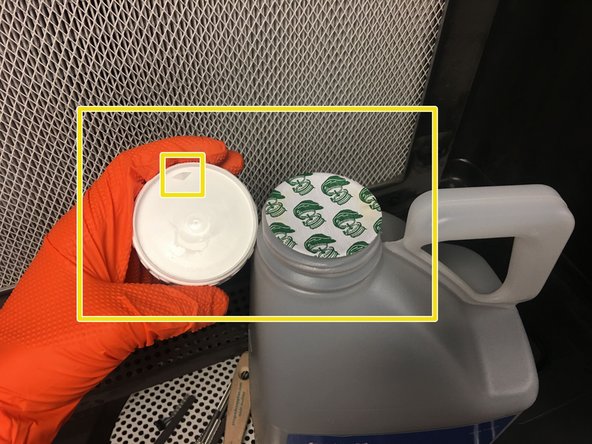
To open the bottle, twist off the cap, and flip it over, using the sharp point to cut off the seal
-
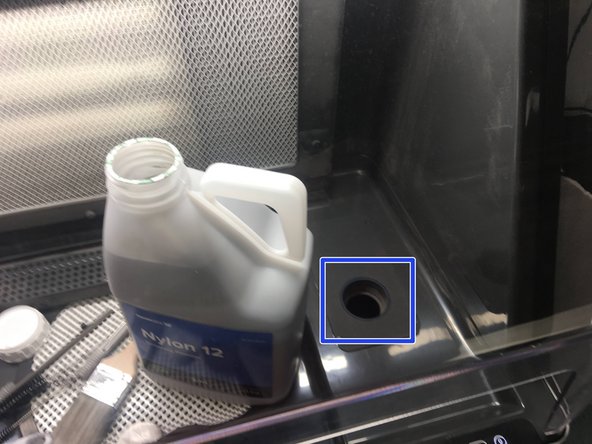
Locate the fresh powder hopper lid to the right of the work area
-
Vacuum off the top of the fresh powder lid and the area around the lid to remove any used powder
-
Open the fresh powder hopper by removing the rubber lid
-
Pour the fresh powder into the hopper. You may stand the bottle up so that the entire spout is contained by the rubber opening
-
-
-
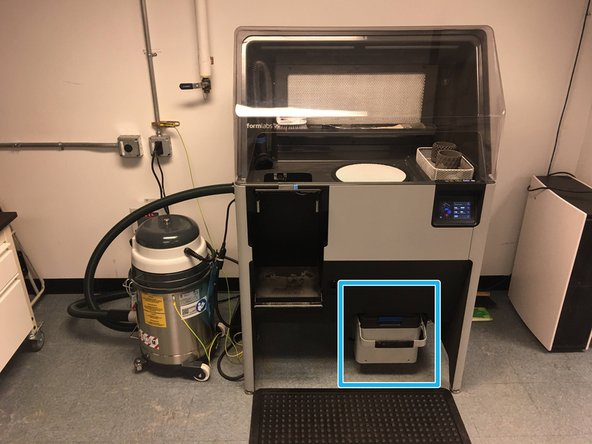
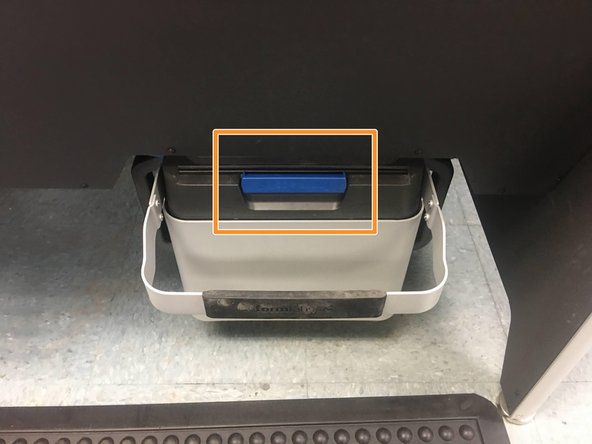
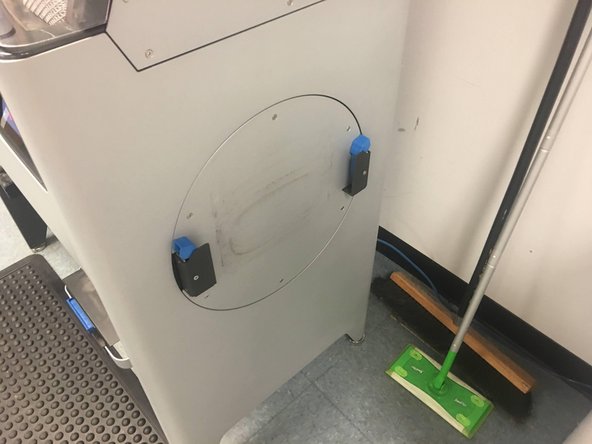
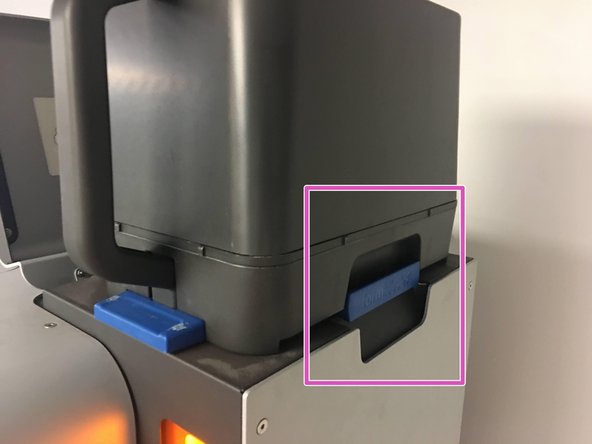
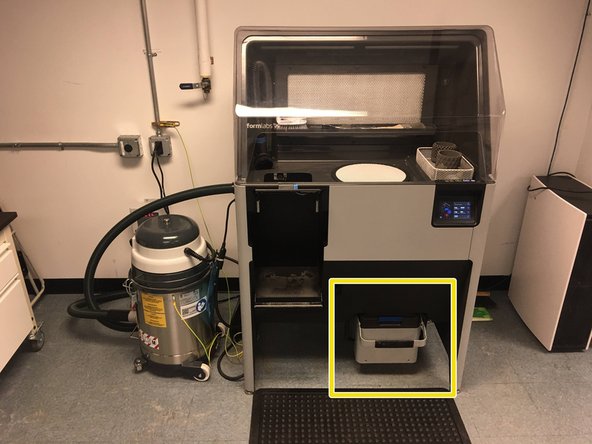
Locate the Powder Bin drawer at the bottom right of the Sift
-
Use the blue handle to open the powder bin completely, but leave the bin drawer completely pushed in under the sift
-
-
-
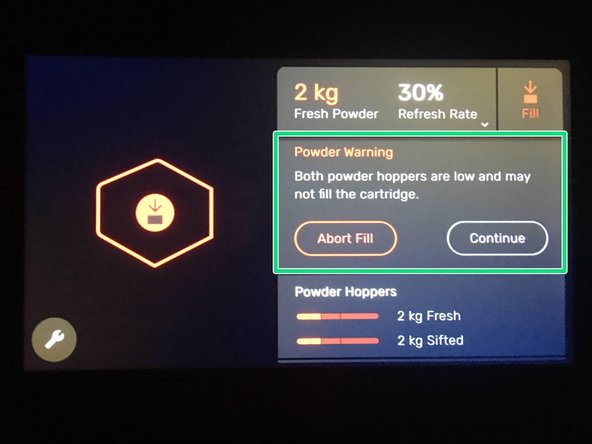
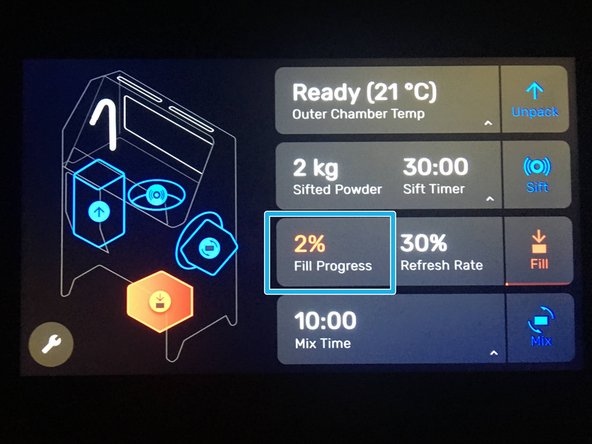
On the Sift touchpad, select "Fill"
-
If the Sift warns you that the powder is low, do not worry, just select "Continue"
-
The Sift may take a few minutes to fill the bin. Be patient. You can view the Fill Progress on the touchpad.
-
-
-
Close the Powder Bin using the blue handle
-
Verify that the Powder Bin is completely closed. If the bin is slightly open, powder may leak out during the next step
-
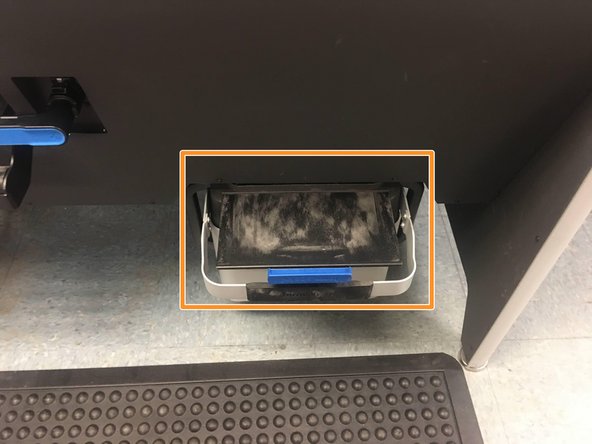
Pull the Powder Bin drawer out
-
-
-
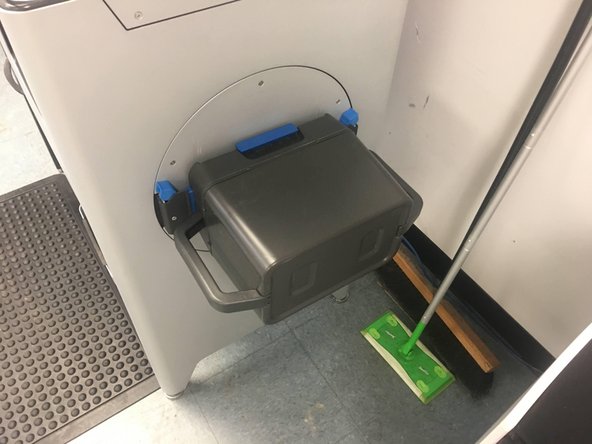
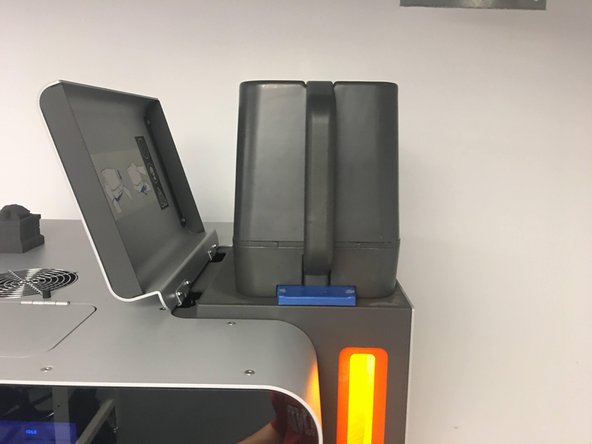
Locate the Powder Bin "mixer" on the right hand side of the Sift
-
Lift the Powder Bin with both hands, and carefully slot the bin into the "mixer" such that the top of the Powder Bin is against the body of the sift
-
-
-
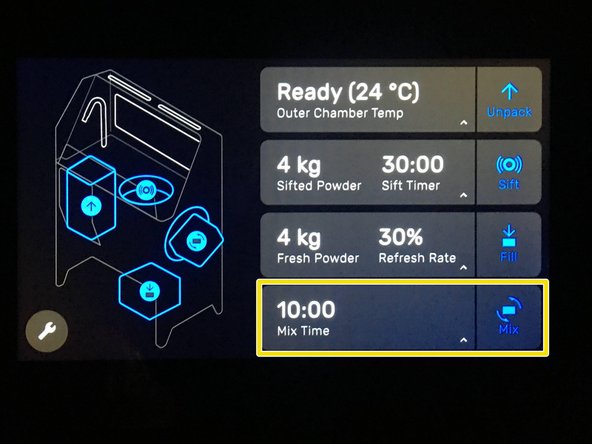
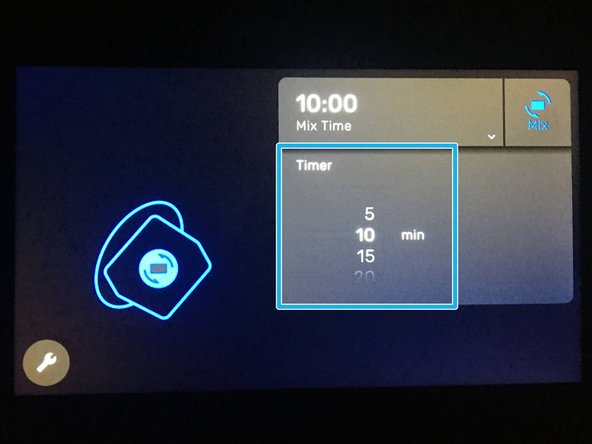
On the Sift touchpad, select "Mix"
-
A 10:00 mix time is good. Select "Mix" again
-
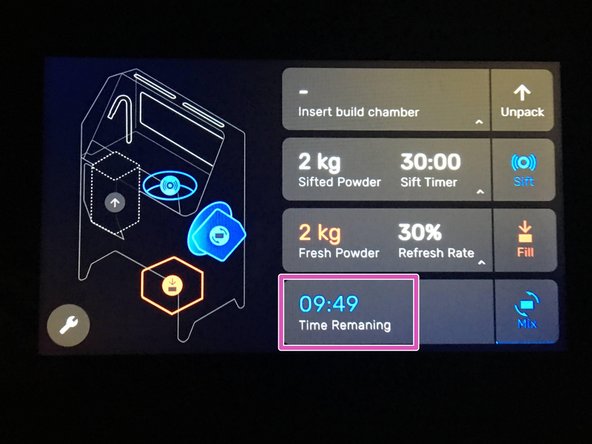
You can view the time remaining on the Sift touchpad
-
The sift will begin spinning the Powder Bin on the right hand side of the Sift. Make sure no powder is leaking from the bin.
-
-
-
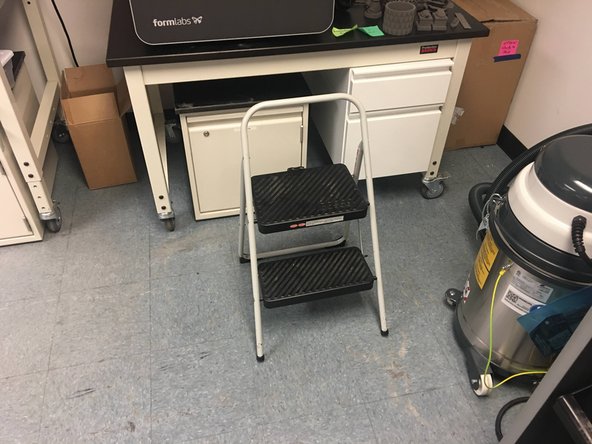
Use the step stool (usually stored to the right of the Fuse) so that you can reach the top of the Fuse
-
Open the hopper lid located at the top right of the Fuse
-
-
-
After the Sift has finished mixing the powder, return to the Powder Bin on the right side of the Sift
-
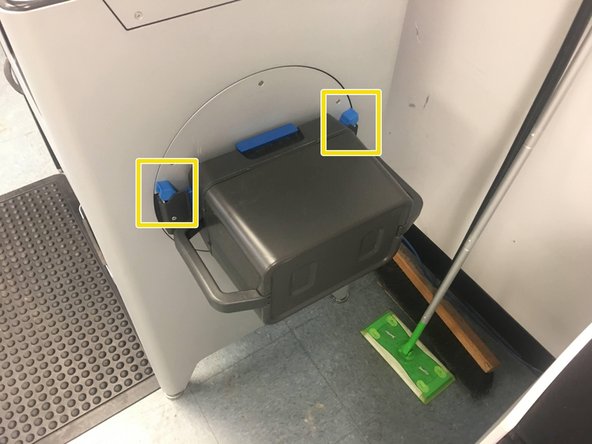
Using two hands, hold the handles of the Powder Bin, and use your thumbs to press the blue latches outwards while lifting the Powder Bin upwards to remove the Bin
-
Transfer the Powder Bin to the Fuse, and place it on the hopper so that the blue handle on the Bin is facing towards the right hand side of the Fuse
-
-
-
Open the Powder Bin by pulling the blue handle to the right, and let the powder fall into the Fuse Hopper
-
After the majority of the powder has fallen into the hopper, you may tap the sides of the Powder Bin, and tilt the Bin very slightly to allow powder trapped in the corners to fall into the Hopper
-
-
-
After the Powder Bin has been emptied, close the Bin securely
-
Using the window on the side of the hopper, verify that the powder has settled
-
It is important that the powder has settled before removing the bin so that a plume of powder does not escape from the hopper when you remove the bin
-
Remove the Powder Bin from the Fuse Hopper, and return it to its drawer on the Sift
-
Close the drawer
-
Close the lid on the Fuse Hopper
-
-
-
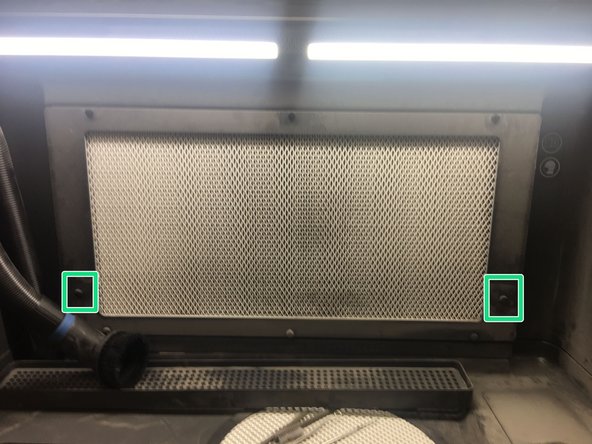
Every 5 prints, the filter on the Sift will need to be cleaned
-
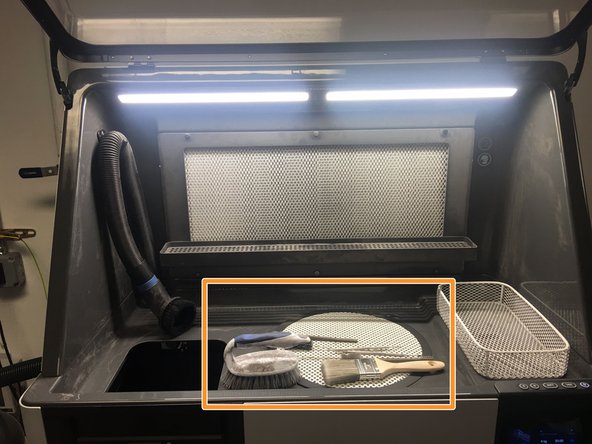
Remove any tools in the tool rack
-
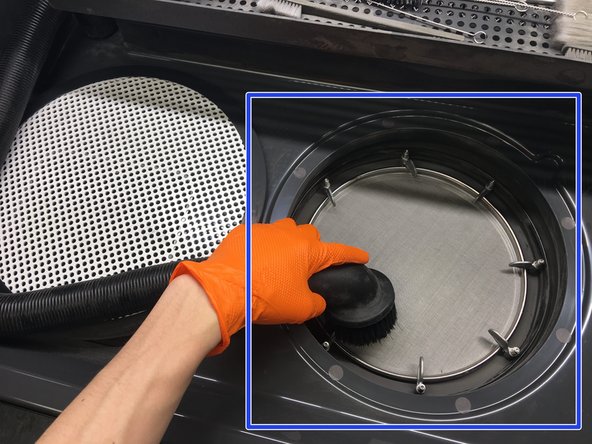
Remove the tool rack by lifting it up off of the screws it rests on. Place it on the work area, in front of the filter
-
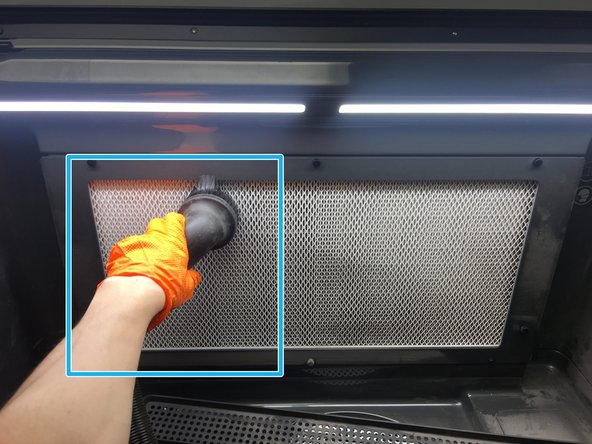
Vacuum the filter screen with the brush attachment until the screen looks clean and no more powder falls off the screen when you move the brush across it
-


Cancel: I did not complete this guide.
3 other people completed this guide.
2 Comments
https://www.youtube.com/watch?v=1cWUZM6H... - video I found useful to follow along with during postprocessing
Connor Brown - Open Reply
Can this be subdivided into different parts? Like maybe we break the sift and the fuse into two different machine guides?
Brandon Charles Hill - Resolved on Release Reply