Introduction
The Tormek T-8 is a fairly straightforward and versatile sharpening system that requires only a tiny bit of practice to master. In this guide, we will explore the general setup and maintenance tasks of the Tormek T-8.
-
-
Do NOT use gloves while using the Tormek T-8.
-
Ear protection is not required to be used as the grindstone rotates at about 90 rpm and is covered in water as it rotates.
-
Please make sure the following:
-
Tied back any loose hair
-
Rolled back any long sleeves
-
Wore closed toed shoes
-
Secured any and all loose and baggy clothing
-
-
-
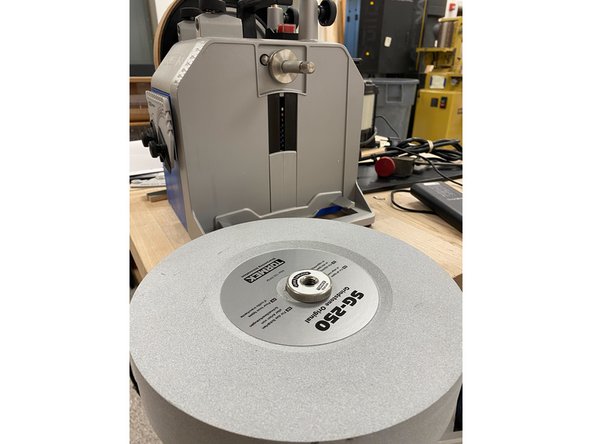
Truing the grindstone restores the surface of the stone and allows for a cleaner sharpening process.
-
Truing should be done for only the stone wheels. The diamond wheels CANNOT be trued.
-
Use the TT-50 located in this bin to true the grindstone.
-
Make sure to take about 60 - 90 seconds total to pass over the grindstone with the diamond cutter head.
-
Then use the SP-650 stone grader to smooth off the edges of the grindstone.
-
Please refer to this video snippet on how to properly true the grindstone.
-
-
-
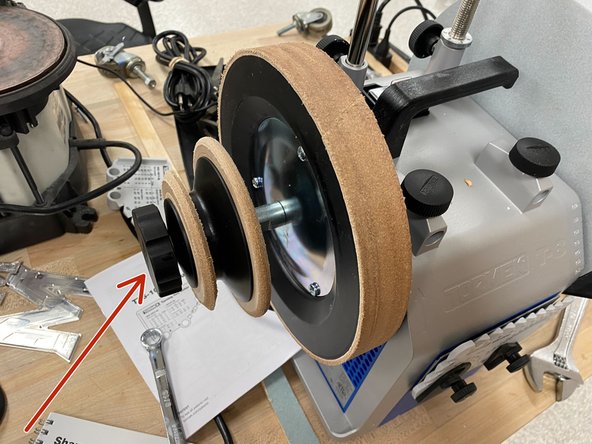
All of the wheels have the capability to come off for maintenance or repair.
-
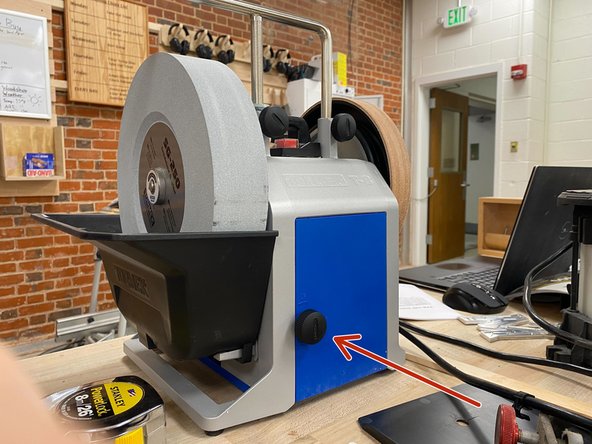
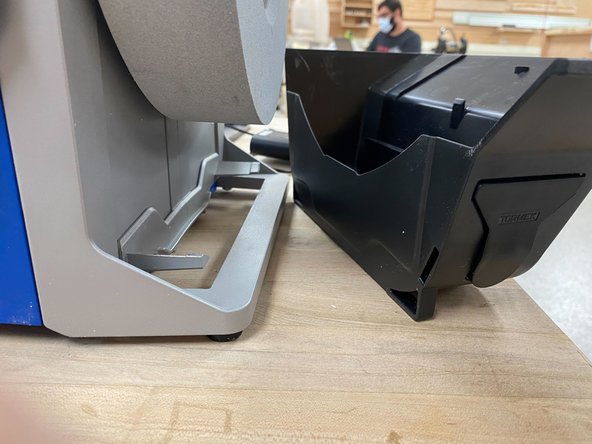
To remove the grindstone, the water trough must first be removed by using the knob on the back of the grinder to lower the trough. Then pull the trough out of the way to allow the grindstone to come free.
-
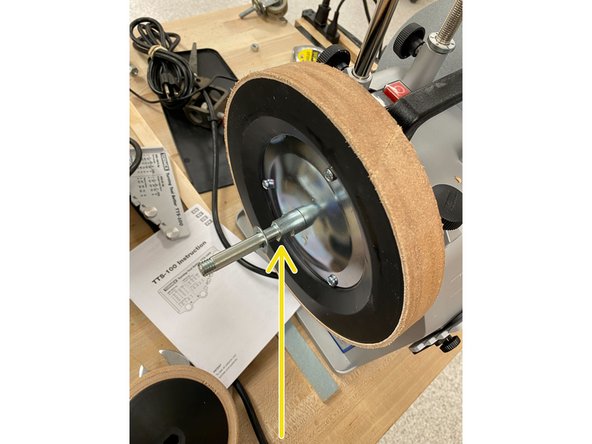
While holding the leather wheel steady, push the grindstone clockwise (against the normal operating motion) and the threaded tension lock should come free. Unscrew the lock and the grindstone will now be free to take off.
-
When raising the water trough for usage, make sure the grindstone is not rubbing against the plastic but is still as high as possible to ensure the stone has adequate cooling.
-
You do not need to torque the locking nut on the grindstone when retightening as it will lock itself during usage. As a result, this part only needed to be finger tightened.
-
-
-
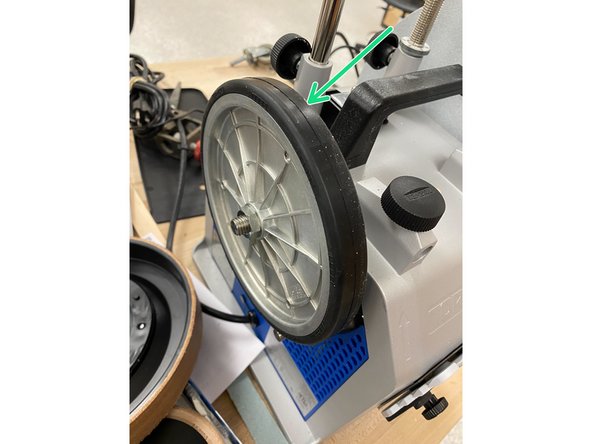
To remove the leather honing wheel, you will need a 9/16th wrench to remove the extended honing wheels used for the inside of the gouge tools.
-
Start by unscrewing the thumb screw and then take off all the removable bits and place them in the same order in the storage bin.
-
Then use the 9/16th wrench to unscrew the extension attachment. Be careful not to lose the washer that goes along with this attachment.
-
Underneath the big honing wheel is the drive wheel. If the machine has been idle for a long time, this component may have a film built up around it. Freshen the rubber surface by holding rough sandpaper for a few seconds on it whilst it is running.
-
Repeat this process once a year or if the friction ring becomes coated with wood dust.
-
To prepare the leather honing wheel for first time use, use 2/3's of the included oil in the white tube on the leather surface. This will allow the honing compound to penetrate the leather wheel properly during use.
-
Then apply a thin string of the honing compound before starting the machine. Rotate the wheel by hand at this point in time.
-
Start the machine and press a tool gently against the wheel. Let the compound penetrate the leather.
-
-
-
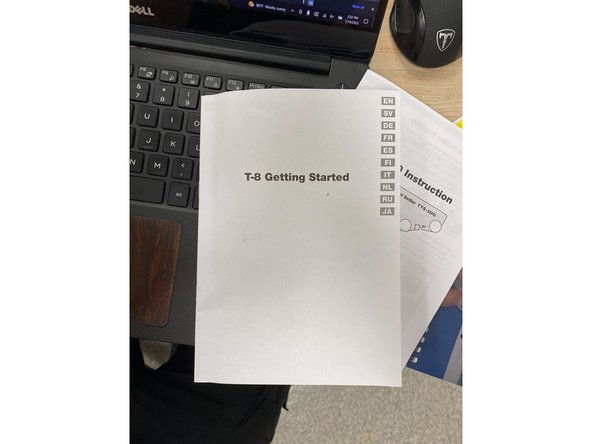
This guide is just a general overview, for more specific instructions, please refer to the "T-8 Getting Started" Booklet for more detailed information on the basic setup.
-
For any other questions, please refer to the other dozuki guides, manuals, and videos located at this link.
-