Introduction
This guide will take you through the process of importing a design into GlowForge, preparing the design for cutting in the GF design space, and starting your cut on the GF.
-
-
To begin, go to app.glowforge.com set up an account with Glowforge. Use your @umd.edu email
-
You need to request permission from the FTE or have someone with an account add you as an additional user
-
To start a cut, click New Design
-
Your old designs will appear in this window as well
-
-
-
Turn on the GlowForge (GF) using the switch located on the back right side of the machine
-
It will begin centering itself and doing some other start up tasks for a few minutes before you can use it.
-
The GF does not need to be on or connected to WiFi to set up designs in the GF web browser
-
-
-
In this window you will actively be able to see the cut bed of the laser cutter using the embedded camera
-
The image updates every time the GF is opened and closed again
-
Here is where you can move, rotate, and scale your design. You may also import additional files to cut on the same project
-
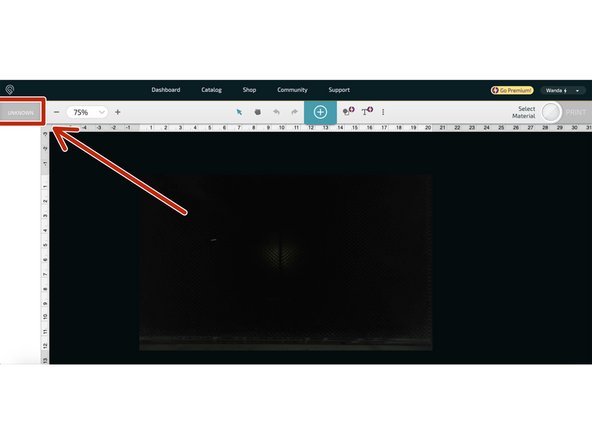
The first step to a cut is selecting a material
-
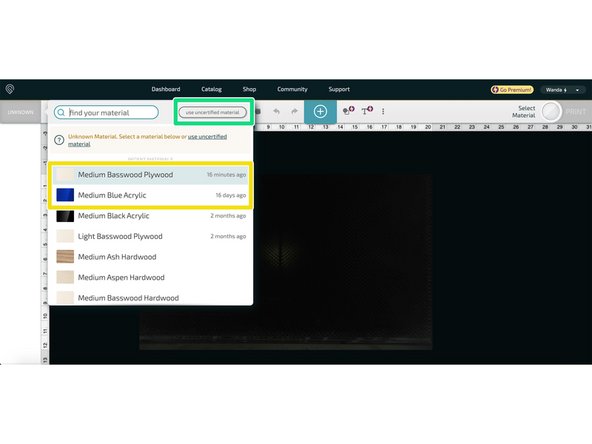
Typically the GF is used for cutting 1/8" wood or acrylic. Medium Basswood Plywood and Medium Blue Acrylic (respectively) work well for this
-
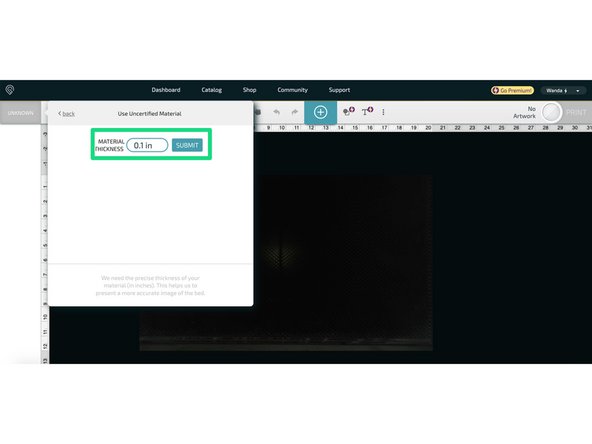
If you need to cut other materials, click use uncertified material and type in the thickness of your material
-
It's important to select the correct thickness because this sets the focus for the laser
-
You will likely see messages about Proof Grade materials. These are materials sold by GF that have pre-set settings. It is not necessary to use these and you can ignore the error messages as long as you use appropriate settings.
-
-
-
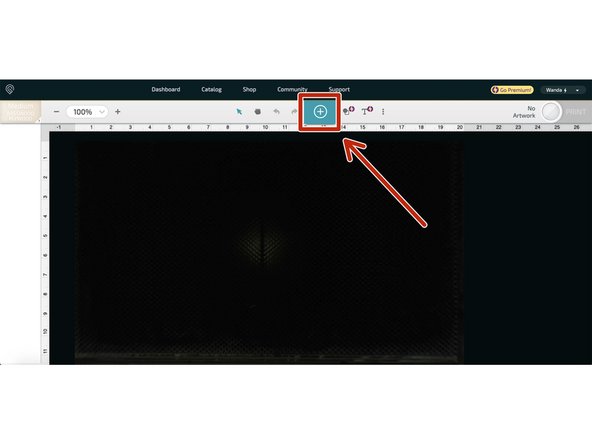
To upload a digital design, begin by clicking the teal plus button at the top of center of the design area and then click upload in the top right of the drop down
-
You can insert, remove, or adjust your stock material in the GF at anytime during file set up. It may be useful to put in your stock after importing your design so you can see where it will be engraved on the stock
-
If your stock is lightweight (e.g. paper) or doesn't lay flat, flatten/secure the stock with magnets in a location where the laser Will Not be cutting or engraving
-
The GF is compatible with JPG, PNG, SVG, PDF files as well a number of other file types
-
There are two categorizes of files: bitmaps and vectors. Bitmaps are pixel files (e.g. JPG, PNG, etc.) whereas vectorized files are lines (e.g. SVG). If you want to cut or score a design, you must use a vectorized file.
-
Once your design is uploaded, you will see the preview on the cut bed and the design will automatically be named with the file name you first imported
-
-
-
One nice feature of the GF is being able to draw a design and scan it using the GF embedded camera
-
To start a scan, draw your design on a clean white sheet of paper with thick sharpie. If the lines are too thin sometimes the GF won't see it. (You can also draw directly on your stock but the GF recognizes black-on-white-designs best).
-
Place your drawing in the center of the GF cut bed (so it doesn't get cropped off on the edges)
-
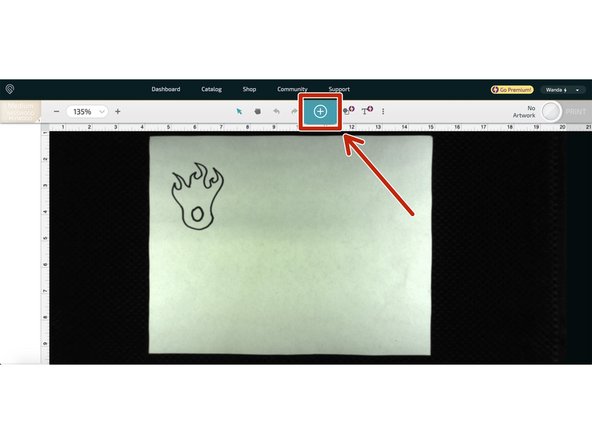
Click the green plus button at the top center of the screen and click Trace in the top right of the drop down menu
-
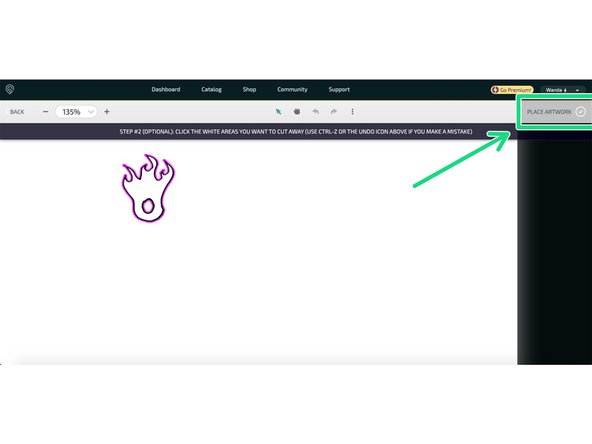
Draw a box around your design and select any areas you want cut away. A pink outline will be drawn around your design.
-
If you have internal features, make sure to select the white space inside the drawing as well. If you only select the space outside, it will only outline the drawing.
-
Once you've outlined everything click Place Artwork in the upper righthand corner. Then a preview of your design will show up on the cut bed.
-
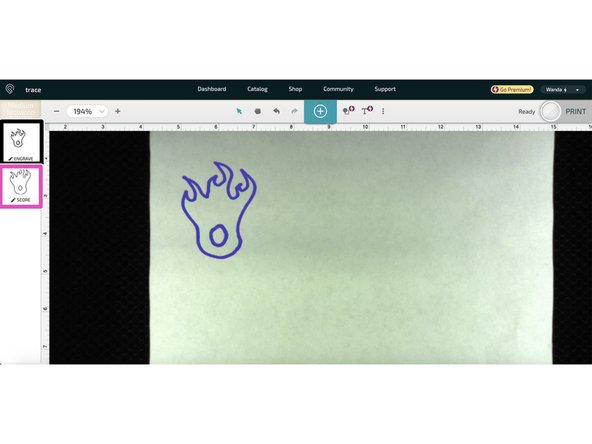
When you import a Trace into GF, it will create a bitmap based on the drawn image (black box), and a vectorized design based on the pink outline (pink box)
-
-
-
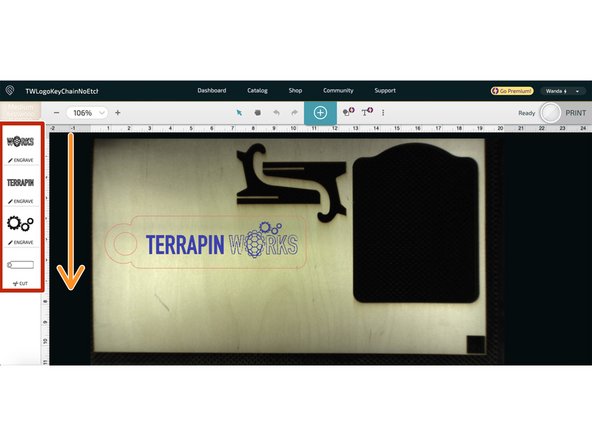
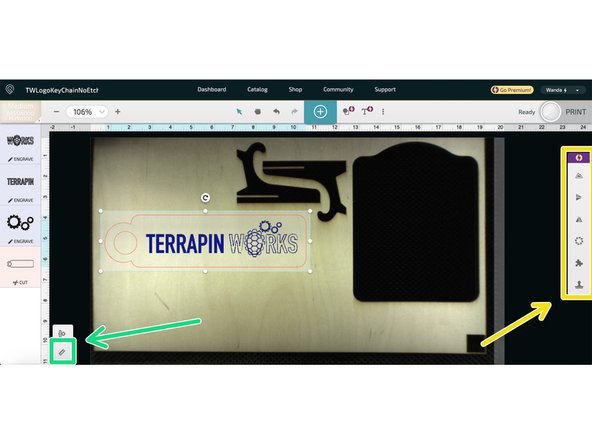
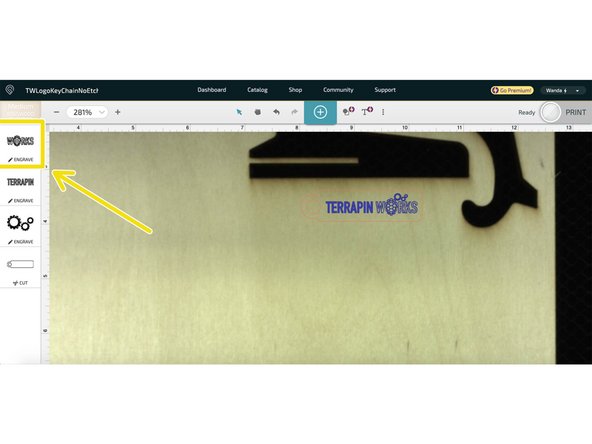
Once your design is uploaded, you will see all the steps of the design on the lefthand of the design space
-
The steps will be executed from top to bottom
-
You can translate your design around the cut bed by clicking and dragging it
-
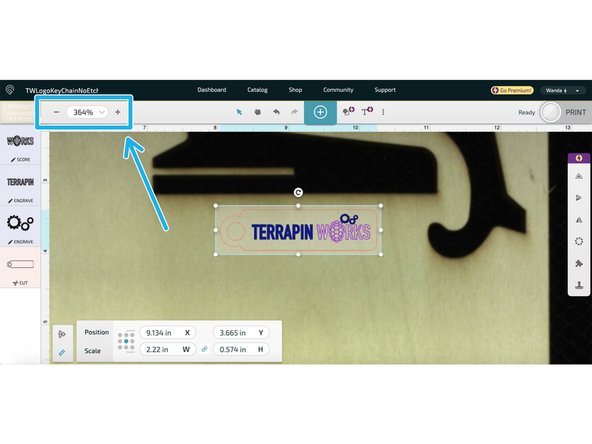
If you want to scale or rotate your design, click on your design and then click on the ruler in the lower left hand corner. You can also use the bounding box to scale your design.
-
There are some additional scaling features available but only GF premium users have access
-
You can zoom in or out of the design area by using a touchpad or the +/- buttons and drop down in the top left
-
-
-
To select the laser settings for a step of your design, select that step on the lefthand side of the design space. Settings must be selected for each step individually. If you want to create a new step you can either upload another file or right click a file in the design space and click copy, and then paste as new step
-
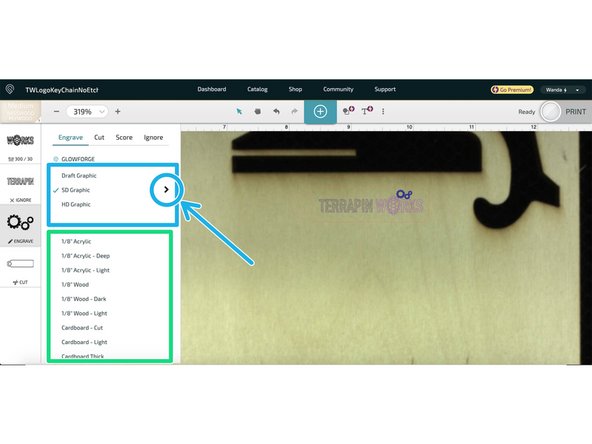
There are four types features you can use: Engrave, Cut, Score, and Ignore. Engraved features will appear dark blue in the preview, cuts will be orange, scores will be pink, and ignored featured will be red
-
Engraving carves into the surface of the stock. This is useful for shapes or text. This is by far the slowest feature.
-
Cuts will go all the way through the stock
-
Scoring is for engraving lines. It's comparable to a low powered cut that doesn't go through the stock.
-
Ignored features will be ignored by the laser cutter. They are useful if you need a reference for sizing or framing different features or steps
-
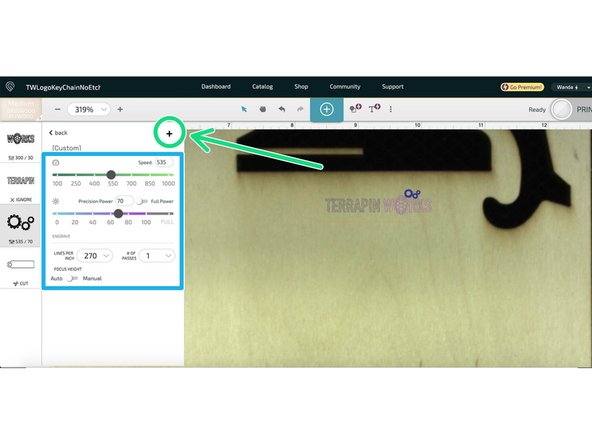
There are a few preset laser settings for each feature. These can be customized, if desired, by clicking the arrow next to the selected setting. A number of custom setting appearances are on display on the board above the GF
-
You can also save your own custom settings as a preset by clicking the plus button it the top right of the custom settings panel and they will appear in the Custom section of the preset settings panel
-
-
-
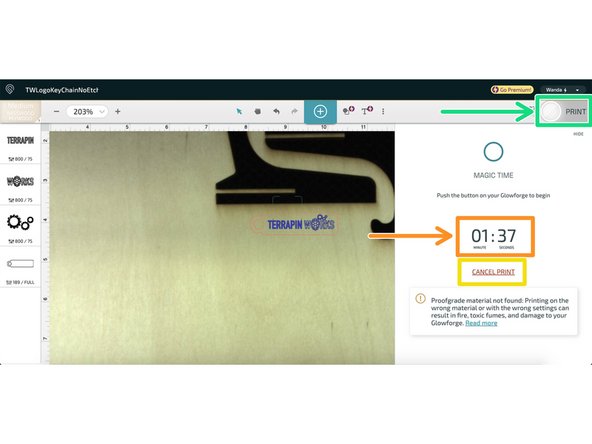
Once your settings are all selected, begin your cut by clicking the Print button in the upper right hand corner of the design area
-
The GF will set up the cut and give you a time estimate
-
If you need to make changes to the cut, you can hit Cancel Print, fix the settings, and hit Print again
-
Once you hit Print, the cut is prepared how it stands at that instant in time. If you make any edits to the design space, they will not be reflected in the cut unless you hit Cancel Print and then Print again.
-
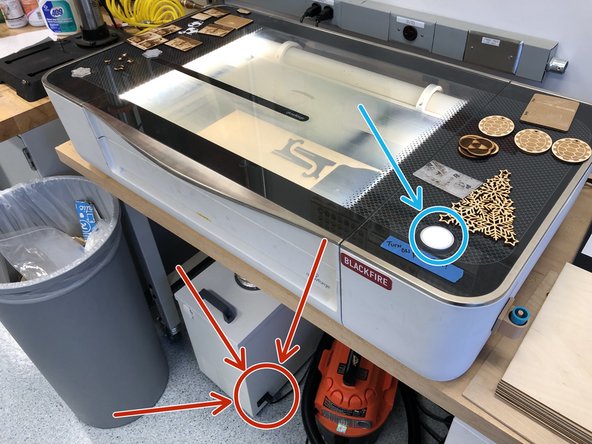
To begin the cut, press the Big Glowing Button on the GF. Once the cut is started you can close the design space.
-
Don't forget to turn on the air filter before starting a cut!
-
You can pause a cut while in progress by pressing Big Glowing Button. To resume, press the Big Glowing Button again. To cancel a cut while in progress, you can press the Cancel Print button in the design space or just open the GF lid (note: the laser will turn off if the lid is opened)
-
Make sure the GF is always monitored while in use!
-
-
-
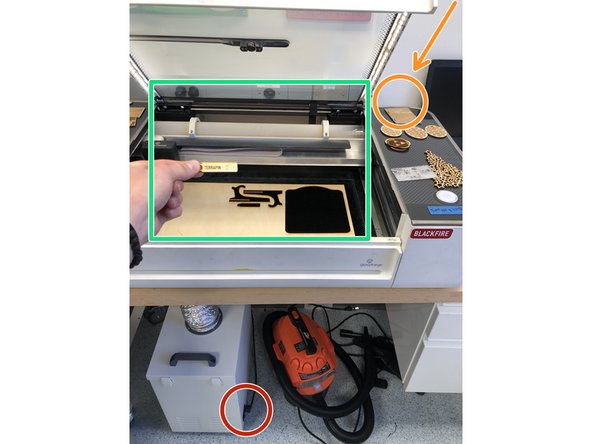
Once your cut finishes, wait ~2 mins to let the air filter remove remaining dust / particles
-
Then turn off the air filter off, open the GF, and remove your cut
-
Turn off the GF if you're done using it
-
If you're doing multiple cuts it's okay to leave the air filter on but Do Not leave the air filter on while the GF lid is open for extended periods of time or if the GF isn't being used again right away
-