-
-
To insert singular parts, select "Add Models"
-
To insert assemblies, select "File", then "Add STLs as Assembly"
-
If you need duplicates, wait until after editing orientation to make copies
-
-
-
After adding STLs, check if there are errors with the files
-
If there are errors, there will be a red exclamation point or an orange warning sign
-
Red exclamation points can be fixed by using "Analysis Mode" and selecting "Repair all Models"
-
In "Analysis Mode" any STLs with errors will be outlined in red and after repair, should all be outlined in green
-
Orange warning signs typically indicate that a file is too small, or it is off the build plate
-
-
-
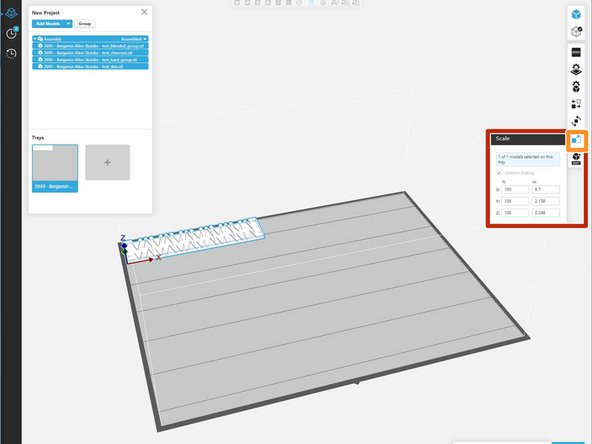
Prior to changing any settings, check the size of the STLs, especially if there is an orange warning sign
-
Make sure to select all components if it is an assembly
-
If dimensions are provided, select the scale option and adjust as necessary
-
If dimensions are not provided, check with the client for dimensions before moving further
-
Often times, you can just change the units from mm to in
-
-
-
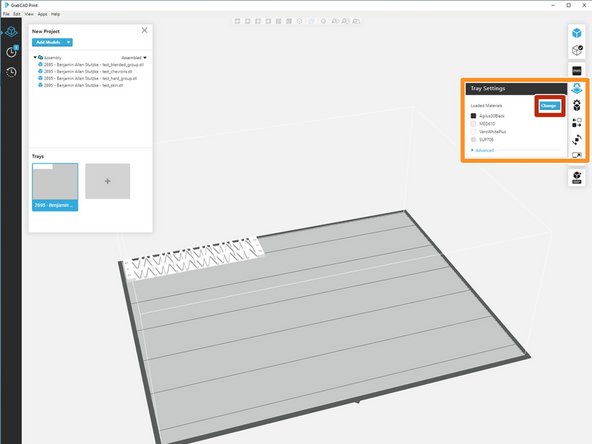
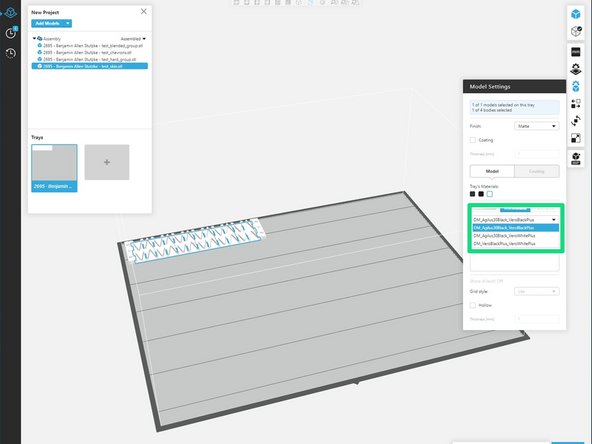
Check the loaded materials to make sure all materials required for the print are loaded
-
If not, select "Change" under "Tray Settings", bringing up the Tray materials Page
-
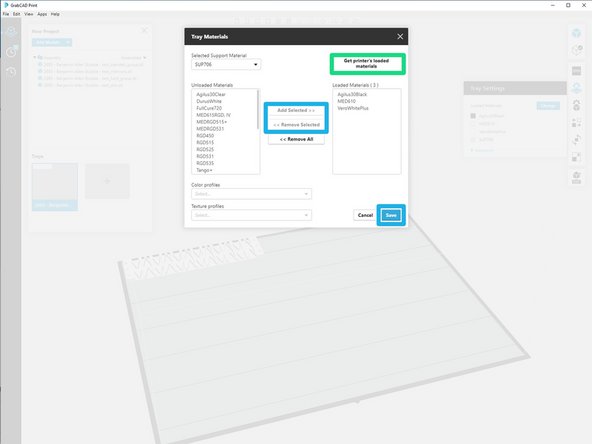
If materials are already loaded on the printer, select "Get printer's loaded materials"
-
If slicing ahead of material change, remove unnecessary materials and add in the necessary materials then save
-
-
-
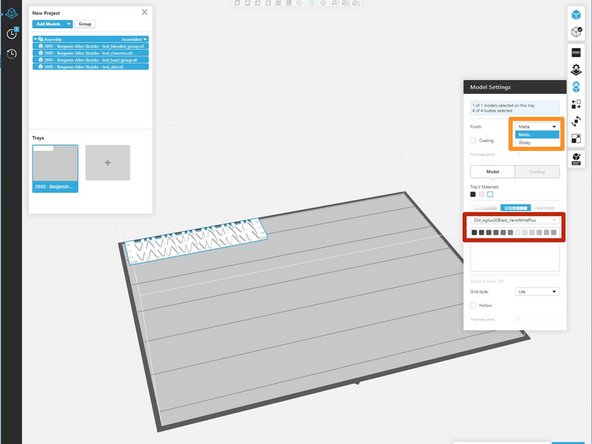
Select part finish of either "Matte" or "Glossy"
-
Glossy allows for the top surface to be free of support material, giving it a smoother surface finish
-
A glossy finish will only happen on the top surface where support material is not needed
-
Matte covers the entire part in support material allowing parts to reach a higher resolution
-
Select the blend that the client requested
-
If 3 mixable materials are loaded, there will be a drop down allowing more combinations to be selected for printing
-
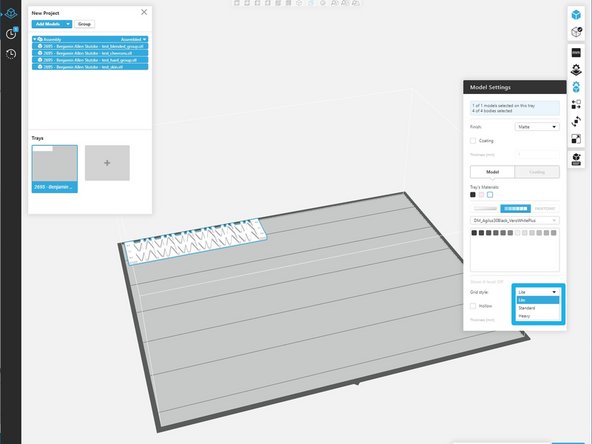
Always adjust the "Grid style" to "Lite"
-
If you select a material with any percentage of Agilus30, GrabCAD will default to "Heavy" style support
-
-
-
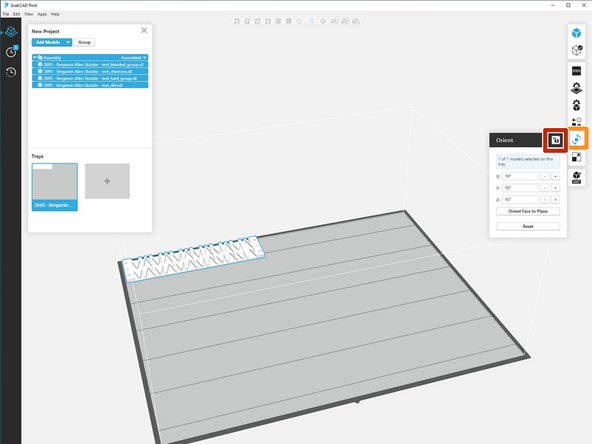
Edit Orientation through "Orient"
-
If a specific orientation is desired, lock the orientation
-
-
-
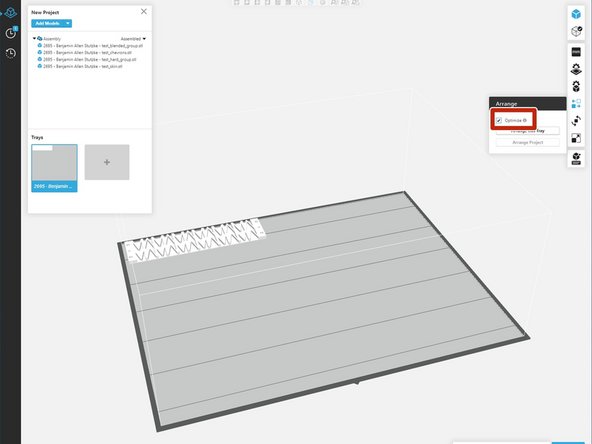
Select "Arrange this Tray"
-
"Arrange this Tray" will not change any orientations but will change location
-
Selecting "Optimize" reduces the amount of time and material needed for the print
-
"Optimize" will change the location and orientation of the parts so that the least amount of material and time is needed
-
-
-
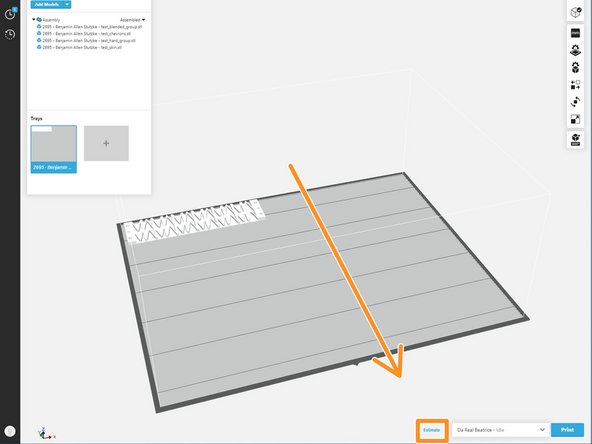
Select "Estimate at the bottom of the slicer
-
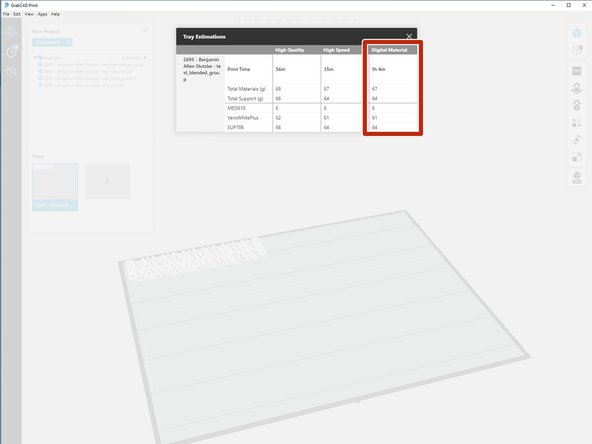
Record the information under "Digital Material" on Papercut
-
If there are multiple materials being used there will only be an estimate for "Digital Material"
-
-
-
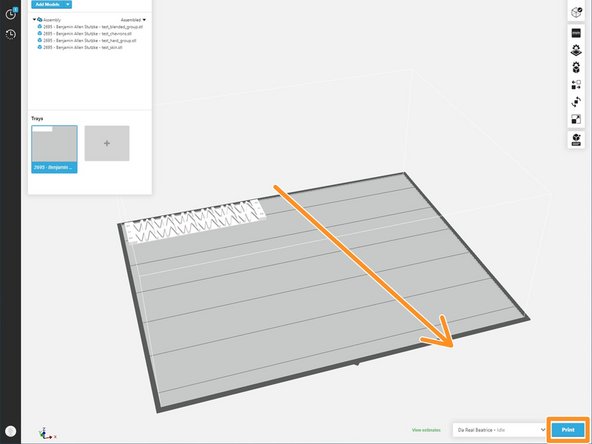
Select "Print"
-
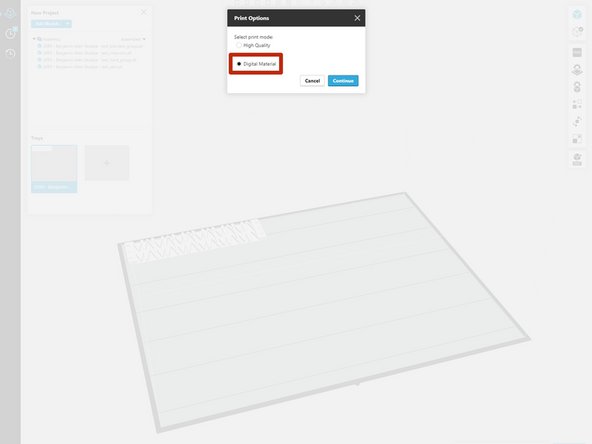
Select "Digital Material" as the print mode
-
Go to the computer next to the Connex and on the UI, hit the red button, turning the Connex online
-