-
-
Once in the Datrons home menu tap on the tool management sub menu
-
-
-
once in the datron's tool management submenu click on the spindle.
-
then tap the three lines in the upper right-hand corner.
-
After tapping the three lines you should see the option to open the collet chuck.
-
Select the option and continue to the next step.
-
-
-
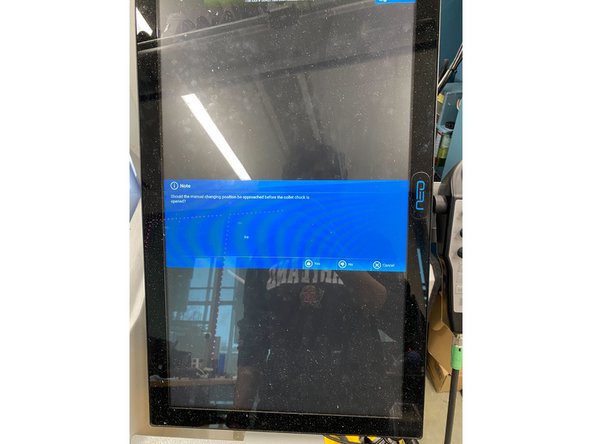
Once selecting the option to open the collet chuck you will be greeted with a prompt asking if you want to move to the manual changing position.
-
Select Yes
-
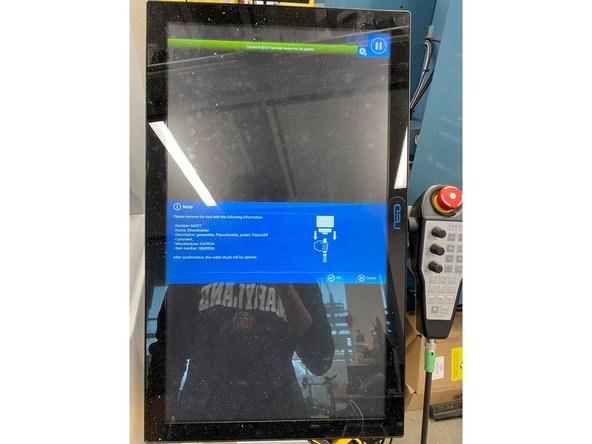
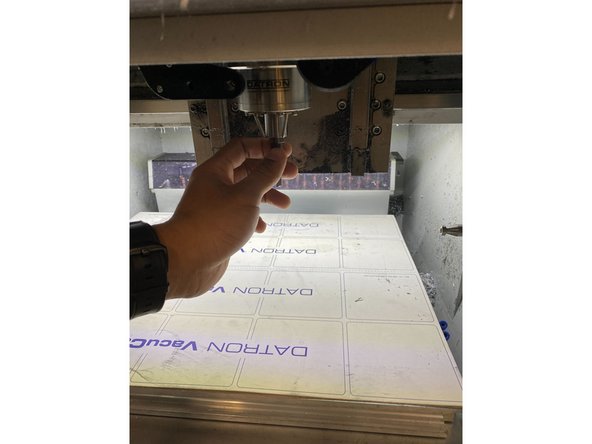
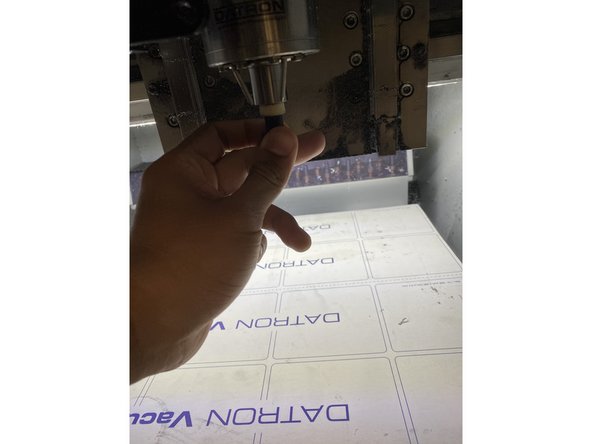
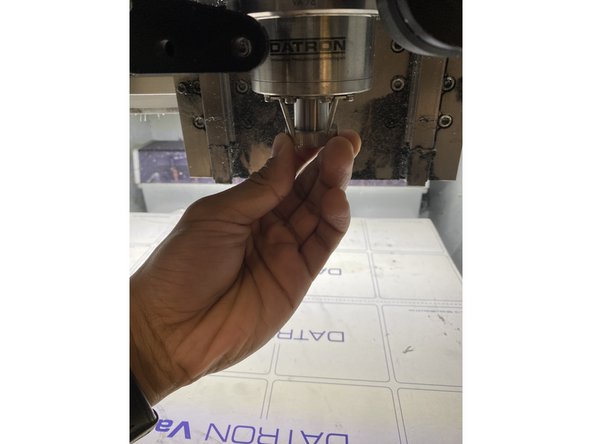
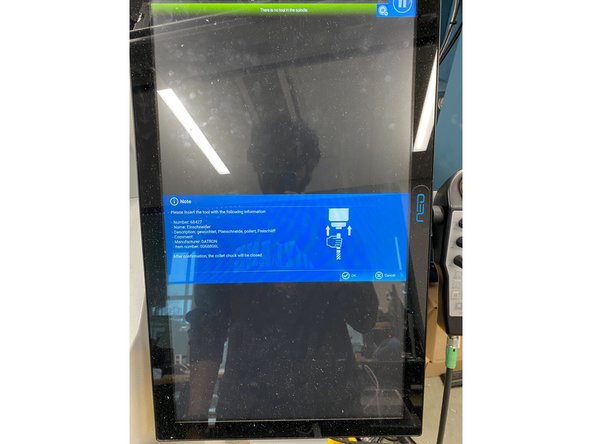
After selecting yes you will be asked to remove the tool. PRIOR to selecting ok, open the door and carefully grab the tool.
-
Once you have a firm hold on the tool, select ok to release the tool from the spindle.
-
-
-
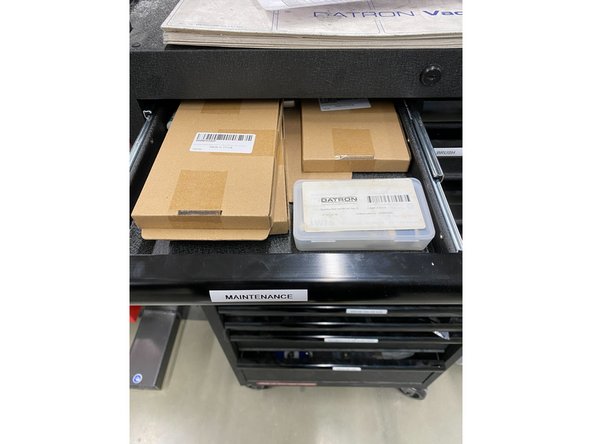
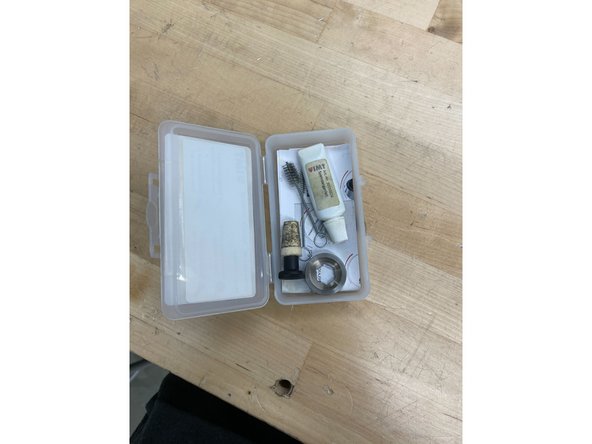
Locate the maintenance kit in the maintenance drawer.
-
Open the kit and locate the circular unscrewing tool
-
place the unscrewing tool onto the collet within the spindle. and loosen the collet.
-
once the collet has been loosened you should be able to unscrew the collet by hand.
-
-
-
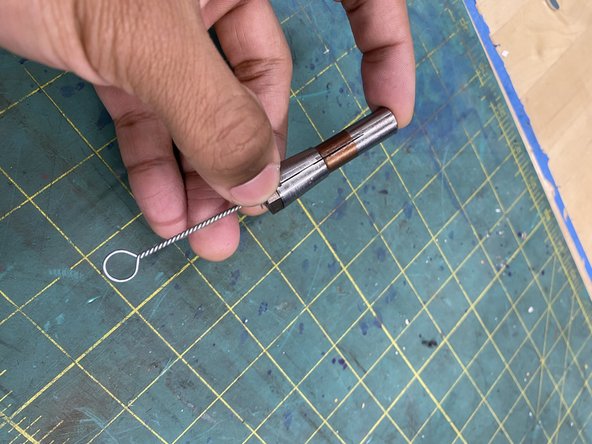
Once the collet has been removed use conically-shaped cleaning felt to clean the inside of the spindle.
-
Using the cleaning brushes clean the collet chuck of any dirt, debris, and caked-on grease.
-
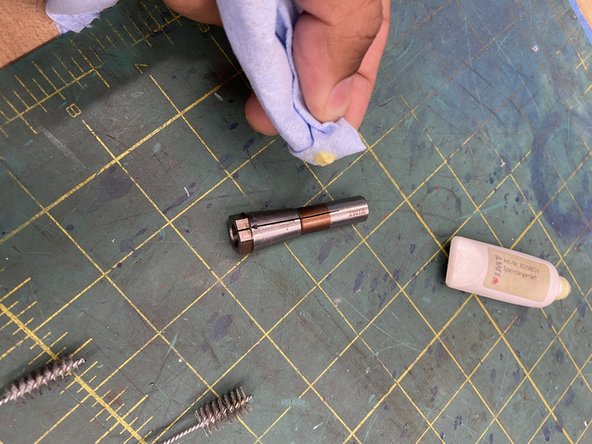
using some type of applicator, sparingly apply grease to the outside of the collet chuck. Be careful when performing this step as grease should not be permitted to enter the slots on the collet chuck
-
-
-
Screw the collet back into the spindle. Be careful to not overtighten the collet, in the spindle.
-
place the tool back in the spindle
-
while holding onto the tool, select ok on the screen. the tool should secure itself after selecting ok.
-
You will be prompted to measure the tool, select yes when this prompt appears
-
This should occur once weekly
-