-
-
Always make sure all proper PPE is worn.
-
Goggles
-
Ear protection (not required, but HIGHLY recommended, especially for longer uses)
-
Gloves should NOT be used around the hand sander.
-
-
-
Make sure all the following:
-
Tied back any loose hair
-
Removed any jewelry from wrists or hands
-
Rolled back any long sleeves
-
Wore closed toed shoes
-
Secured any and all loose and baggy clothing
-
-
-
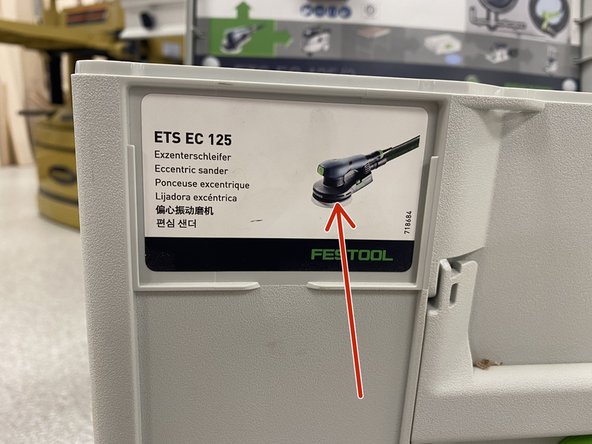
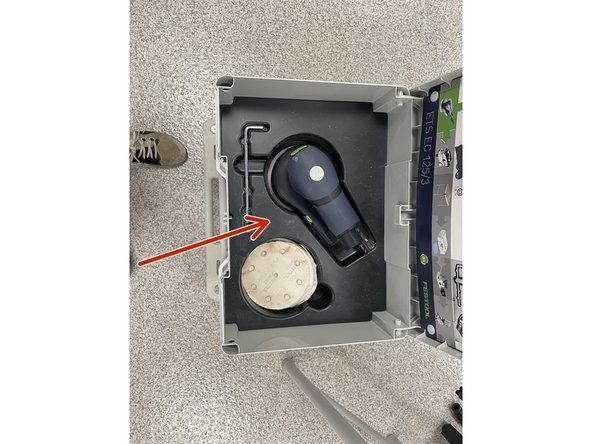
The hand sander is located in one of the FESTOOL branded cases around the woodshop.
-
Find the hand sander by reading the labels on the outside of each case.
-
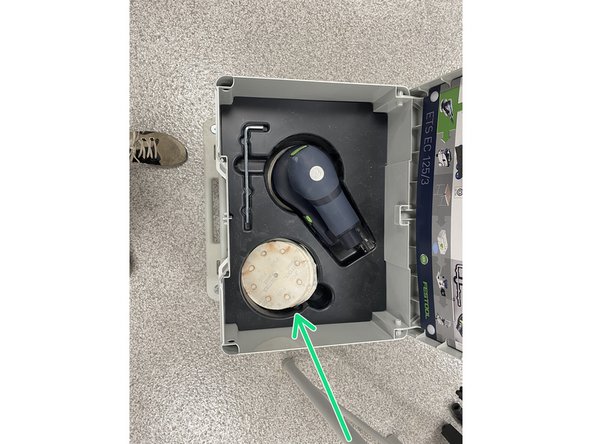
The inside of the case should contain the sander, hex wrench, power cable, and different sandpaper grits.
-
If anything is missing that is integral to using the hand sander please ask a staff member for help.
-
-
-
Before using the hand sander, it is important to pick out the right grit and shape of sand paper.
-
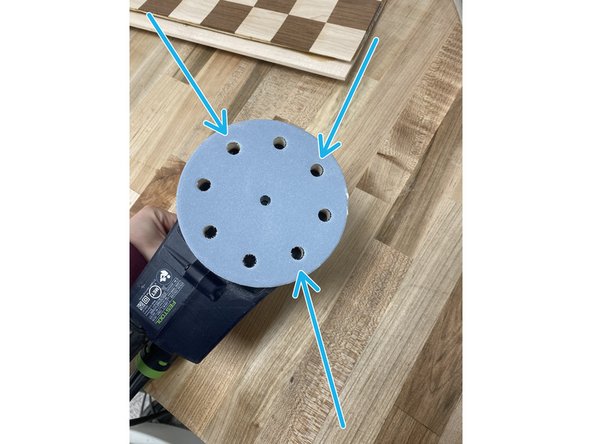
Make sure the sandpaper is the right shape, this hand sander uses the circular shape sandpaper, not the triangular shaped.
-
-
-
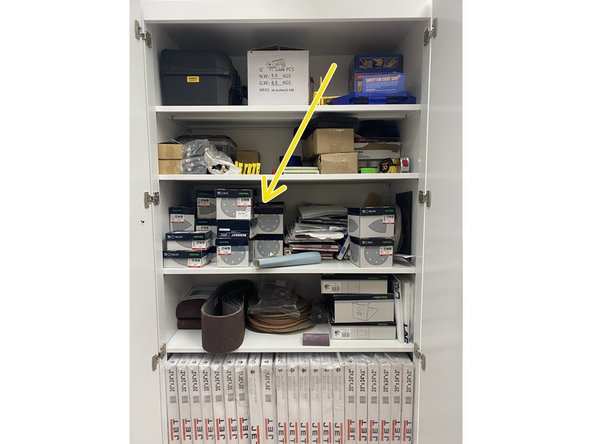
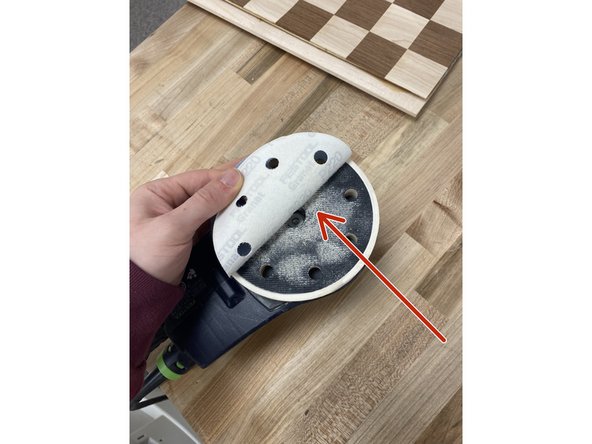
All of the sandpaper sheets for the hand sander have the grit on the underside of the sandpaper. In this case, this is 120 grit sandpaper. The lower the number, the rougher the sandpaper. For rough sanding use around 100-200 grit, while for a more polished surface use 500-600 grit.
-
If you are unsure of the grit you should use, please ask a staff member for assistance.
-
Generally, sanding starts with rougher grits and works its way up to the finer grits to achieve a nice polished glass-like surface.
-
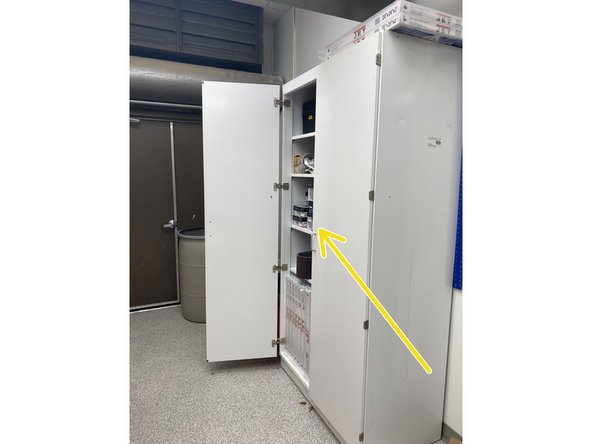
Different grits are available in the cabinet in the back of the woodshop.
-
-
-
All of the sandpaper sheets for the hand sander have Velcro on the backside of them.
-
To change a sheet, peel off the old one, and apply the new one by lining up the holes of the sheet and the sander.
-
These holes are how the sander collects the dust.
-
-
-
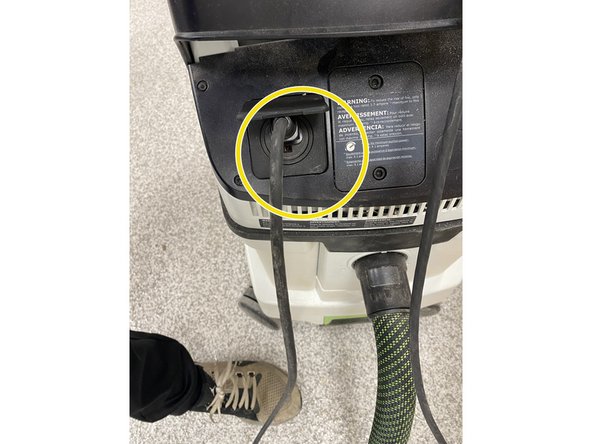
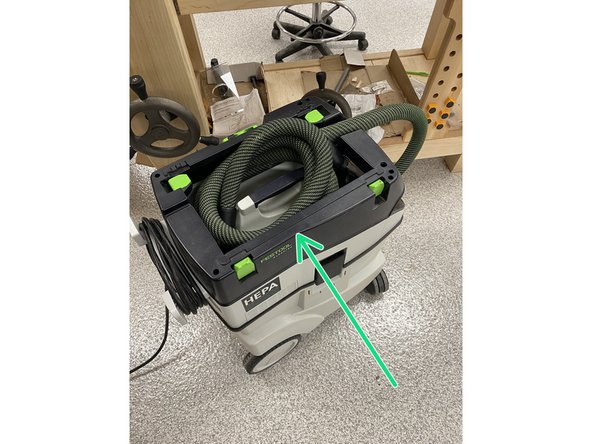
Plug in the power cable to a FESTOOL vacuum and make sure it is set to AUTO mode.
-
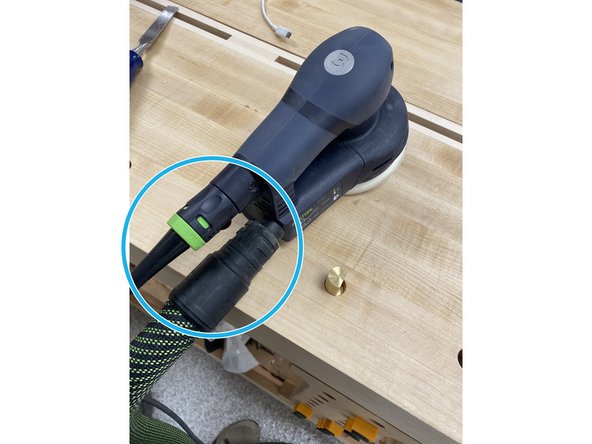
Plug in the power cable and the vacuum hose to the hand sander. The vacuum hose may be difficult to get on, but it should be pushed all the way onto the sander to prevent leakage.
-
-
-
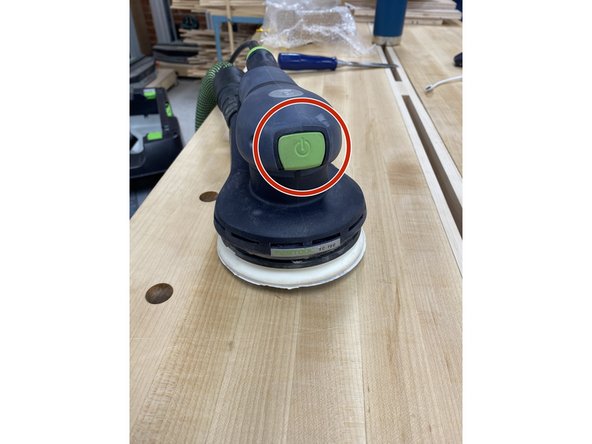
To turn it on, press the green button on the front.
-
Speed is adjusted on the side with the green knob. 6 is generally fine for most applications, but changing the speed can achieve different surface finishes.
-
Lower speeds offer more control over the sander and less aggressive sanding, while higher speeds take off more material and can potentially make the sanding process faster.
-
-
-
Once done with the hand sander, make sure to:
-
Return the hand sander to its proper tool box.
-
Clean any excess dust with the vacuum.
-
Re-coil the vacuum tube for storage and move the vacuum from blocking any walkways.
-