Introduction
This guide explains how to set up the Hexagon Absolute Arm and target object to perform a 3D scan. See the guide Hexagon Absolute Arm: Executing a Scan for more information on performing a scan.
-
-
Turn on the scanner by holding the power button
-
Ensure the ethernet cable is plugged into the arm and the computer
-
-
-
Place the scan object between 15" - 35" from the scanner
-
Placing the object too close or too far will make scanning more challenging
-
The best placement is where you feel that you can point the scanner into most sections of the scanned object
-
You can also use a vice to hold the object. It can help you scan more area per setup
-
-
-
The RDS Control Panel is needed to manage the Absolute Arm's scanner. It is used to check if the computer detects the arm
-
You can access the RDS Control Panel by going to: All programs > RDS > RDS Control Panel
-
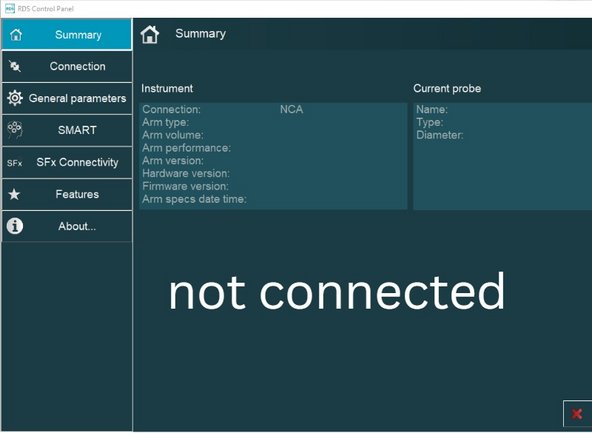
If the RDS Control Panel failed to detect the scanner, the Summary screen has no information
-
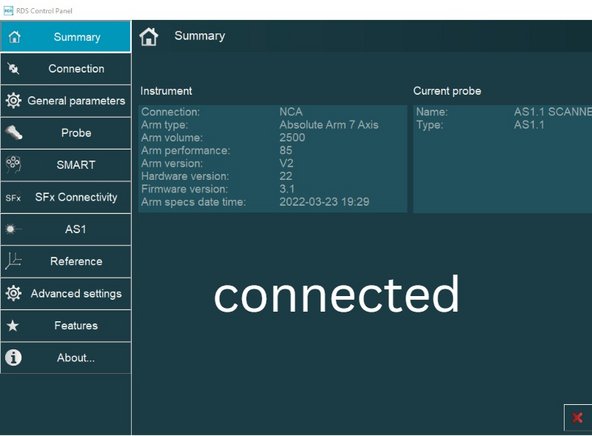
If the RDS Control Panel detects the scanner, the Summary tab will have information about the Romer Absolut Arm
-
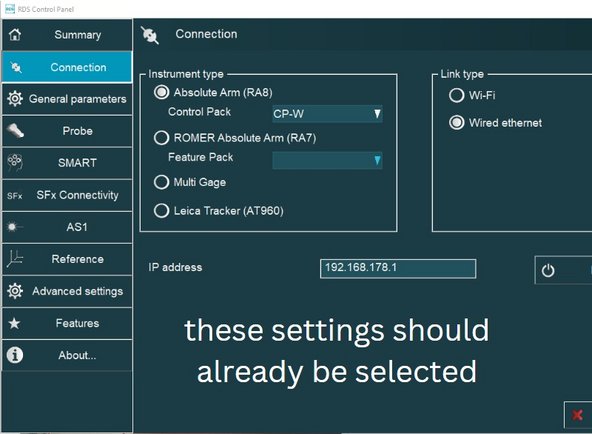
If the scanner is not detected after a few minutes, check that it is turned on and the cables are connected to the computer. If the scanner is still not detected, restart the computer
-
-
-
The Absolute Romer Arm automatically detects and scans any color so it does not require any more setup
-
This means that it will scan the table or any vice used to hold it. That data can be removed in post processing
-