
Introduction
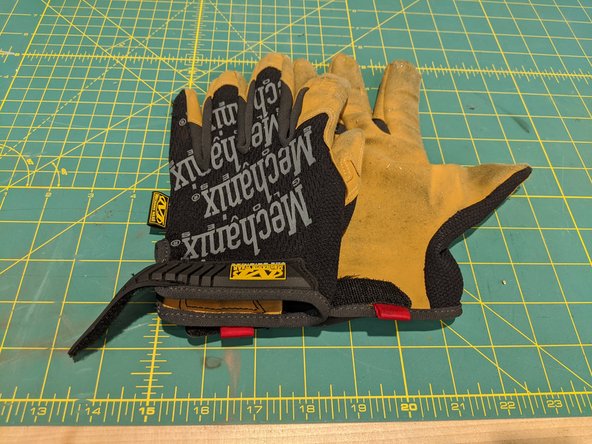
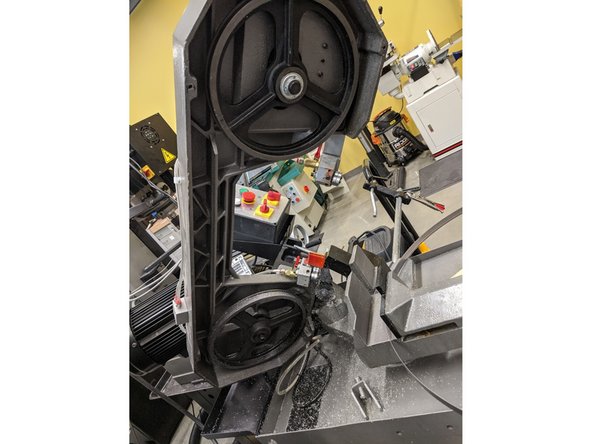
The band saw blade will need to be replaced when it becomes dull or the teeth are missing/worn out. This guide will show you how to replace the blade. Make sure that you use hand gloves when handling the blades!
Parts
-
-
Turn of the band saw completely and make sure its unplugged from the electric socket.
-
-
-
Use the 5 mm hex key and unscrew the 4 hex-bolts holding back cover on the blade (Black colored one).
-
Make sure you are wearing SAFETY GLASSES and HAND GLOVES before beginning the further process.
-
-
-
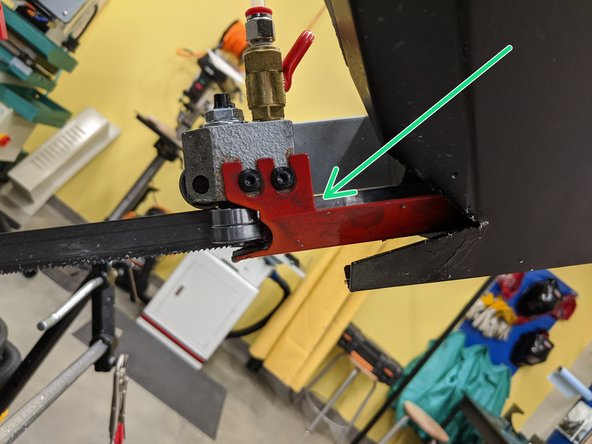
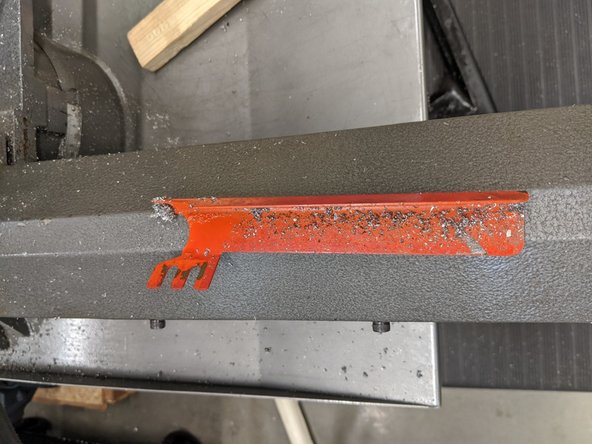
Use the 3 mm hex key to remove the red blade guide located at the lower end of the saw.
-
-
-
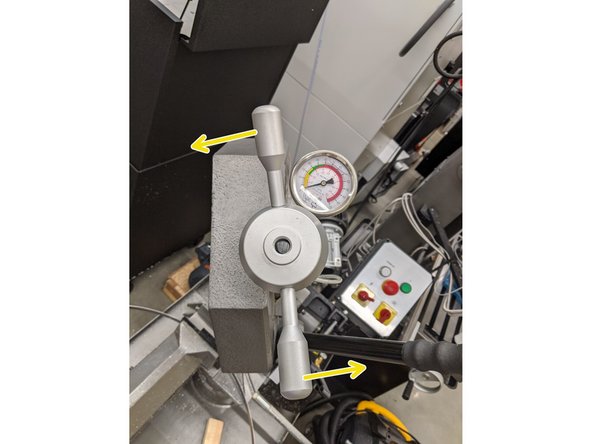
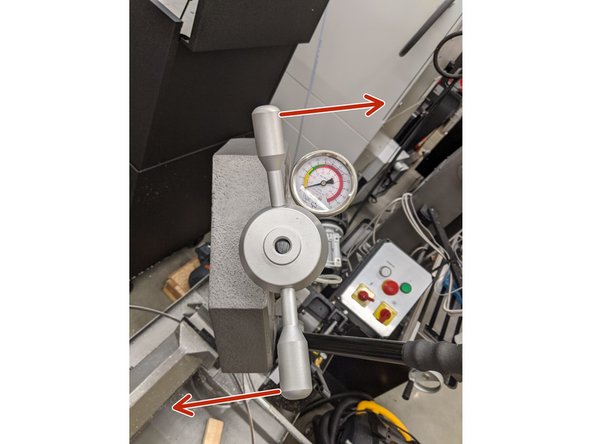
Use the hand wheel to release the tension on the blade by slowly turning it in an anti-clockwise manner until the dial reads 0 kPsi (in the yellow zone)
-
You will notice the blade developing slack as you turn he hand wheel.
-
-
-
Now slowly take off the blade. Make sure you are wearing hand gloves.
-
Be careful while doing so. The blade could pop out instantly.
-
-
-
Cleanup the work table and the blade guides using vacuum or a brush.
-
-
-
Wearing hand gloves, carefully install a new blade keeping in mind the blade direction.
-
Take a piece of wood to lightly hammer the blade to get it into the guide bearings.
-
Apply tension on the blade by twisting the hand wheel clockwise up to about 20-25 kPsi (in the green zone)
-
After installing the new blade, put the old blade in the plastic casing that comes with the new blade or apply duct tape on the old blade and put it in the trash.
-
-
-
Screw in the back cover to the original position, plug the machine in power and turn on the saw on low speed.
-
Look for any misalignment or improper blade movement. If you observe any misalignment, stop the machine and check for errors.
-
Turn on both coolant valves and check for coolant flow.
-
The video shows proper movement of the blade.
-


Cancel: I did not complete this guide.
One other person completed this guide.