Introduction
This guide will teach you the basics of how to make and edit content on the TW website. As there are a plethora of different page types, sections, and components on the website, this guide will not go into detail about them. It would be best to read on-site descriptions for each item to determine what suits your purposes best.
-
-
Append "/login" to the end of the website url
-
Sign in with CAS
-
-
-
-
For editing an existing page:
-
Navigate to the page you want to edit.
-
Click "Edit" or "New Draft" at the top left of the page. This will open an editor for the page.
-
Pages may have pre-defined formats, or be open-ended. Depending on the page type, you will see varying fields available for edit.
-
When finished making changes, be sure to click "Save" all the way at the bottom of the editor.
-
-
-
For creating a new page:
-
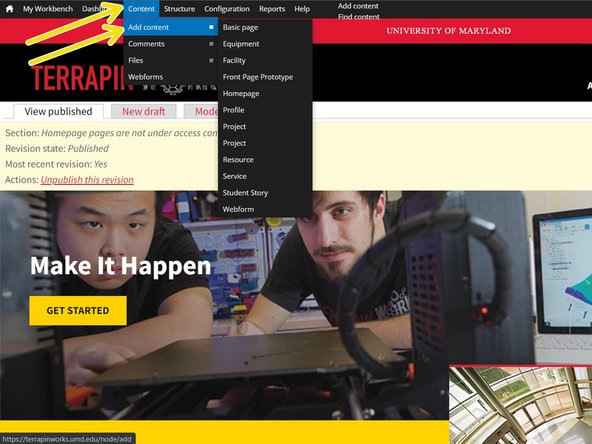
Select "content"->"add content" from the tool bar at the top of the page.
-
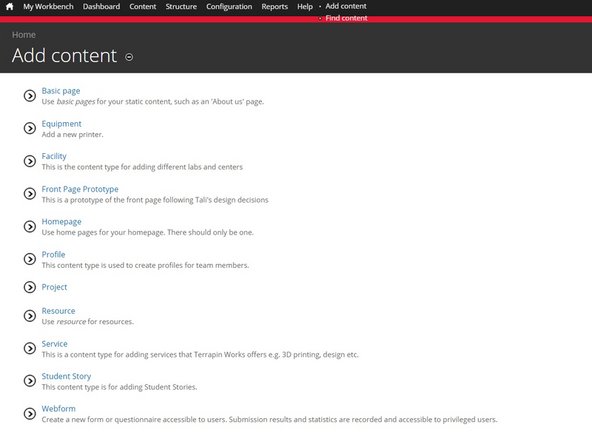
On the "add content" page, select the page type that best suits your goals"
-
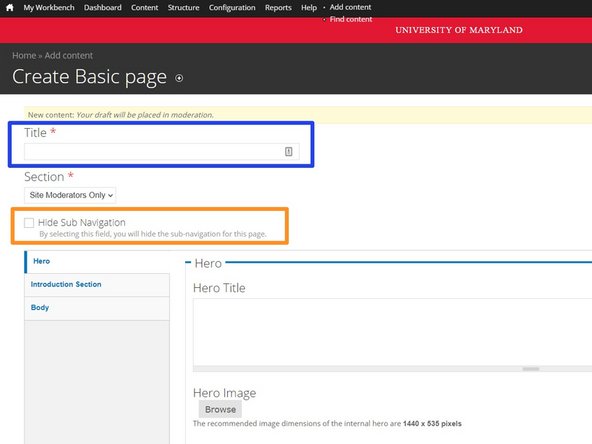
Give the page a title.
-
Select "Hide Sub Navigation"
-
-
-
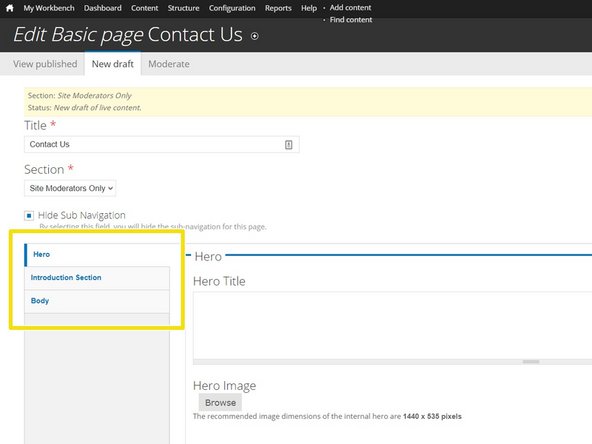
When editing a page of an open-ended format, you will see several sections on the left sidebar (e.g. Hero, Introduction, Body). Most of the editing will take place in the Body.
-
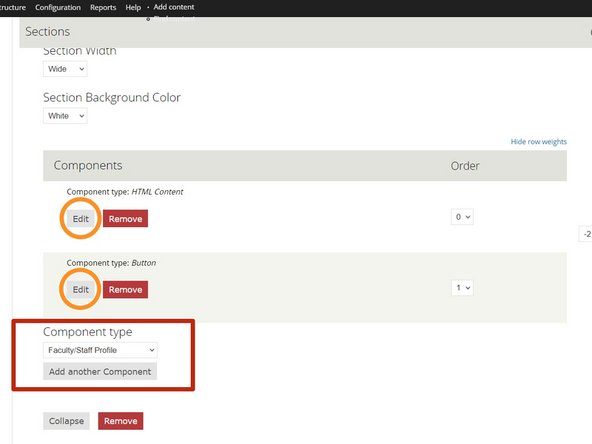
You may see several sections inside the body (or have the option of adding one of many sections). "Kitchen sink" is the generic catch-all section and is likely what you will be using/editing.
-
Click "edit" on the section type. It will contain various components.
-
(or scroll down to the bottom of the section and select a section type, and click "add another section")
-
Click "edit" on a component.
-
(or scroll down to the bottom of the section and select a component type, and click "add another component")
-
Make your desired changes.
-
-
-
When you are done editing, scroll to the bottom and click "save".
-
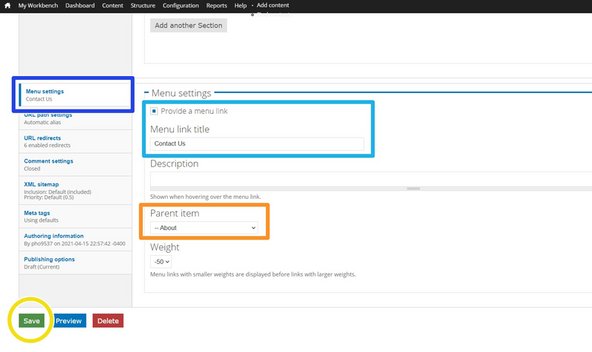
If you need to change or set where this page will appear in the website menus open the "Menu settings" section at the bottom of the page.
-
"Menu Link Title", is how the page will appear in the menu.
-
"Parent Item" is under what category the page will appear.
-
-
-
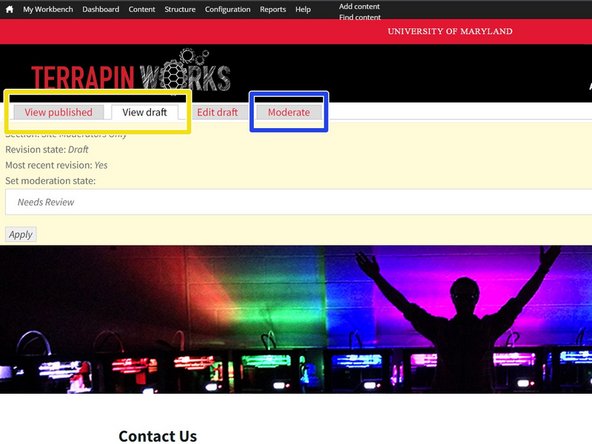
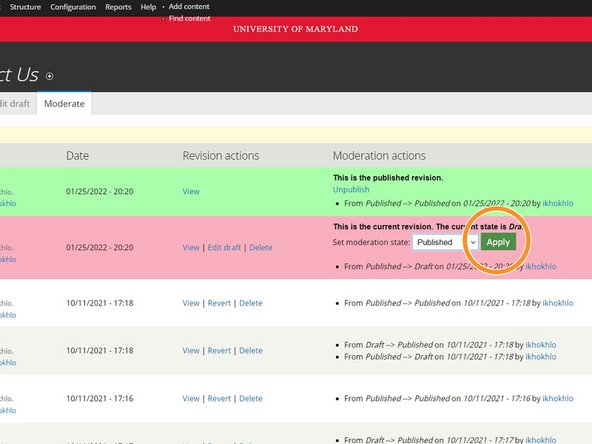
If, after clicking save, you see both a "View Published" and a "View Draft" section, you will need to publish the draft for it to go live on the site.
-
Click "Moderate"
-
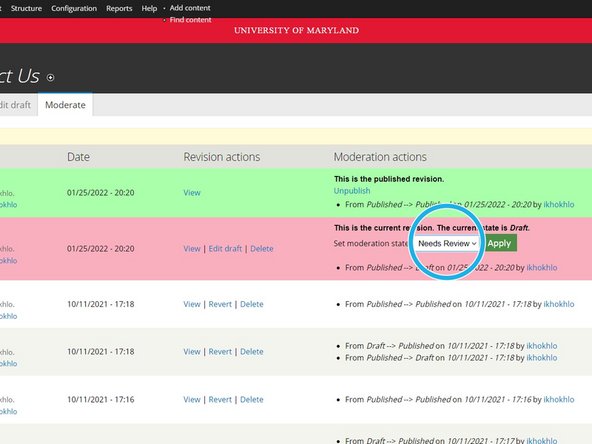
Change "Needs Review" to "Published"
-
Click "Apply"
-
The updated page will now be live.
-
Pages that say "edit" will not require this set of steps to go live, they will publish as soon as you click "save". I.e. this applies only to pages where you had to click on "New Draft" to access the editor.
-


