-
-
Make sure to complete the LM Daily Responsibilities upon entering/using/leaving the space.
-
-
-
-
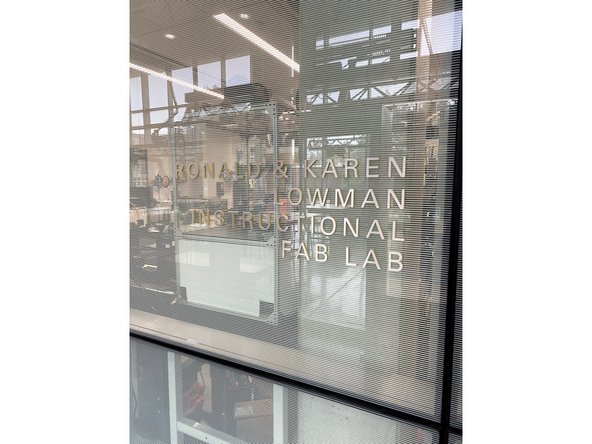
Welcome to the IFL!
-
Before we begin the training, please review the space use policy located next to the door.
-
-
-
In the IFL we have two first aid its.
-
The first kit is located just inside the main door of the IFL to the right
-
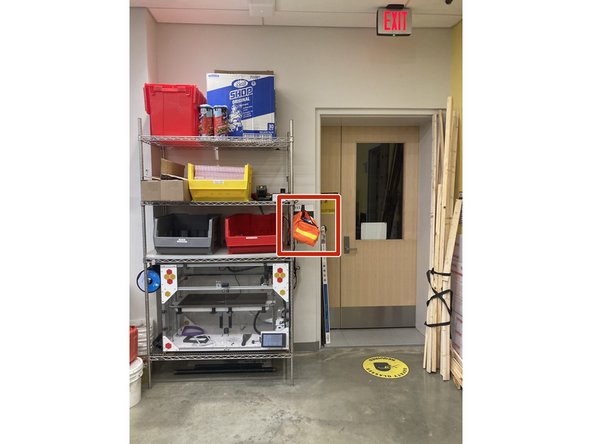
The second kit is located on the wire rack on the back in the back of the lab
-
-
-
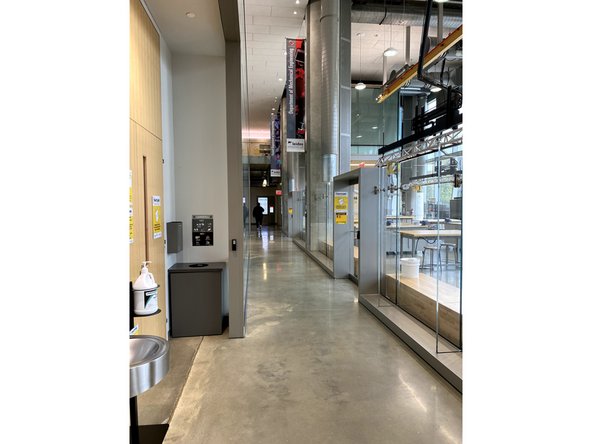
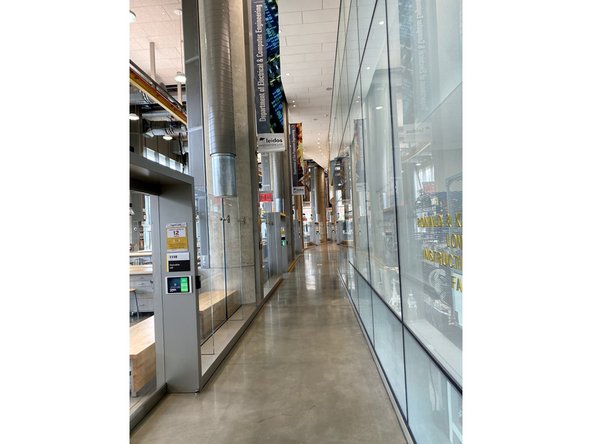
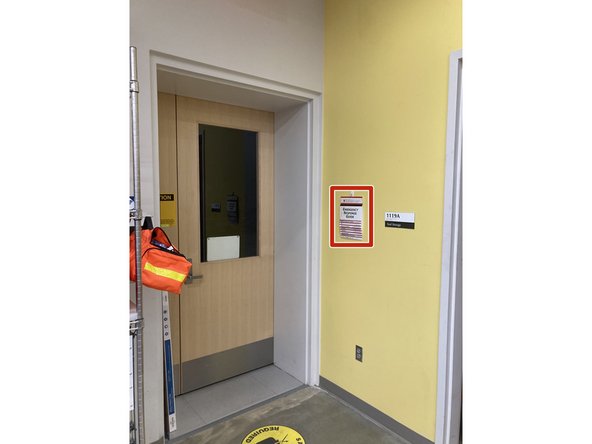
In an emergency, leave out the main entrance of the lab and head either right or left, following the illuminated exit signs, and head out of the building.
-
-
-
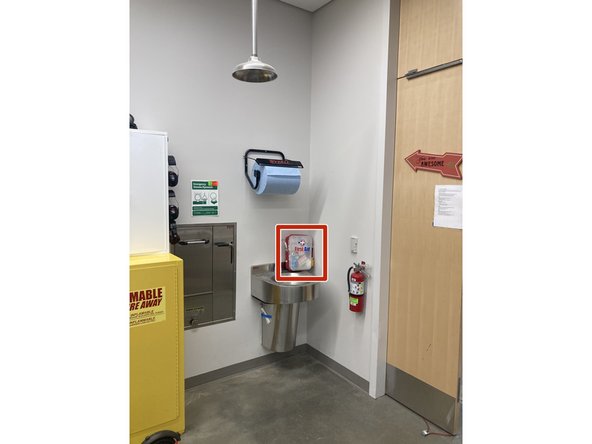
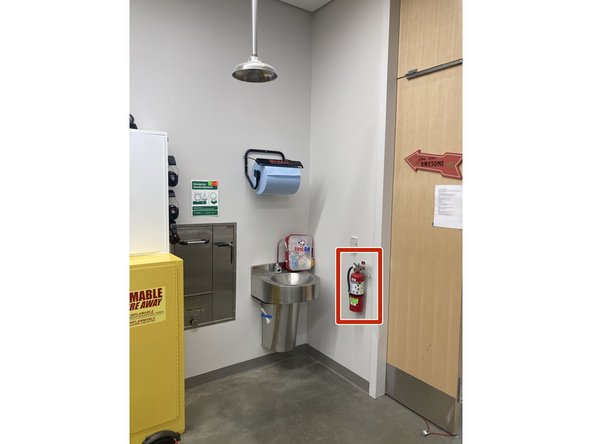
There is a fire extinguisher right inside the main entrance of the lab to the right.
-
It is right next to the first aid kit.
-
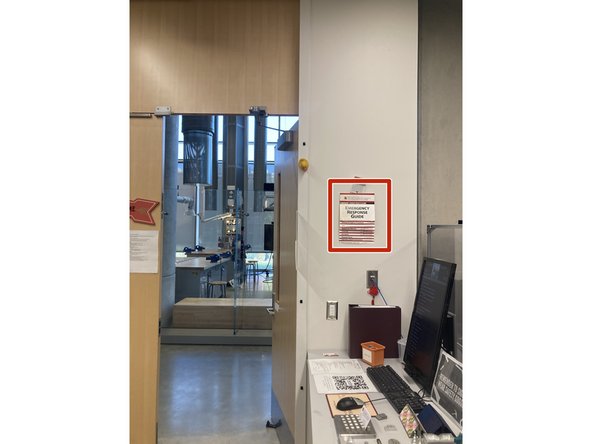
If there is an emergency in the lab, please use the emergency response guide (if you are able to safely) to report any dangers, fires, chemcical spills, etc.
-
-
-
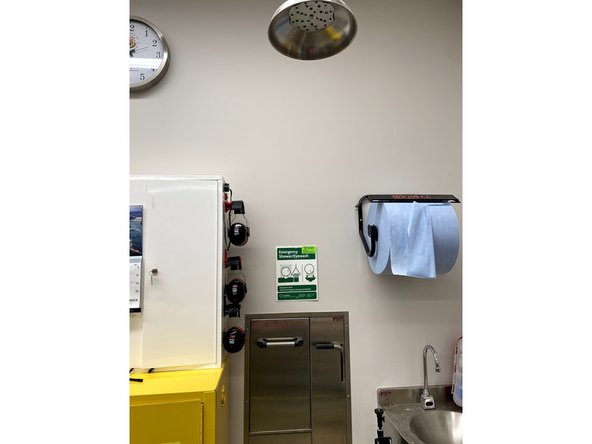
Before entering the lab, you can see that there is an eyewash/shower station directly to the right of the entrance to the lab.
-
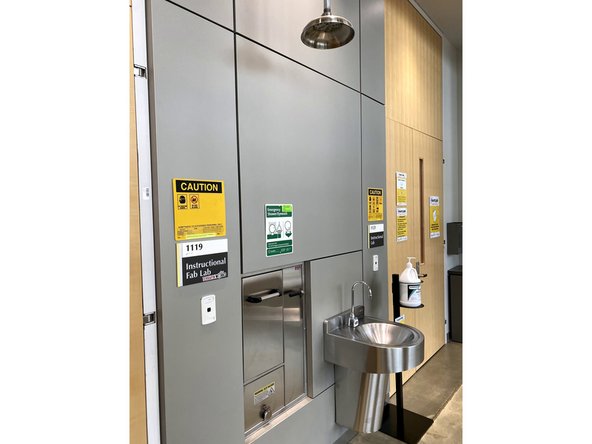
Upon entering the lab, you will, again, find an eyewash/shower station.
-
When activated, the shower will dump 10 gallons of water to decontaminate the user.
-
-
-
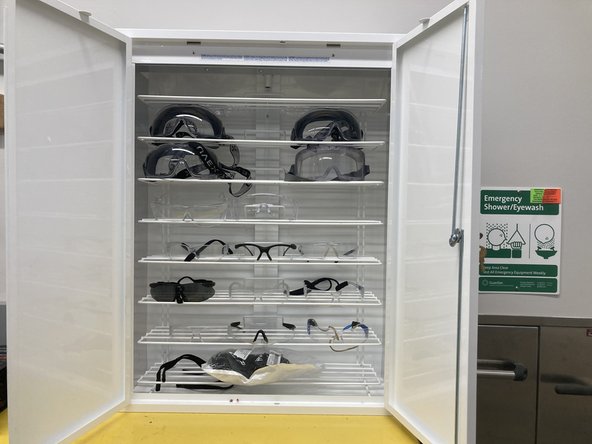
Whenever you are using a machine, we require you to be wearing safety glasses.
-
The dress code for the lab is long pants and closed toed shoes. Make sure any loose clothing is secured and hair is tied back.
-
When machining, it is best to take off any bracelets or jewelry and remove any long sleeves.
-
Never wear gloves when machining.
-
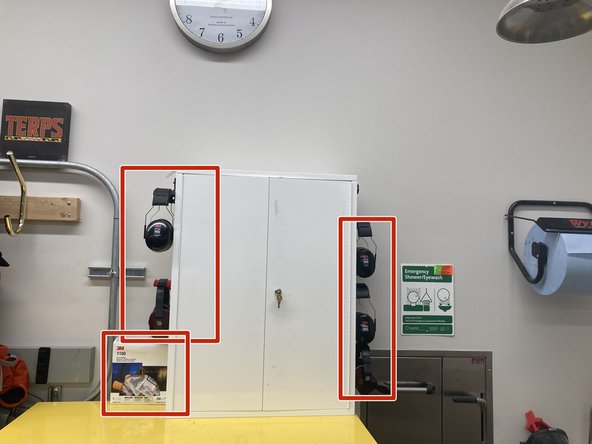
These safety glasses can be foung in the cabinet directly left of the eye wash/shower station in the lab
-
If you would like to use hearing protection, this can be found on the safety glasses cabinet,
-
-
-
Now that we will look at each machine in the lab.
-
Each machine has a safety training checklist located in the brown binder by the front door. Review this before training or giving training on each machine.
-
All emergency stop buttons (E-Stops) will be circled in red for the following step.
-
-
-
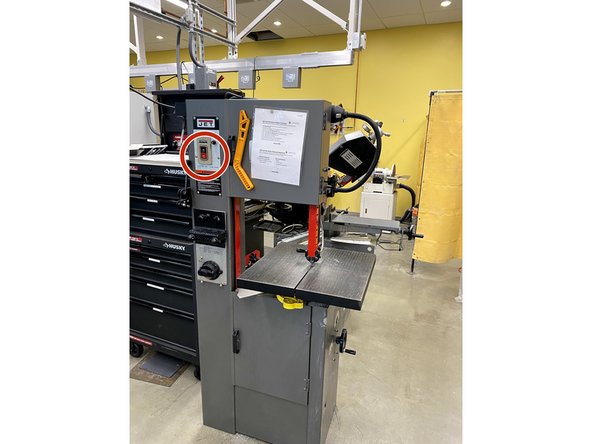
The first machine is the Vertical Bandsaw.
-
This machine is for cutting along a thin plate of metal, either in a straight line or a curve.
-
The biggest potential danger is getting fingers to close to the blade.
-
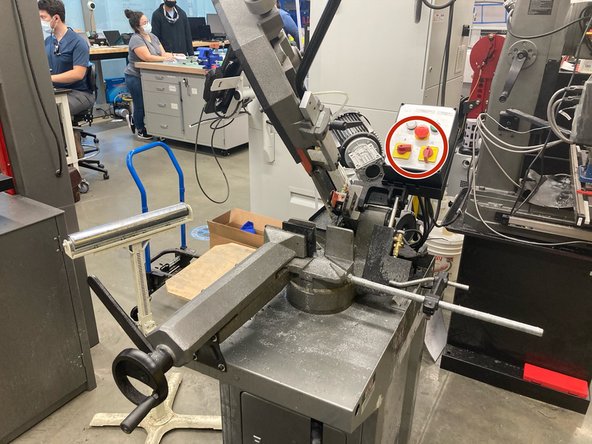
The second machine is the Horizontal Bandsaw.
-
This machine is for cutting long pieces of metal to a specific length.
-
The biggest potential denger is getting your finger/hair to close to the blade.
-
When cutting with any reciprocating blade you must have hair tied back, short sleeves, and you may not wear gloves.
-
The Horizontal Bandsaw has an emergency stop, while the vertical bandsaw only has an off button.
-
-
-
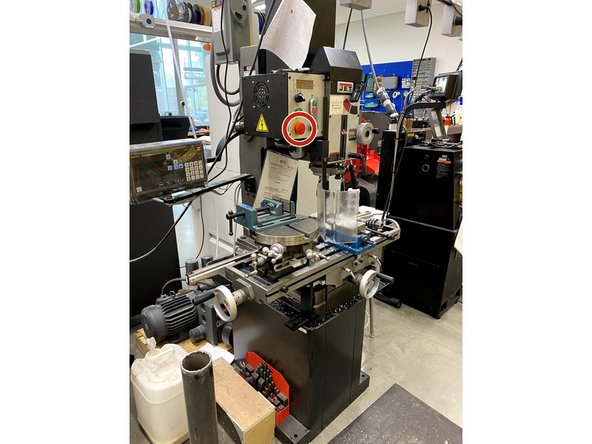
The drill mill is a useful machine when you need to make two faces perpendicular to each other, cut a pocket into metal, or simply drill a hole through metal.
-
The biggest potential danger is getting hit in the eye with a chip from the machine or getting your hand caught under a bit.
-
This machine has an emergency stop for safety reasons.
-
-
-
The Belt Sander is a great machine for slowly taking off any burrs or excess metal on something that was cut using another machine.
-
The biggest safety concerns would be keeping your fingers away from the belt as it is rotating and keeping hair and jewelry away from it, just like any other machine.
-
Parts will heat up very quickly on this machine so go slowly when removing lots of material.
-
When using the Sander/Grinder, be sure to turn the vacuum cleaner on!
-
-
-
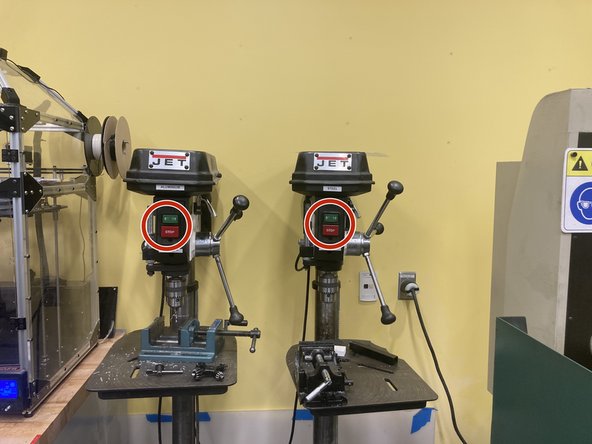
The Drill Press is a very common, standard machine for cutting holes perpendicular to metals.
-
There are two drill presses: one for drilling aluminum and one for drilling steel. Each is set to different speeds for each material.
-
The biggest safety concern is not holding your hand to close to the cutting bit of the drill press.
-
-
-
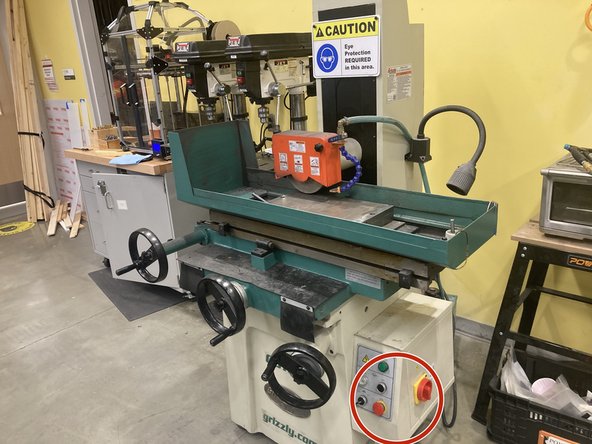
The Surface Grinder is very useful for creating a flat level surface on ferrous metals.
-
The biggest safety concerns would be keeping your hands away from the grinding disk.
-
-
-
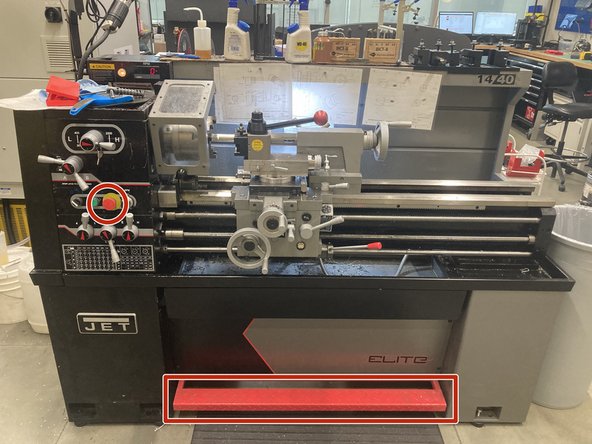
The Lathe is a very powerful and useful machine for creating patterns or angles on metal bars or pipes.
-
The Lathe comes with a lot of safety concerns: keeping hands and arms away from the rotating metal, being careful around the sharp bits, making sure no bit breaks off and hits you...
-
This machine has an emergency stop button and a red emergency foot brake near the floor .
-
-
-
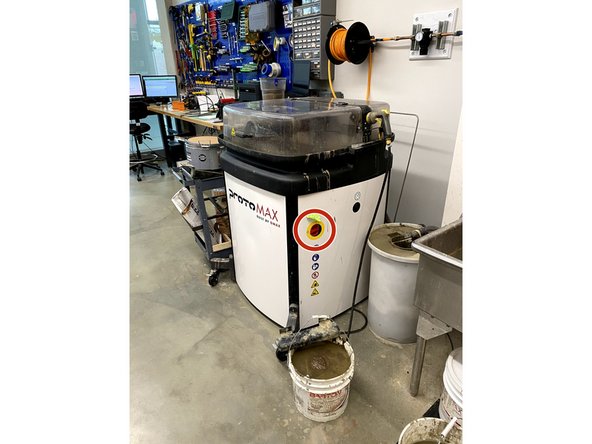
The Waterjet is probably our most used machine in the space.
-
The waterjet does not have any big safety concerns, the only concern would be when changing the slats on the bed be careful to not cut yourself.
-
The waterjet has its own software and computer which require more training than most other machines.
-
-
-
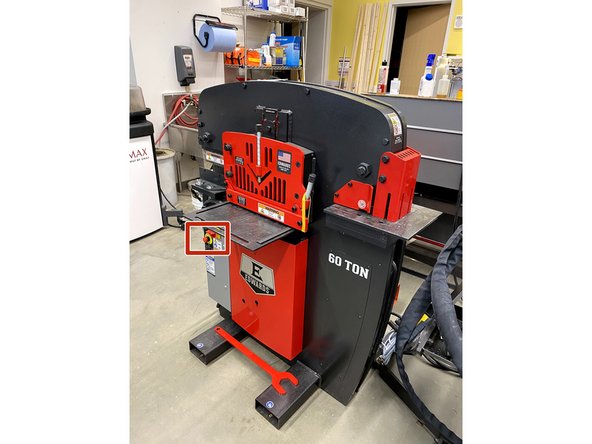
The Iron Worker is a great machine for cutting, shearing, punching, or notching large amounts of metals.
-
The Iron Worker has a lot of safeties built-in but do NOT put your fingers near anything red when the machine is turned on!
-
The red box in the image shows the location of the emergency stop button.
-
-
-
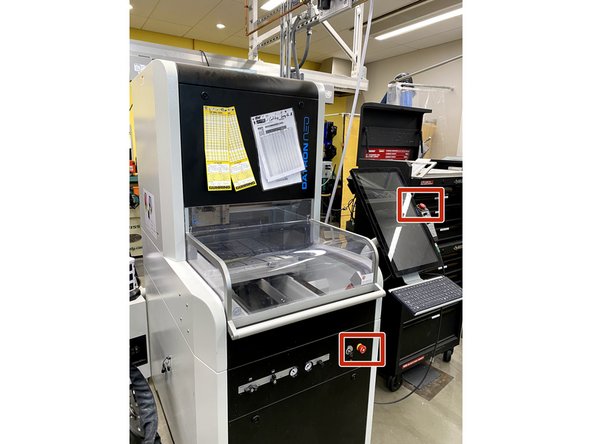
The Datron Neo is our CNC mill and it is very precise and used for more detailed works than normal CNC mills.
-
While cutting, the Datron is compeltely sealed off from its operator so the only real safety concern is not cutting yourself on a tool when changing tools out of the machine.
-
The red boxes in the image show the emergency stop buttons for the machine.
-
-
-
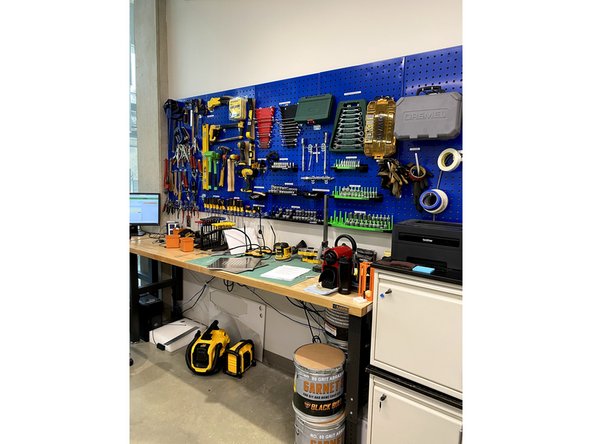
In the IFL, we have a wide range of hand tools.
-
Each tool is unique in what it requires to operate safely, so please ask us before using a tool for the first time.
-
-
-
The IFL is a lab that is accessible to students who need to cut a piece of metal quickly, drill a hole, or do other simple tasks that they may need to do in order to complete a project or task.
-
Our papercut system is what handles all 3D printing, Waterjet, and CNC jobs. It can be found here.
-
If a student wishes to use a machine though, they must be safety trained in the lab and they must be supervised (lightly) while doing their work.
-
Students must have advanced training before using the Datron Neo, the Waterjet, or the Welding Station.
-