-
-
To perform a loft, we need sketch profiles on different planes
-
Before making this loft, we prepared a sketch on a construction plane
-
The loft tool is under the drop-down menu in the "Create" section of the tool bar
-
First we select the two profiles to loft together
-
Then we select the guide type. In this example, we selected guide rails to constrain the volume created between the two profiles.
-
Selecting "guide rails" allows us to choose the points connecting the rails and move them.
-
This loft produces the solid indicated with the dark blue arrow.
-
-
-
To create a sweep, we need a profile and a path
-
A sweep creates a pipe along a path with a cross section given by a sketch profile
-
For this example, we created an arbitrary shaped profile and path
-
The sweep tool is in the drop down "Create" menu
-
Select the profile to sweep and the path to follow
-
The orientation determines whether the profile lies perpendicular to the path or parallel to itself. This example shows a perpendicular sweep
-
The sweep tool creates the shape indicated by the blue arrow
-
-
-
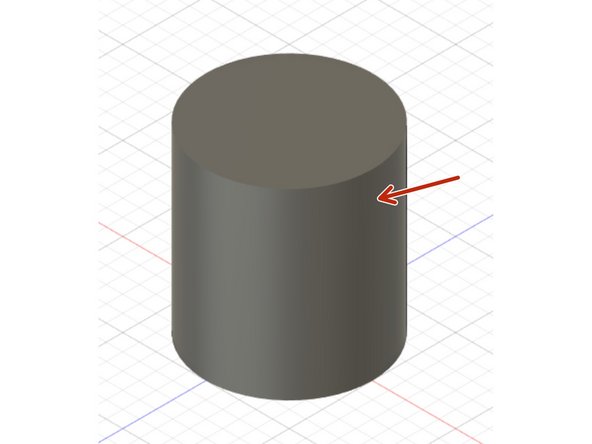
Creating threading in Fusion 360 requires a solid body compatible with threads, i.e. cylindrical bodies or holes.
-
This example starts with a cylinder made by extruding a circle 10 mm in diameter
-
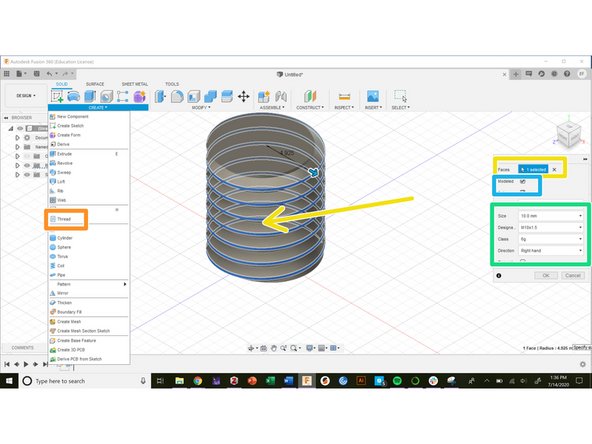
The drop down "Create" menu houses the threading tool
-
Select the surface on which to create threads
-
Denote the threading specifications
-
Choosing to model the threads actually cuts them into the body. Leaving the "Modeled" box unchecked creates cosmetic threads.
-