
Introduction
In this introduction to soldering we will be using a soldering iron, helping hands, and soldering flux all while ensuring proper ventilation.
Parts
No parts specified.
-
-
Make sure you have the following tools:
-
Soldering Iron with sponge
-
Tweezers or wire cutters
-
Brush and Paste Flux
-
Helping Hands
-
Soldering Wire
-
(optional) Magnifying glass
-
-
-
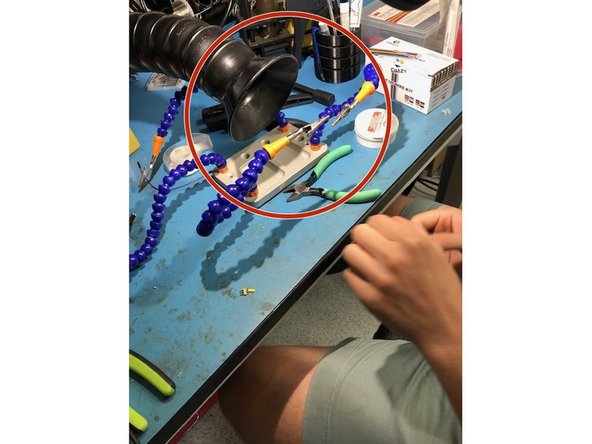
Always turn ventilation on before you solder!
-
Turning on the Soldering Iron is important too :)
-
-
-
Before we get started, ensure that the ventilation tube is as close to the helping hands as possible without being in the way
-
-
-
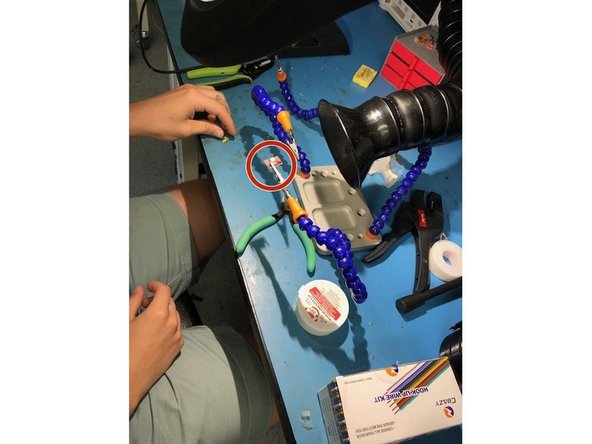
Attach the RGB LED to one of the helping hands so the sockets you are going to solder are facing away from you
-
Clamp the longer pins of the corresponding LED so the short pins are pointing up
-
-
-
Once both parts are clamped move the helping hands close enough so that the short pins go all the way through the three holes on the LED
-
If you are having trouble with keeping the helping hands still where you want them try "pre-tensioning" the hands so the parts are moving towards each other, and not away
-
-
-
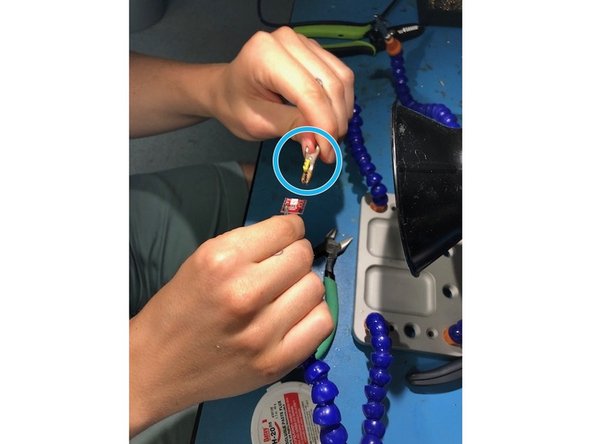
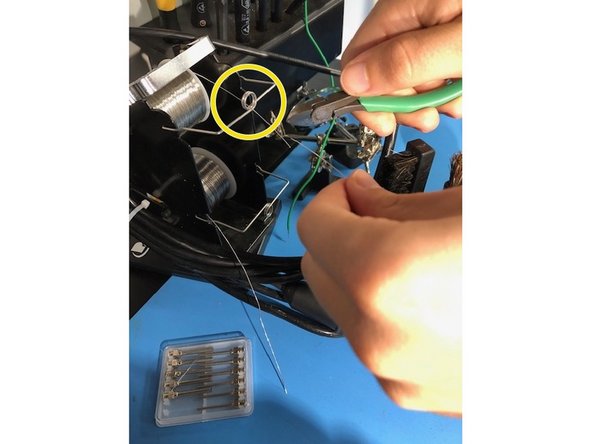
With a pair of tweezers or wire cutters cut some soldering wire from the spool. You should only need at most 2.5 in of wire.
-
Keep the wire going through the guiding hole.
-
-
-
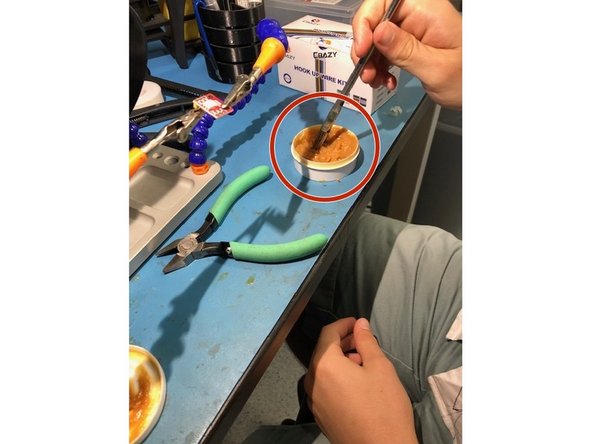
Use a small brush and gently dab it in some water soluble paste flux.
-
You only need enough flux to coat the pins and sockets which in this case is not that much.
-
Do not stroke the brush as it makes it more likely to get flux in unnecessary places of the LED,
-
-
-
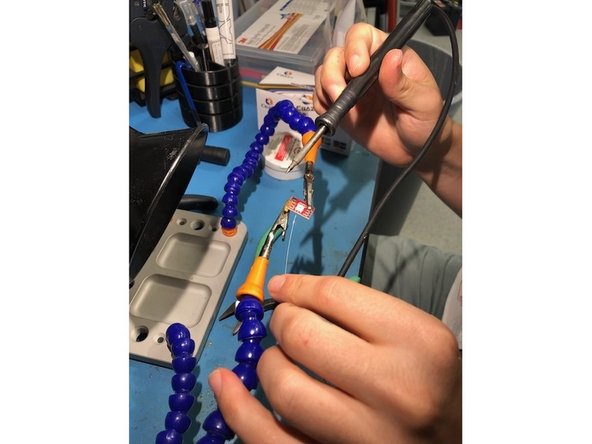
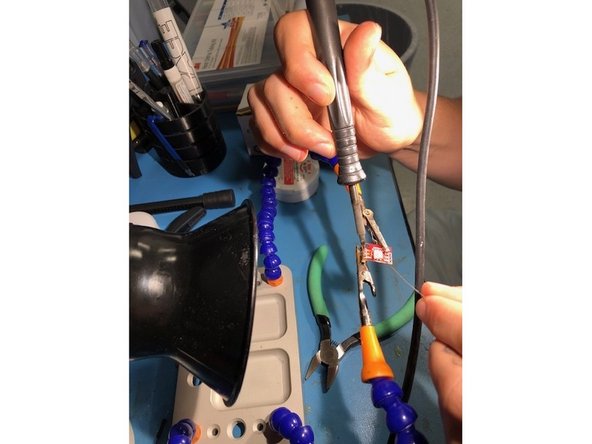
Now it is time to solder! Grab a soldering iron, preferably with your dominant hand, and the previously cut soldering wire
-
-
-
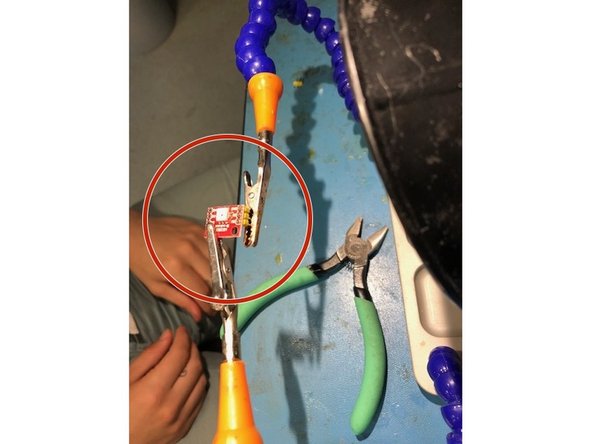
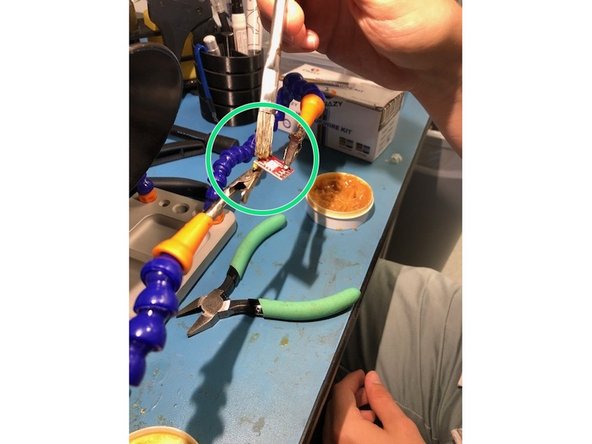
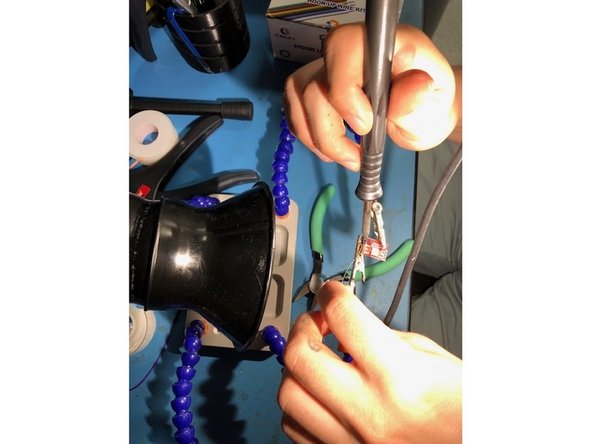
Begin by placing the soldering iron onto the pin AND the socket.
-
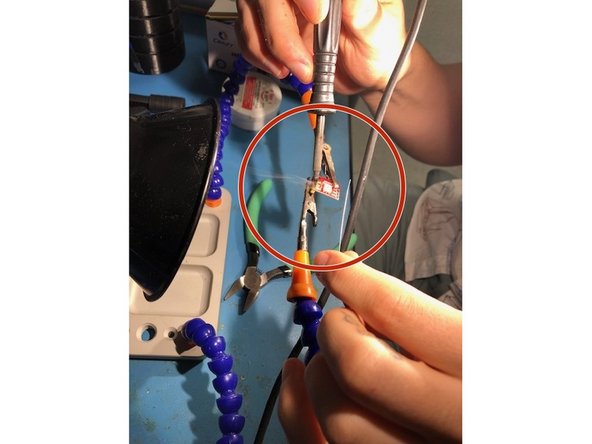
While holding the soldering iron on the pin and socket being to push the soldering wire onto the pin.
-
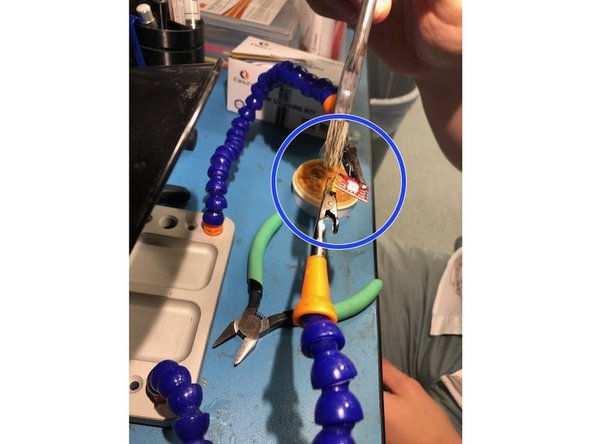
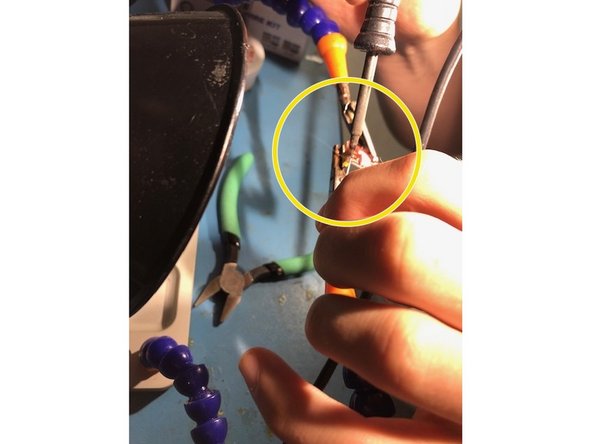
Move the wire all around each socket to ensure the pins are completely soldered onto the LED
-
-
-
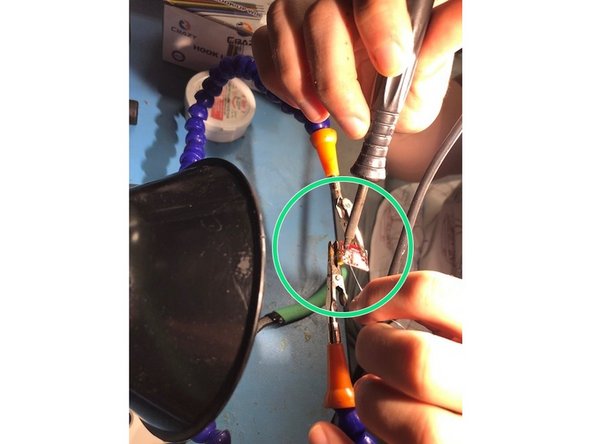
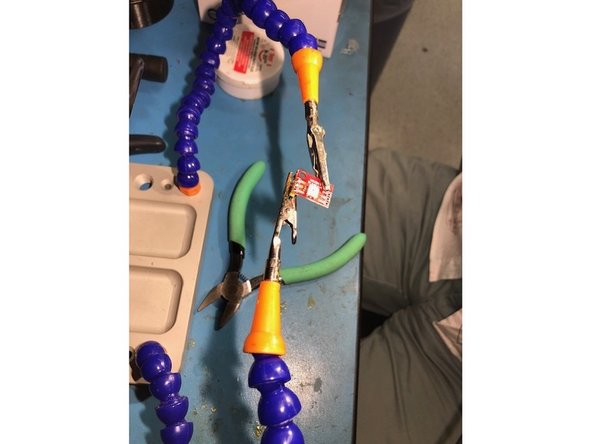
Move the wire all around each socket so there are no open holes in any of them. A magnifying glass can be helpful during this process.
-
-
-
You're finished! Feel free to take your soldered part off of the helping hands.
-
These steps are the same for soldering several types of electronics. As long as you have proper ventilation and the tools available you should be ready to solder!
-


Cancel: I did not complete this guide.
One other person completed this guide.