-
-
You can either use the Cricut Maker through the desktop next to it, or directly from your personal laptop by connecting it to the Cricut via the USB 2.0
-
If using the RPC desktop, use the USB port behind the monitor
-
If using your personal computer, you will need to download the Cricut Design Space app and set up an account
-
The download and setup process takes only about 5 minutes
-
You will also need an account to use the app on the desktop computer
-
-
-
First select a black silhouette image you want to cut
-
The simpler the silhouette, the better.
-
Open up the Cricut Design Space app and click the New Project button in the upper right hand corner
-
On the bottom of the left column, click Upload to insert the silhouette file you saved
-
You'll see options to upload an image or a pattern. Make sure that for whichever you use, you have the appropriate file type saved as listed
-
After selecting the type of image, you will need to remove any unnecessary background that you don't want included in your silhouette cut
-
For the type of cut, select Cut Image, instead of Print then Cut
-
-
-
Once selected, you'll be brought back to the canvas board
-
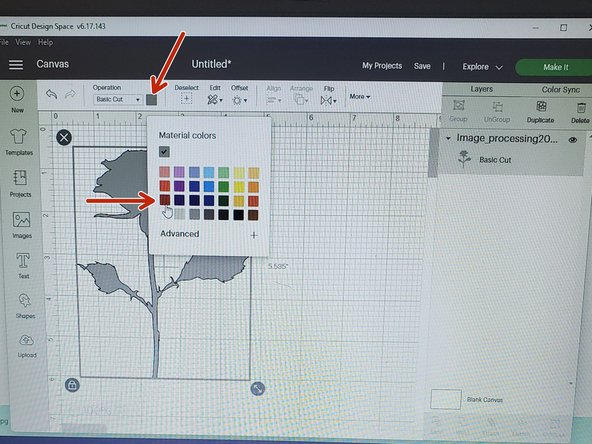
On the Operations Tab above, you'll see the Base Cut tab. Click on the drop down and select Base Cut.
-
The image will become gray. Select the colored box beside the tab and choose the color closest to the color of the material you're printing with (i.e. red material color for red paper)
-
Resize and modify the cut as you see fit
-
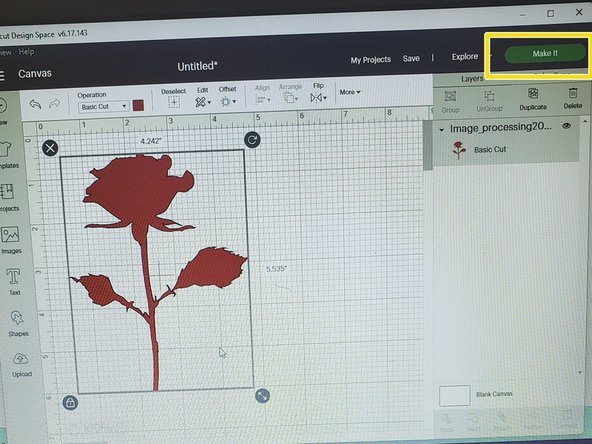
When done slicing, click the Make It button on the upper right hand corner
-
-
-
Remove the plastic cover from the cutting mat; save the cover for reapplication later
-
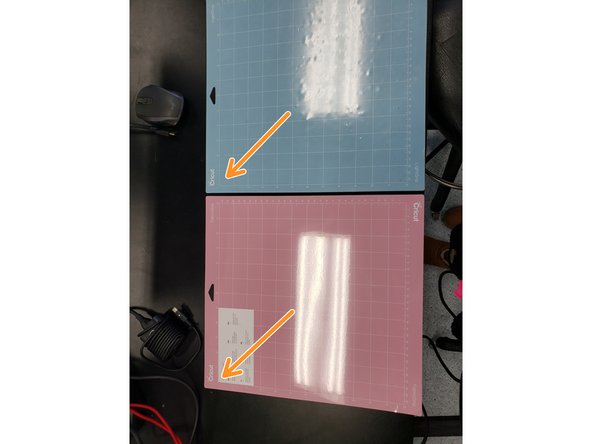
Blue Mat: for Paper, Vinyl, and Cardboard/Cardstock ONLY
-
Pink Mat: for Fabrics ONLY
-
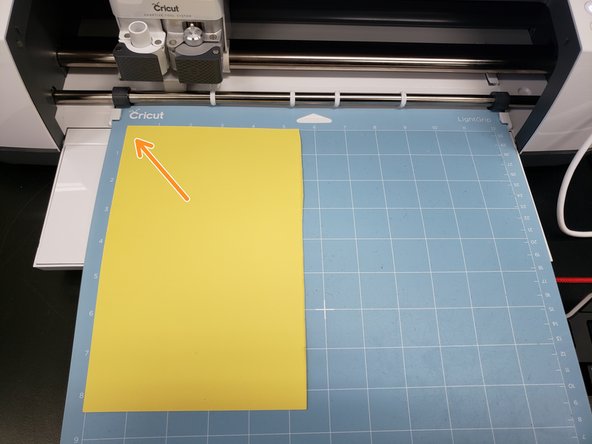
Place the material you'll be cutting on the upper left-hand corner of the mat
-
-
-
Open up the Cricut Maker
-
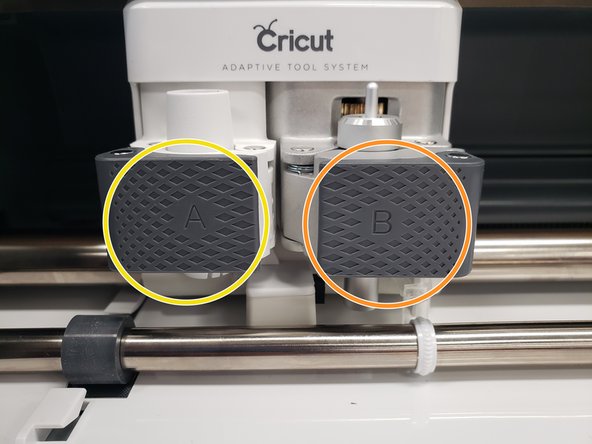
Make sure that the blade is set in place in Clamp B
-
Clamp A is for a guiding pen
-
Clamp B is ONLY for the cutting blade to be used
-
Place mat under the guides near the roller
-
-
-
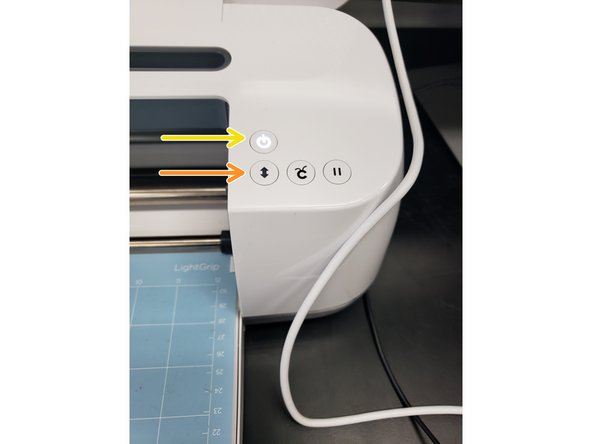
Press the flashing load/unload button on the machine
-
Select the print material that you'll be using
-
If confused, follow the instructions as given by the Design Space app. There will be detailed descriptions of each type of material option.
-
Press the flashing cricket button to start the cut
-
-
-
Once the cut is finished, remove the mat from the Cricut by pressing the load/unload button again.
-
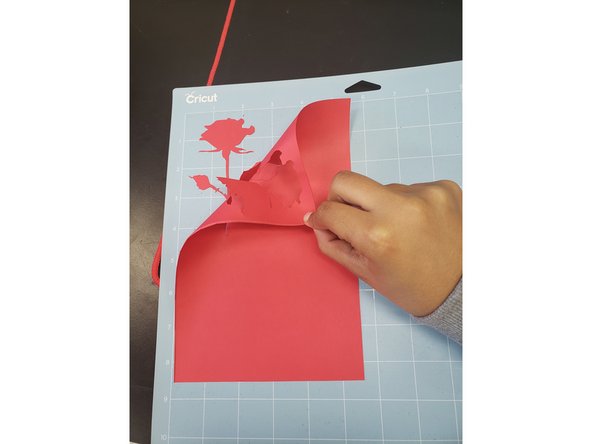
Take off the material that was cut and reapply the plastic covering once the mat cover is cleared
-
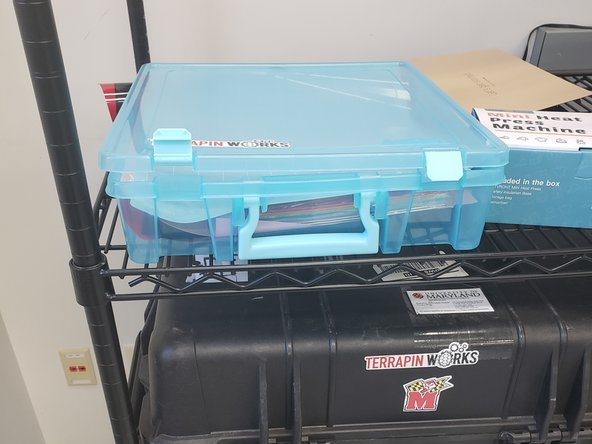
If done using the Cricut Maker, place the mat back into the baby blue suppy bin
-
Cut off the section of material where the cutout was made
-
If large enough, the leftover material can be reused later
-
Clean up your cut as you see fit
-
For vinyl cutouts, see How to Harvest Vinyl Cricut Prints
-