-
-
Before you can begin Laser Cutting you must set up an account with Glowforge. You can request permission from a Lab Coordinator or have someone with an account add you as an additional user
-
-
-
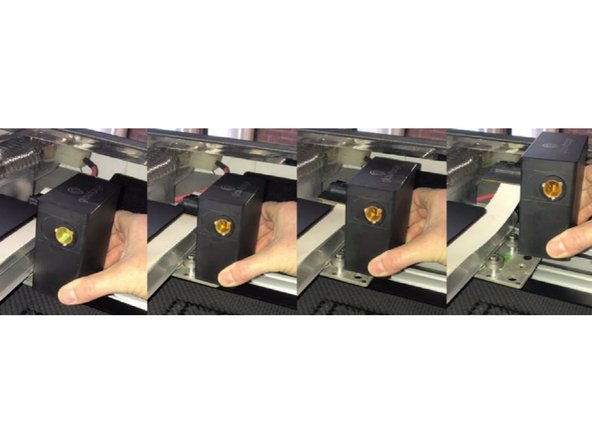
Turn on the Machine using the switch located on the backside of Laser Cutter
-
Make sure the vacuum filter is attached and turn on the air filter using the cover that is located on the epilog before starting a job
-
Place the stock in the machine
-
The maximum cutting dimensions of the Glowforge Plus are 11 in. x 19.5 in
-
Materials of thickness 1/4" are called Thick while 1/8" is Medium and 1/48" is Thin
-
While Glowforges do have the capability to cut out food items this specific machine is not to be used for that purpose
-
-
-
You can go to https://app.glowforge.com/ and log in once you have an account. Our Glowforge's name is Wanda
-
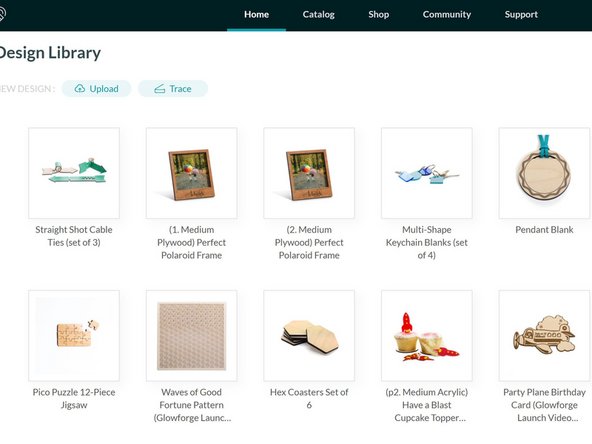
Glowforge has a catalog of different designs that you can select from or you can upload your own project
-
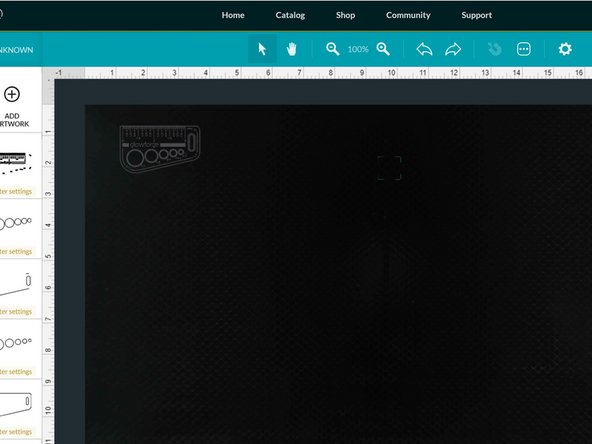
Once a file is selected, you will actively be able to see the bed of the laser cutter using the embedded camera
-
Here is where you can move, rotate, and scale your design, you may also import additional files to cut on the same project
-
-
-
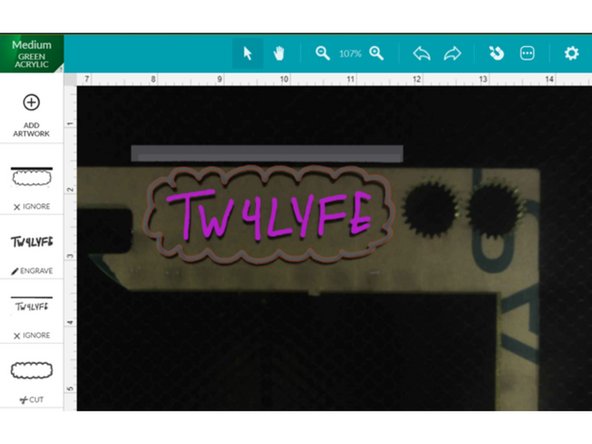
In the top left hand corner you will be able to select the stock material you wish to use and that will load the associated laser settings
-
You may then select what parts of your file that you would like to cut, engrave or score
-
Cuts will go all the way through the stock
-
Engraving carves into the top part of the material to etch out shapes or text
-
Scoring is like a low powered cut; makes a single pass over a path without cutting all the way through the material
-
-
-
The Glowforge also has the capability to trace bed images
-
This is done by drawing directly on the stock and then selecting the paths in the software
-
For every each action (Cut/Engrvae/Score) you must select a different line path
-
-
-
Place your stock in the bed of the laser cutter, making sure that it lays flat and that the door is closed
-
Send the file to the laser cutter using the icons in the upper righthand part of the screen
-
Press the start button on the machine to begin the job, you can monitor the progress of the print on your computer screen
-
Make sure the air filter is on!
-
-
-
Turn off the Glowforge before conducting Maintenance
-
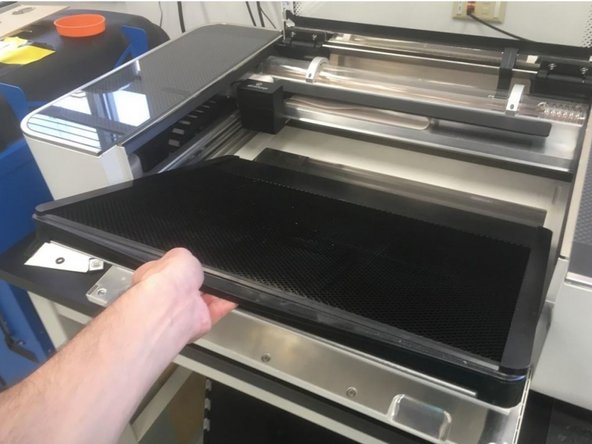
Whenever there is a build up of debris you can clean out the crumb tray by removing the bed
-
Open the lid and swing down the front door so you can slid the crumb tray out towards you
-
Brush off any debris in the trash can and wipe down the metal floor of the Glowforge
-
Be careful not to knock the tray into the printer head or the rails and that it is sitting properly in all four dimples
-
-
-
After every 40 hours of print time the lens should be cleaned
-
Turn off the Glowforge before conducting Maintenance
-
Grasp the printer head and pull gently up and back to remove
-
Use a lens cleaning cloth to gently wipe over both windows on either side of the lens
-
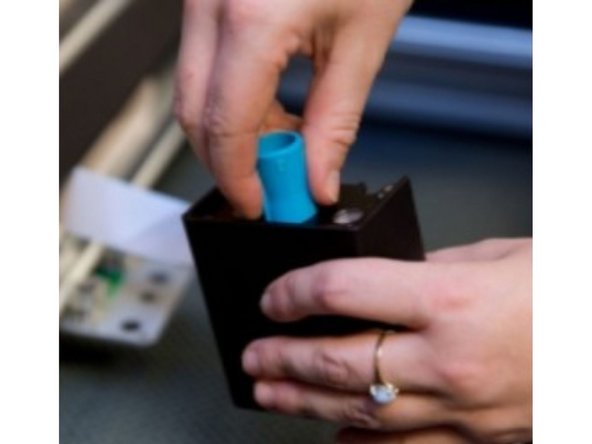
Use the blue magnetic tool to remove the lens from the print head
-
Making sure to only touch the metal ring, wipe the lens with the cloth
-
With the 'Install' side of the blue tool place the lens back in the print head
-
You can now place the print head back in the Laser Cutter and will hear a small click when it is fully attached
-