
-
-
Always make sure all proper PPE is worn before using the band saw
-
Goggles
-
Gloves should NOT be used around the little band saw
-
-
-
Make sure all of the following:
-
Rolled back any long sleeves
-
Removed any jewelry from wrists or hands
-
Tied back any loose hair
-
Wore closed toed shoes
-
Secured any and all loose and baggy clothing
-
-
-
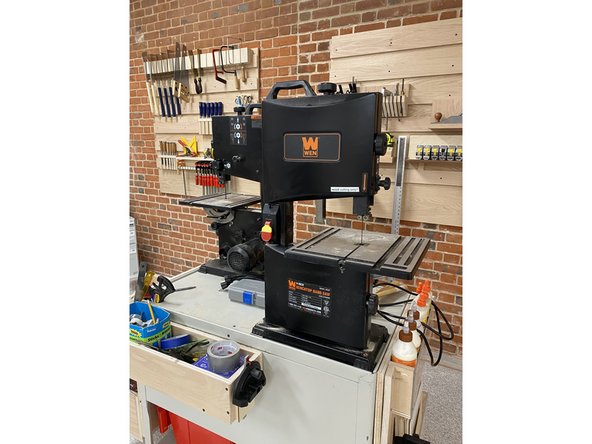
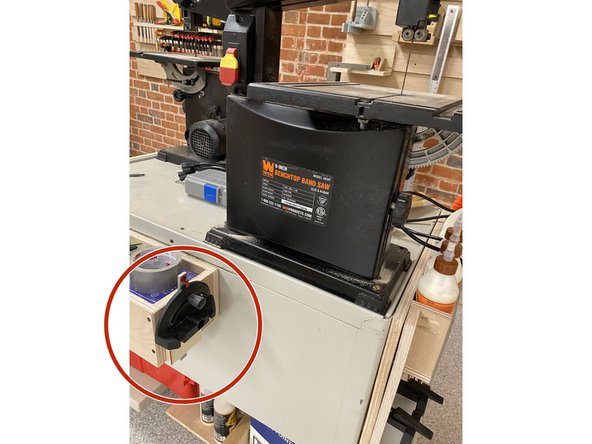
Both little band saws are located on the cart over by the saws and measurement tools wall
-
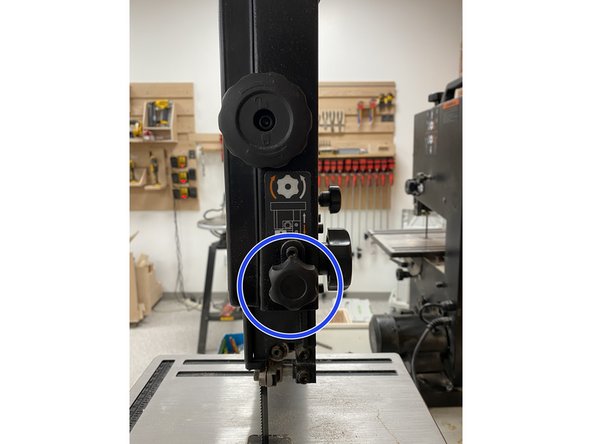
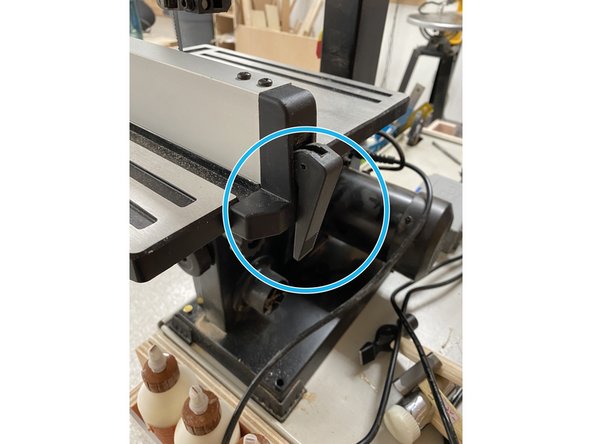
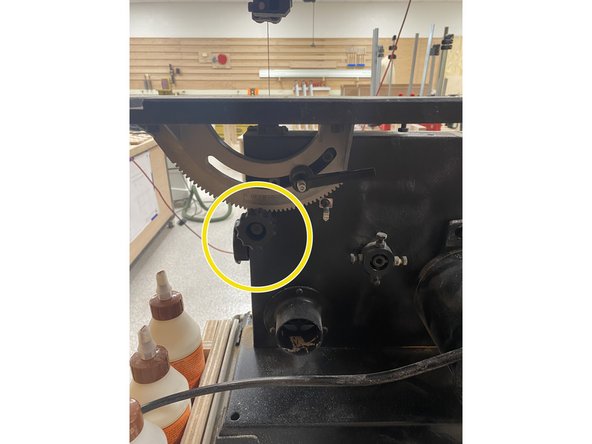
Before every use of the band saw, the blade guard has to be readjusted to the correct height above the workpiece
-
First, loosen the knob on the back of the band saw to unlock the position of the blade guard
-
Then use the knob on the side of the band saw to raise or lower the band saw into the desired height
-
-
-
The little band saw has the ability to use both fences and sleds that are specific to its size.
-
The fences for these band saws are kept on the side of the cart underneath the wood glue.
-
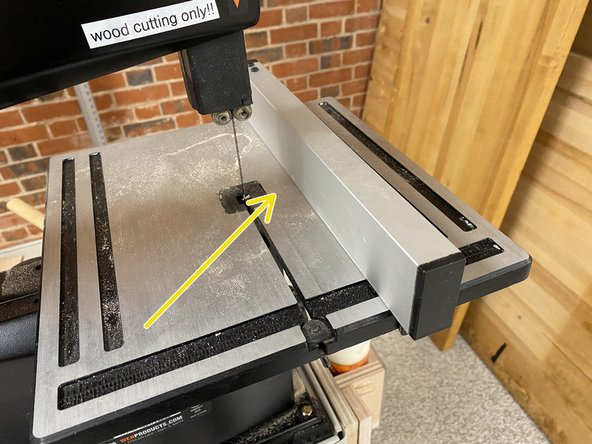
Fences can be mounted across the work plate parallel to the blade as shown.
-
To attach/remove a fence from the work plate, first lift up the latch on the end of the fence to release the tension hold.
-
-
-
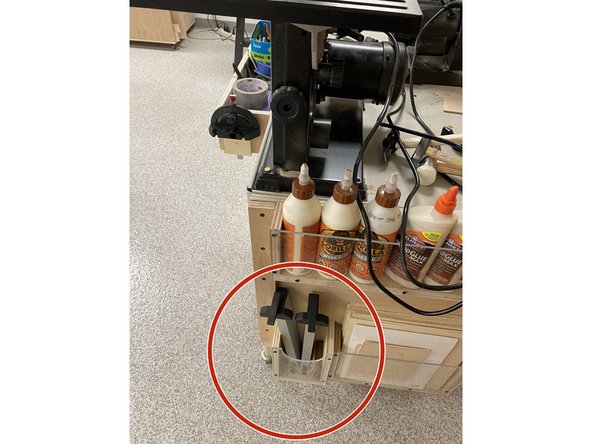
The sleds can be found close by on the sides of the cart.
-
To use a sled, First adjust it to the desired angle, 90 degrees being perpendicular to the blade.
-
Then slide the sled into the track on the right side of the work plate.
-
When using the sled, make sure to have a firm grip on both the sled and the workpiece so it does not move around unpredictably once cutting is started.
-
-
-
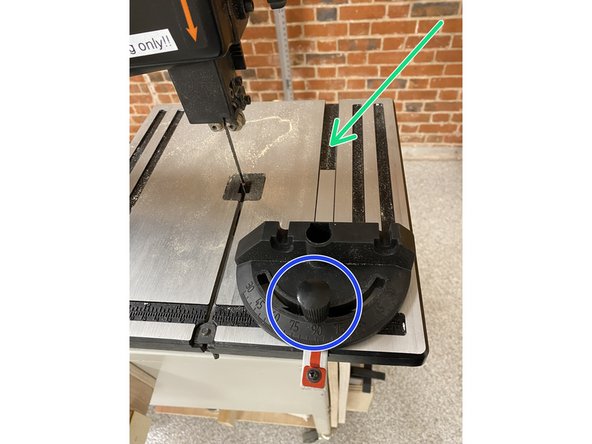
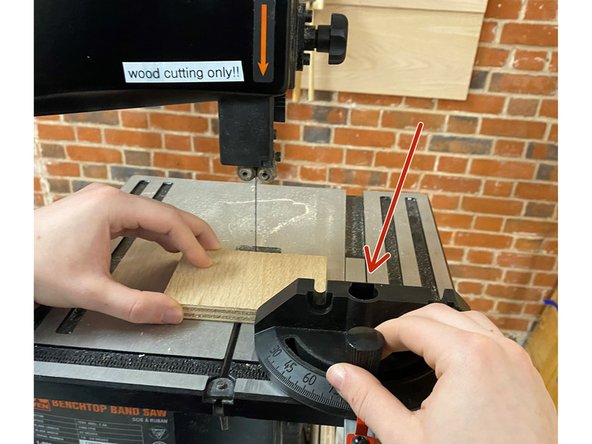
Turn the black handle counterclockwise to unlock the work table.
-
Use the black knob to turn the table to the desired degree.
-
This band saw only supports up to 45 degrees in one direction.
-
Lock the angle into place with the black handle by turning it clockwise.
-
Please do NOT freehand angled cuts, always use a fence to support the workpiece to prevent accidental slipping.
-
-
-
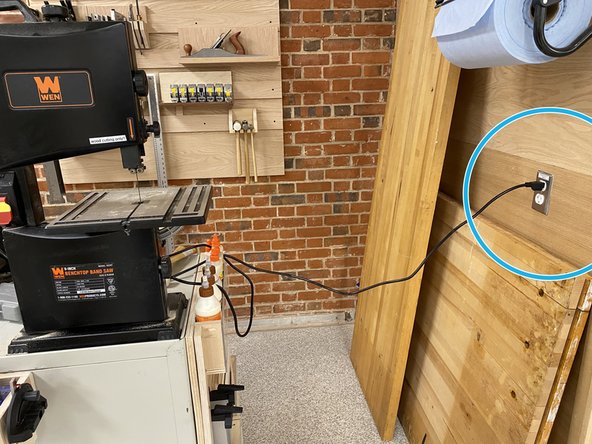
Plug in the band saw in the outlets on the wall to the right.
-
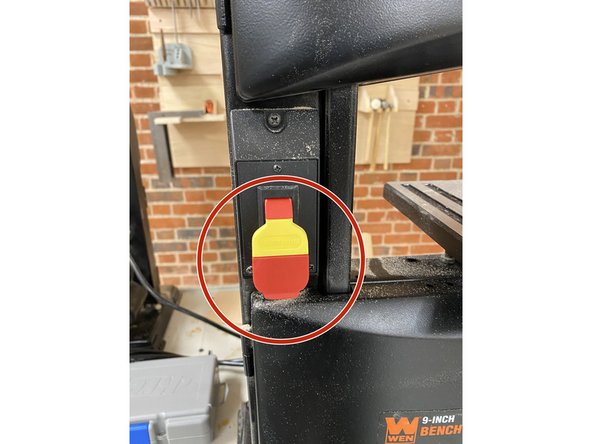
Turn it on by flicking the switch back towards yourself.
-
Turn it off by pushing the yellow and red button down.
-
If the band saw makes an unexpected noise or is shaking violently, turn off the band saw and find a staff member immediately.
-
-
-
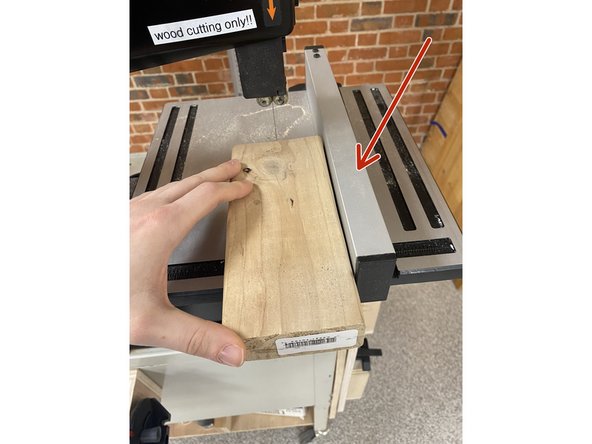
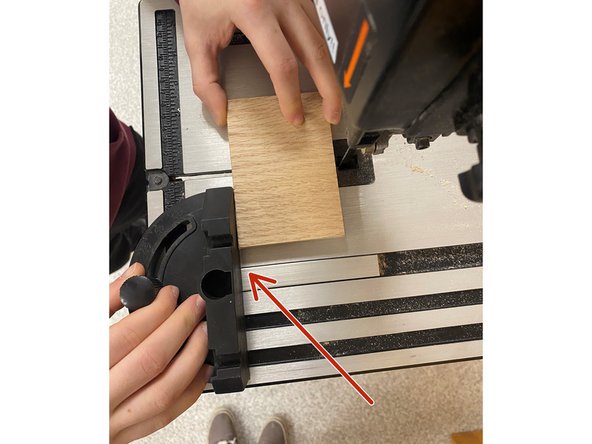
Make sure the workpiece is pushed against the base of the worktable and either a sled or fence.
-
Push the material through the band saw smoothly and slowly to achieve a clean cut.
-
Please keep all hands and fingers clear of the blade while still containing control over the material.
-
-
-
Once done with cutting, turn off the band saw and make sure to:
-
Clean any saw dust and scraps
-
Unplug the band saw to clear the walkways
-


Cancel: I did not complete this guide.
One other person completed this guide.