Introduction
Control Center is the companion program to Insight; it deals with the creation of print jobs and interfaces directly with the printer to manage them. Whereas Insight can only slice one part at a time, Control Center allows you to copy and arrange multiple parts. As with Insight, GrabCAD Print now includes many of the same functions, but it is still important to be familiar with the native printer software.
This guide covers the basic operation of Control Center, including importing files, arranging and estimating builds, queuing prints, and viewing the system history.
-
-
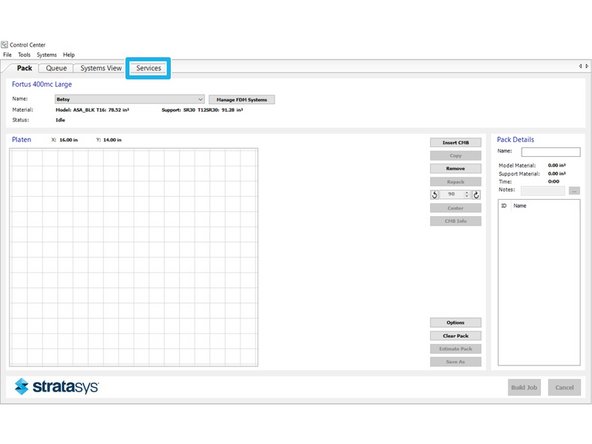
This is what you will see when you first open Control Center. A few key areas have been highlighted
-
This area contains all of the information about the current state of the machine
-
This window shows a top view preview of the build you are preparing
-
This region shows the name, material estimates, and parts list for the current pack
-
-
-
Use the Import CMB button to add any CMB file(s) that you want to include in the build
-
Once you've imported your file(s), they will appear in the preview window and the material estimates will be updated
-
To create multiple copies of a part, click the Copy button and enter the number of additional copies to create
-
-
-
If there are multiple parts in the build, you can arrange them on the platen by clicking and dragging
-
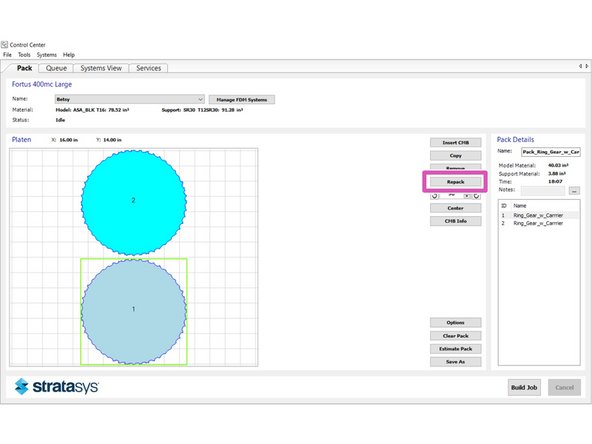
The Repack button will also arrange the build by calculating what it considers to be an optimal part arrangement
-
-
-
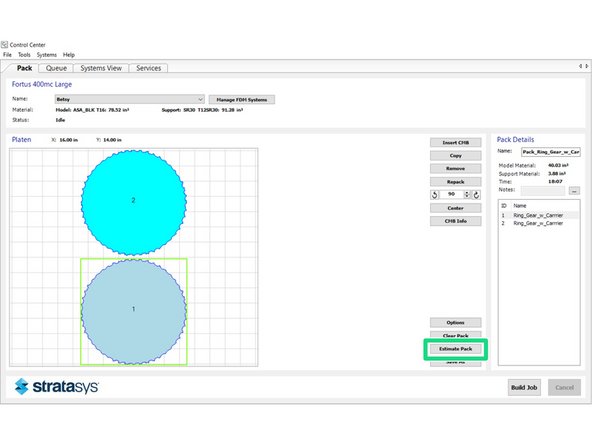
Estimate the print time and material usage by clicking the Estimate Pack button
-
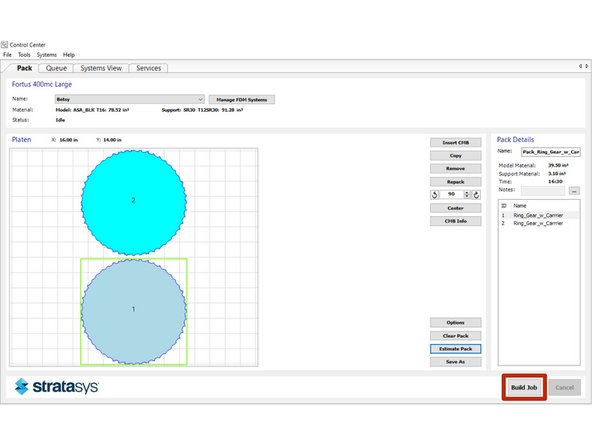
After adding multiple parts, the original estimate is usually not completely accurate until you do this. Notice that the numbers change slightly in this example
-
This data will be used in determining the cost of the build, so it is important to have accurate numbers
-
To queue the job on the machine, just click the Build Job button
-
-
-
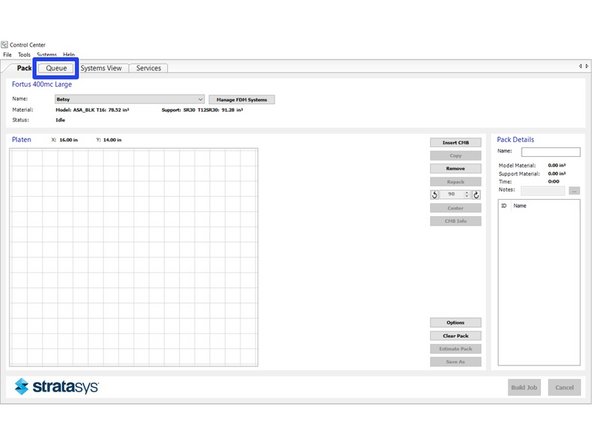
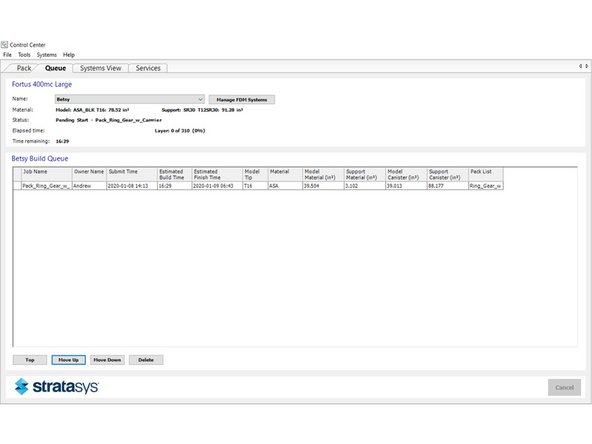
The Queue tab at the top of the page allows you to view and manage the print queue
-
From this page you can reorder and delete jobs in the queue
-
-
-
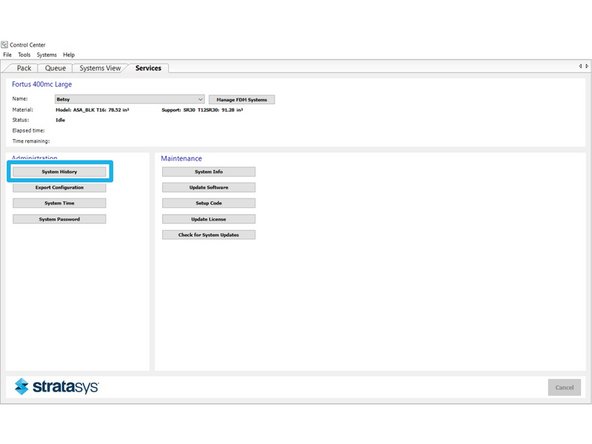
To view the printer's job history, go to the Services tab and select System History
-
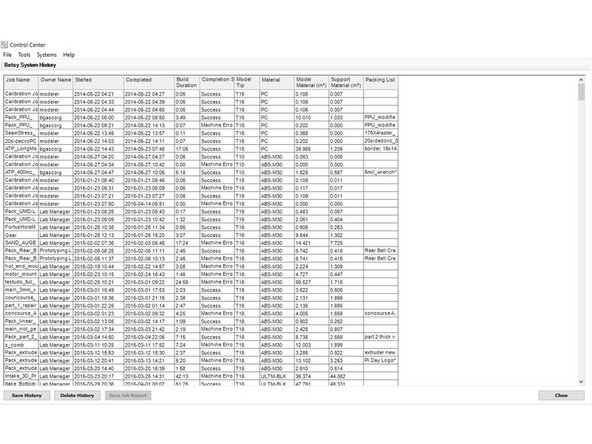
This will show all of the jobs that the machine has run, including the date, material usage, and completion status
-