Introduction
In cases where continuous fiber is incorrectly aligned with the plastic portion of a part, the Fiber Nozzle XY Offset utility is used to update relative nozzle position.
Source:
Markforged Guide: Adjust the XY Offset Desktop
Images by: TW
-
-
Clean the print bed and apply a 4" by 4" square of glue to its center
-
Install the printbed in the printer
-
Select the menu icon from the dashboard
-
Select the Utilities tile from the available options
-
-
-
Select the Print Head Alignment tile from the available options
-
Select the Fiber Nozzle XY Offsets tile
-
Press the Print XY Bracket button
-
Do not remove the printed part until after completing the following steps
-
The printer will automatically begin printing the part when the button is pressed
-
-
-
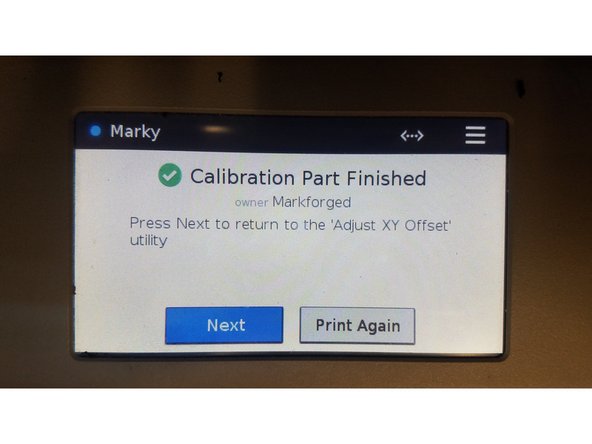
Once the XY bracket has finished printing select "Next" from the utility if you haven't exited it.
-
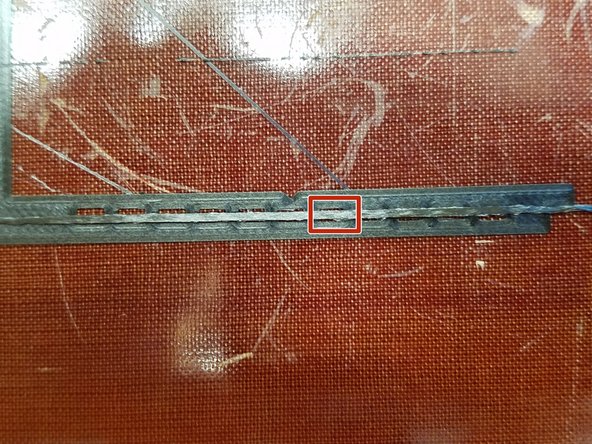
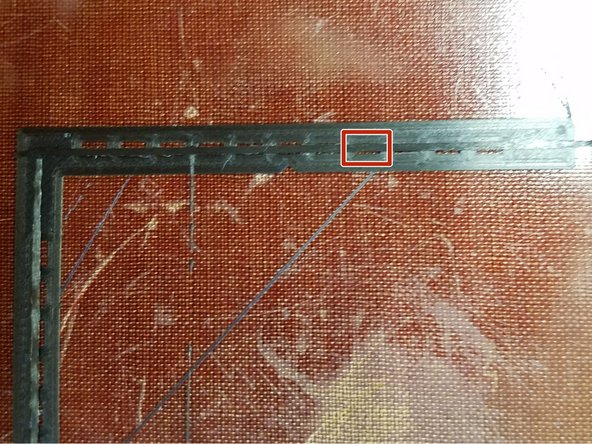
Identify the box on each axis that has fiber passing through its center
-
-
-
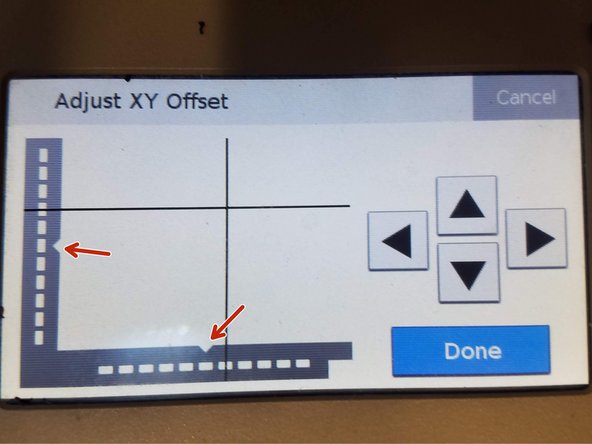
In the utility, use the arrow buttons to adjust the black lines until they pass through the boxes that you identified in the previous step
-
You can set the black line to hit in between the boxes if the line passes through the center not directly over a box
-
Press the done button when you are certain that the offsets are correct
-
Reprint the utility test print to ensure that the fiber lines pass through the center boxes denoted by the notches
-


