Introduction
This guide will explain how to level the print bed for the Markforged Mark 2 Printer
Source:
Markforged Guide: Level the Print Bed Desktop
Images by: TW
Parts
No parts specified.
-
-
Before performing any bed leveling procedure, thoroughly clean the print bed with water to remove any glue residue
-
Dry the print bed with a paper towel before proceeding
-
Select the menu icon from the dashboard
-
Select the bed level tile from the available options
-
Select the shim bed level tile from the available options
-
-
-
Read the warning about putting pressure on the print bed during leveling and press Next
-
Ensure that you have both the two brass leveling shims from your accessory kit, then press Next
-
Loosen each of the three thumbscrews below the print stage to its lowest point and press Next. Take care not to over-loosen the thumbscrews, as they may fall out of the print stage
-
-
-
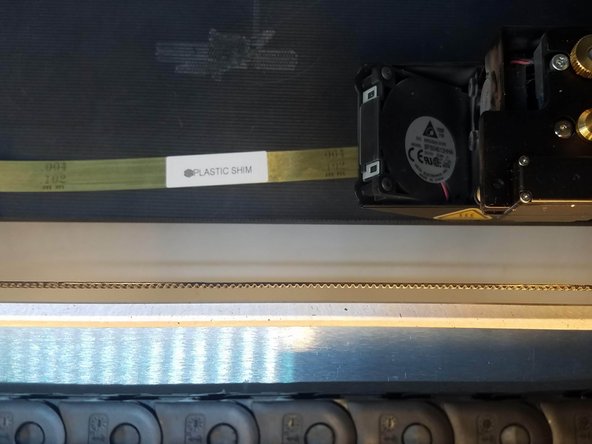
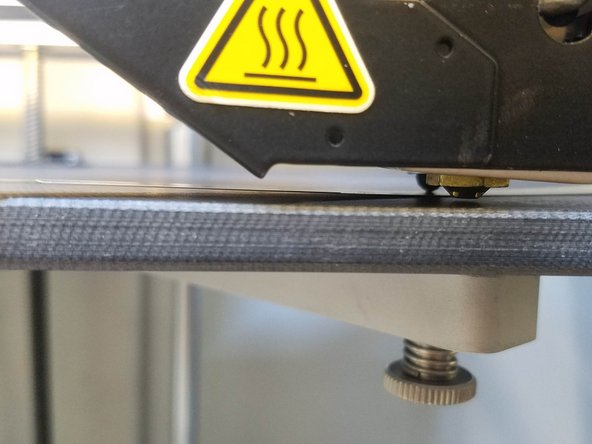
Slide the plastic shim between the print bed and the nozzle and press Next
-
Adjust the thumbscrew until you feel slight resistance on the shim and press Next
-
Repeat these steps for each thumbscrew, as prompted by the utility.
-
When prompted by the utility, slide the plastic shim between the plastic nozzle and the print bed to verify the tension over the rightmost thumbscrew.
-
If you no longer feel slight resistance on the shim, the print bed is not level. In that case, adjust the thumbscrew until you feel slight resistance on the shim, then press Retry to follow suit with the other two thumbscrews. Otherwise, press Next
-
-
-
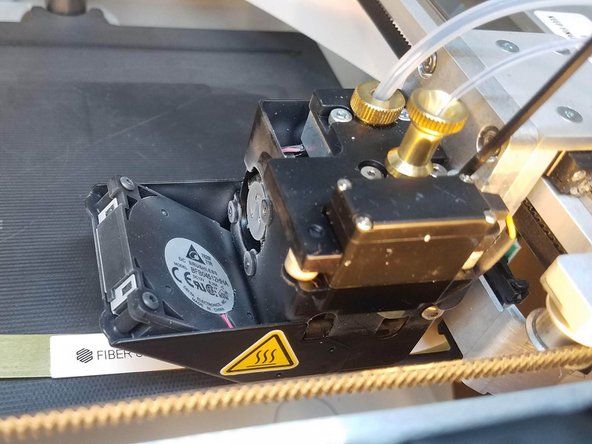
Slide the fiber shim between the nozzle and the print bed and press Next
-
Use a 2.5mm hex key to adjust the fiber nozzle height until you feed slight resistance on the fiber shim
-
Double-check the resistance on both shims and press Run Utility to calibrate the fiber nozzle (if applicable), Retry to re-level the print bed, or Skip to exit the utility.
-