Introduction
This guide will explain how to change the fiber reinforcement filament for the Markforged Mark 2 printers.
Sources:
Pictures by: Ashley Recklein, Nico Lagendyk
-
-
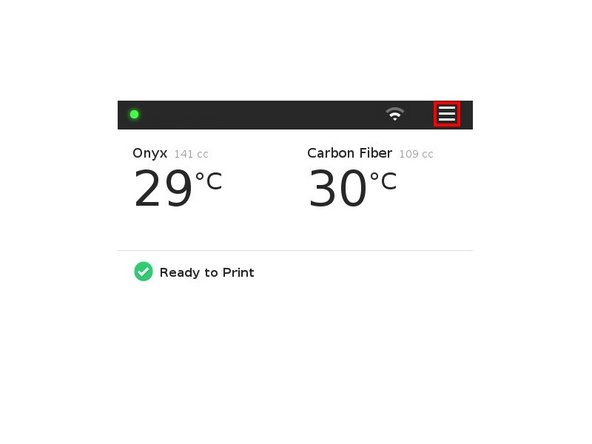
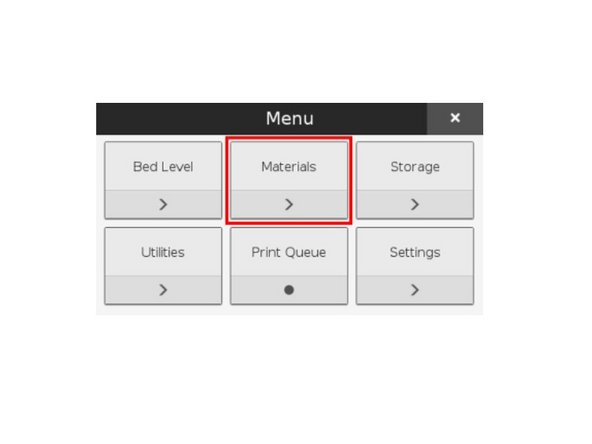
Select the Menu from the dashboard of the printer
-
Select Materials
-
Select Unload Fiber
-
Click Next to continue
-
-
-
Carefully wind the remaining fiber back onto the spool
-
Tape the end of the fiber filament to keep it from unspooling
-
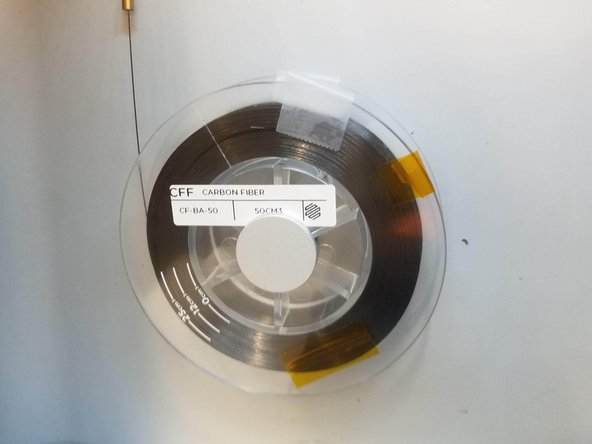
Place the spool in the small bronze colored bag with the same fiber name
-
Click Next
-
Be cautious with spools of reinforcement as careless handling can result in fiber splinters
-
-
-
Remove the spool from the bag
-
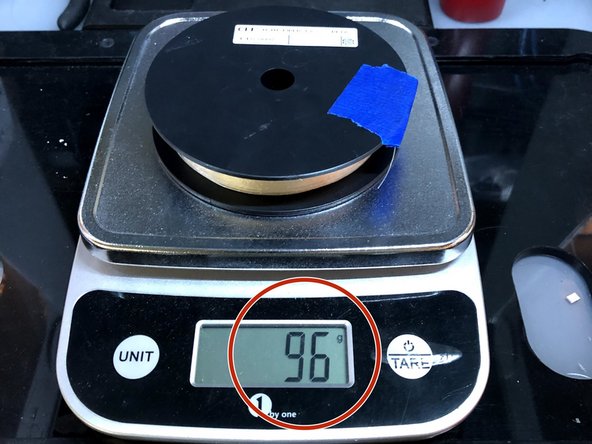
If it is a partial spool weigh it in grams and make a note of it for later
-
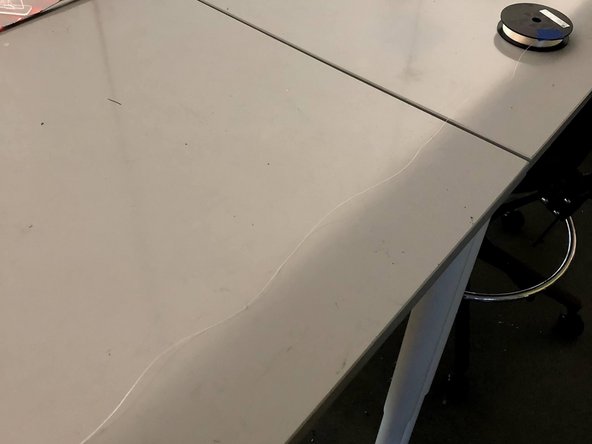
Carefully unwind two and a half feet of material from the spool
-
Re-apply the tape to keep the rest of the material from unspooling
-
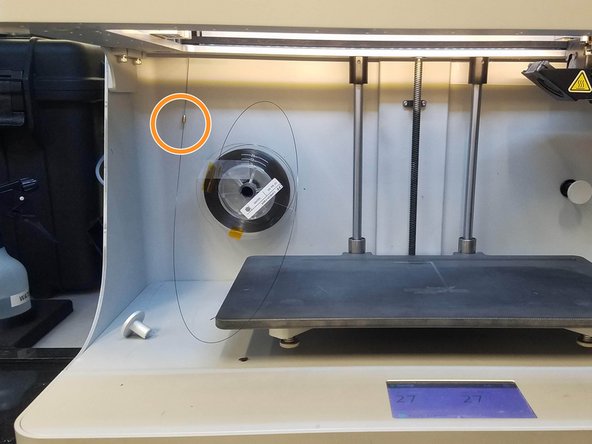
Feed the cut end of the material through the fiber feed tube until it reaches the fiber extruder
-
-
-
Select the menu icon from the dashboard
-
Select Materials
-
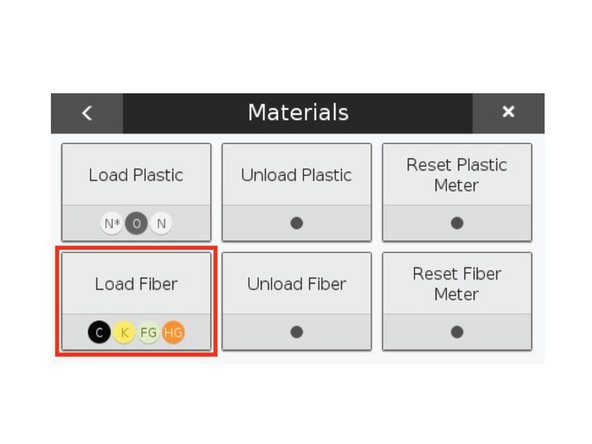
Select Load Fiber
-
-
-
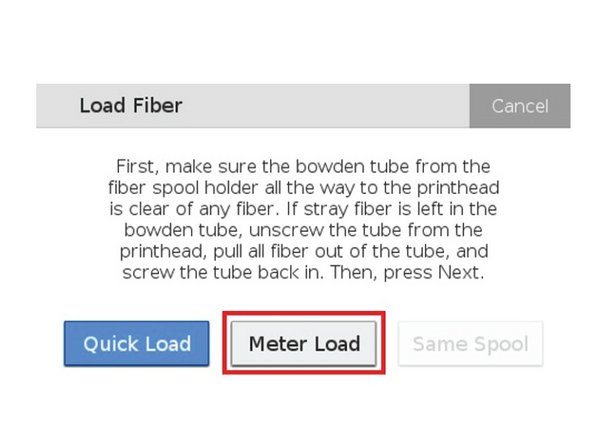
Select Meter Load on the printer's touchscreen
-
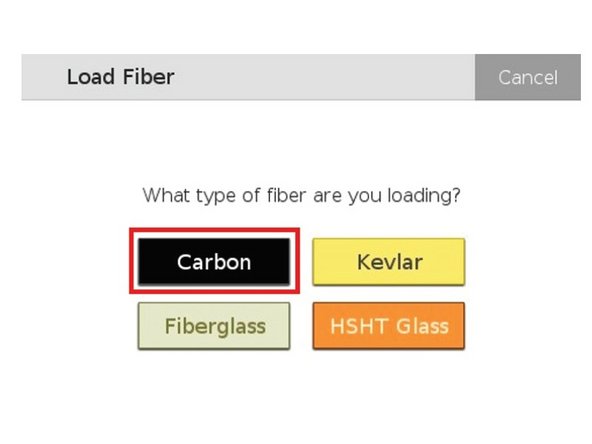
Select the fiber you are loading into your printer
-
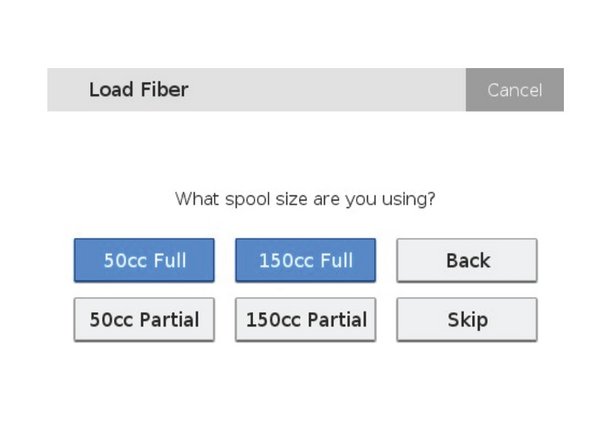
Select the type of spool you are loading
-
This information is on the spool's label as well as its bag label
-
-
-
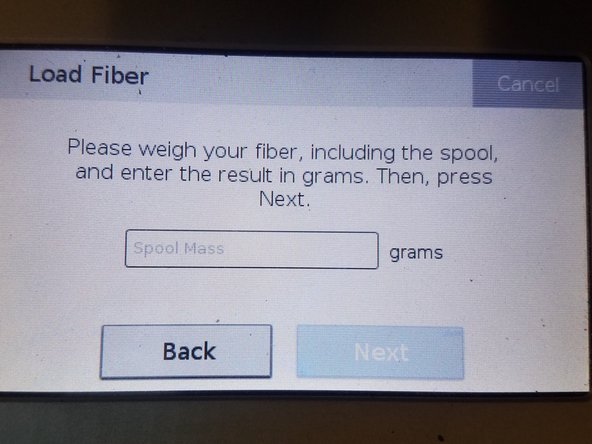
For partial spool's enter in the weight measured before
-
Feed the Fiber into the feed tube until the extruder catches it
-
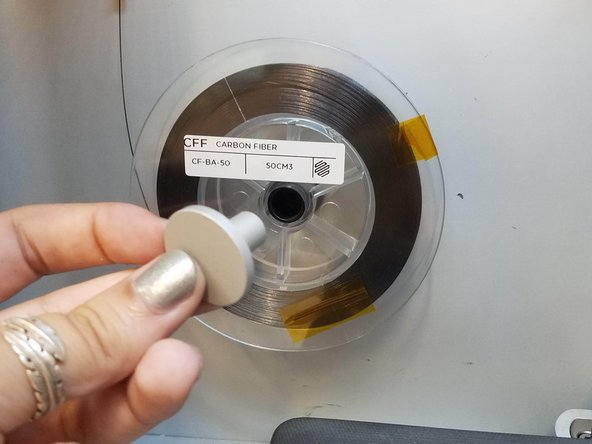
Place the fiber on the spindle and attach the magnetic cap
-
Once under tension, remove the tape
-
Releasing the tape before the fiber is in tension will unspool the fiber and could waste material or hurt you
-
-
-
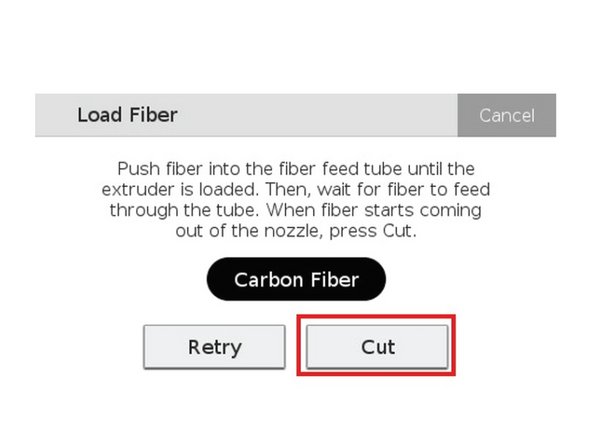
Once the fiber is extruding, press Cut
-
Pressing Cut too soon will likely result in a fiber jam
-
Use tweezers to remove the extruded material from the nozzle
-
If the routine times out, restart the fiber loading procedure by pressing Retry
-
Press Done on the touchscreen to finish the utility
-