Introduction
This guide will explain how to change the filament for the Markforged Mark Two printers if the filament has run out or you need to do a material change. Switching material types will also necessitate a nozzle change.
Sources:
Pictures by: Ashley Recklein, Nico Lagendyk
-
-
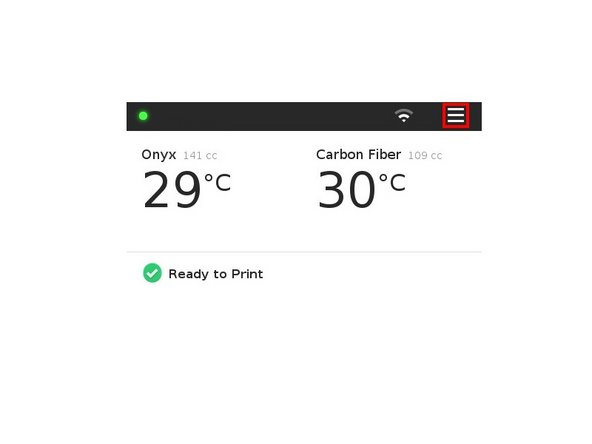
Select the Menu icon from the dashboard
-
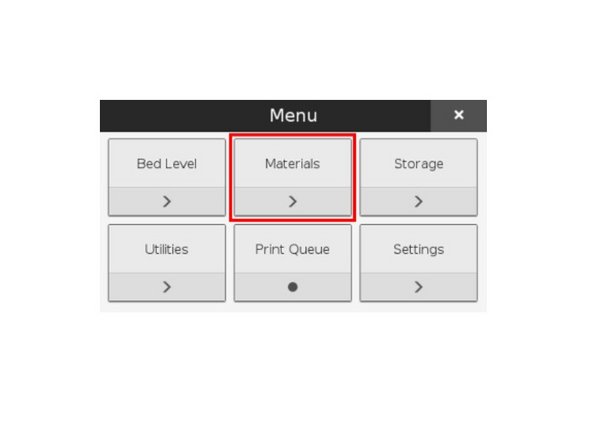
Select Materials
-
Select Unload Plastic
-
Click Next to continue
-
-
-
Push in on the black push-to-connect fitting at the back of the extruder
-
Pull the feed tube from the push-to-connect fitting
-
Expose the plastic material
-
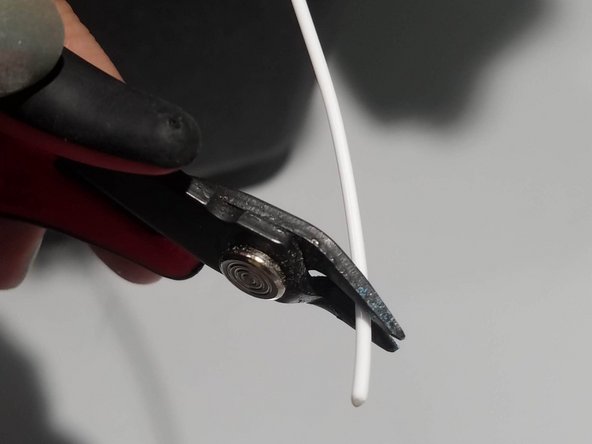
Use a pair of side cutters to cut the exposed plastic at a 45° angle
-
-
-
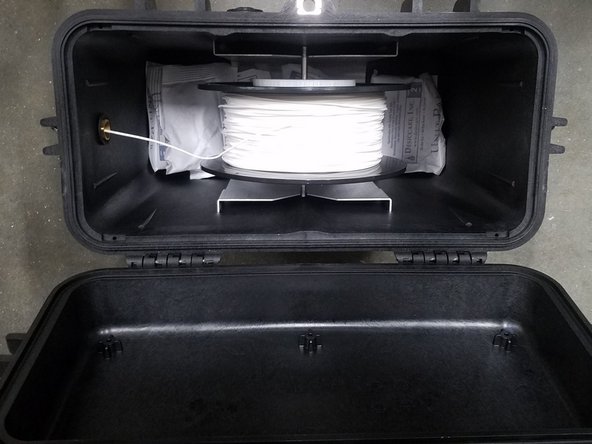
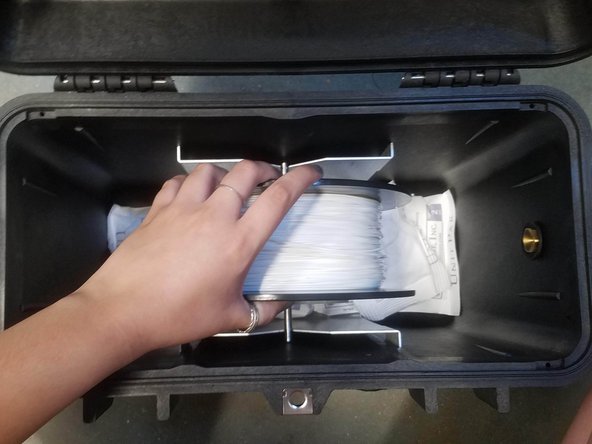
Open the drybox
-
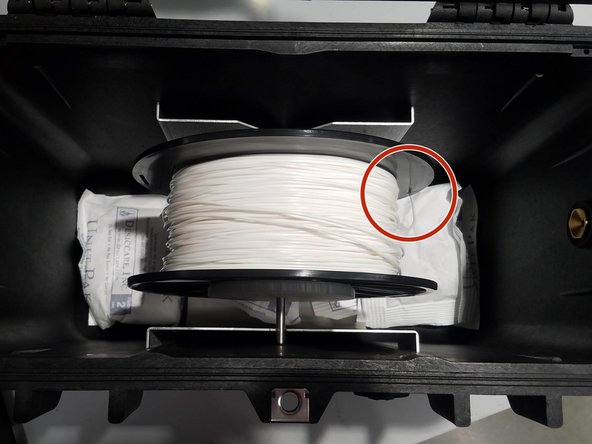
Wind the cut plastic filament back onto the spool
-
Secure the filament in the spool using the through holes
-
Close the drybox
-
Unscrew and remove the Bowden tube from the front (outlet) of the extruder
-
Press Next to begin expelling the cut filament
-
The filament can only be exposed to the air for about 15 minutes before it picks up too much moisture, so limit it's air exposure
-
-
-
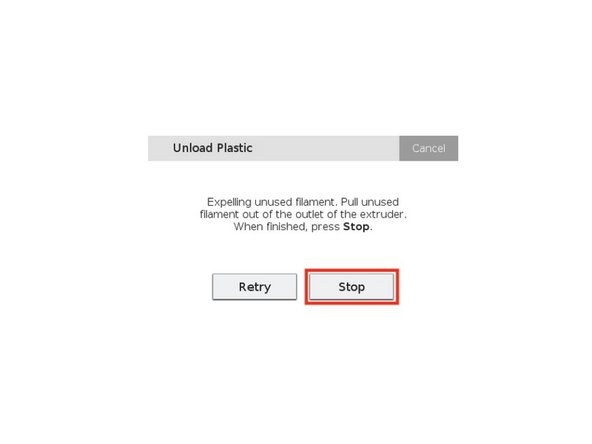
Take hold of the cut plastic material and help direct it free from the plastic extruder
-
Press Stop when the plastic has been completely unloaded from the extruder
-
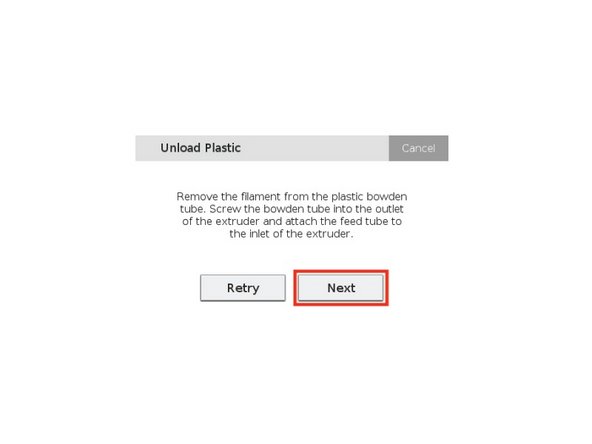
Reinstall the Bowden tube and feed tube to the plastic extruder
-
Press Next
-
-
-
At this point, check if you are switching from one type of material to another
-
It is highly recommended to keep seperate nozzles for each material (Onyx, White Nylon, etc.)
-
If switching material types, please pause and follow the instructions on Nozzle Replacement
-
-
-
This step is only relevant if you need to replace the spool in a drybox
-
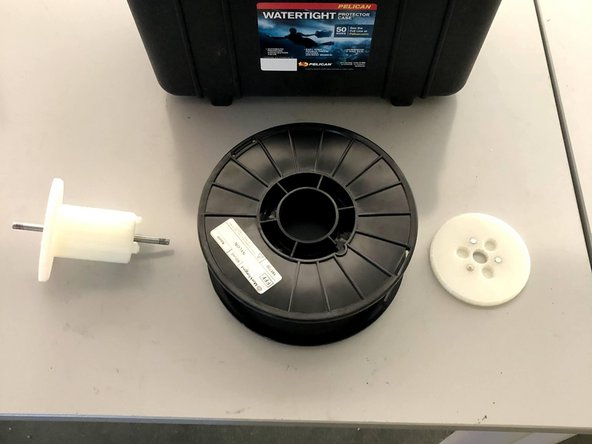
Open your drybox and remove the spindle from the inside
-
Pull the magnetic spindle cap and spindle body apart
-
Remove the new spool from its packaging
-
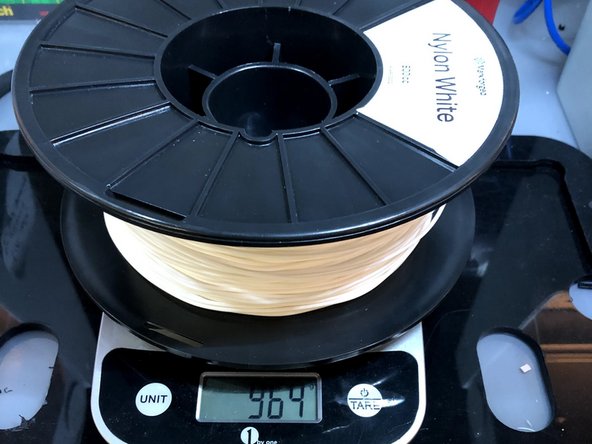
Partial spools need to be weighed using the scale
-
Place the spool on the spindle and attach the magnetic retention cap
-
-
-
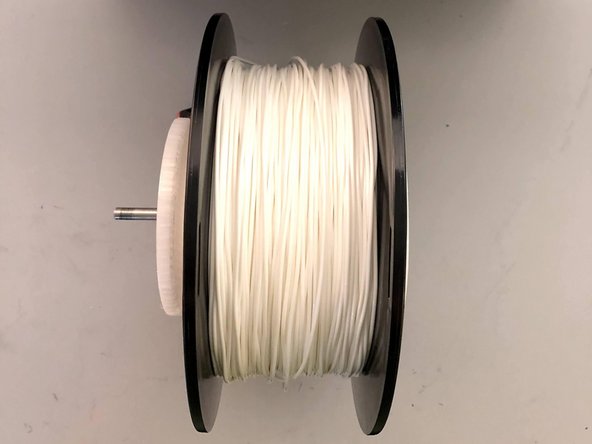
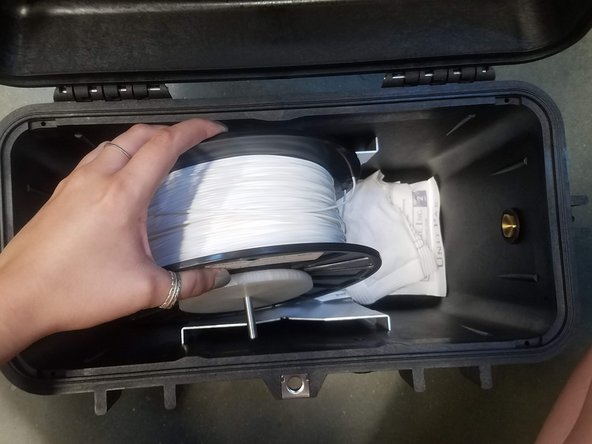
Place the spindle in the drybox such that the plastic filament exits from the top of the spool
-
Always hold the plastic against the spool to prevent unwinding during the loading routine
-
-
-
Cut the plastic filament at a 45 degree angle
-
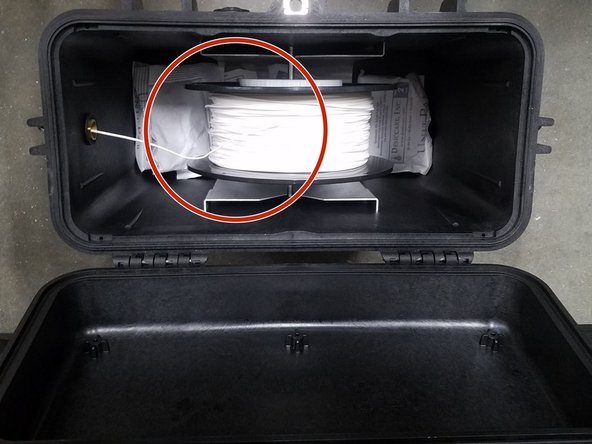
Insert one end of the plastic feed tube into the adapter on the side of the drybox
-
Feed the plastic filament all the way through the tube
-
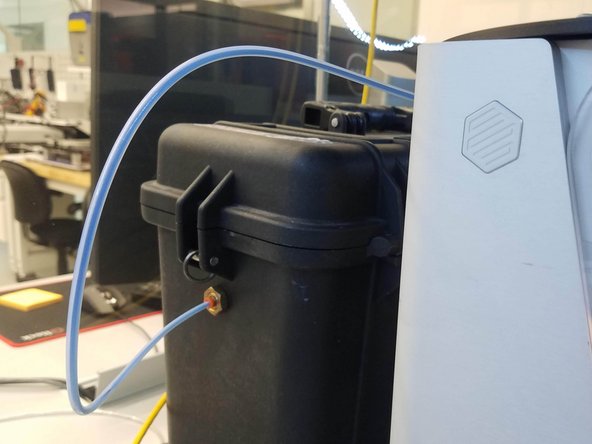
Close the drybox cover and press the latches closed until they click twice each
-
Feed the plastic feed tube through the opening in the back of the printer
-
-
-
Select Menu from the dashboard
-
Select Materials
-
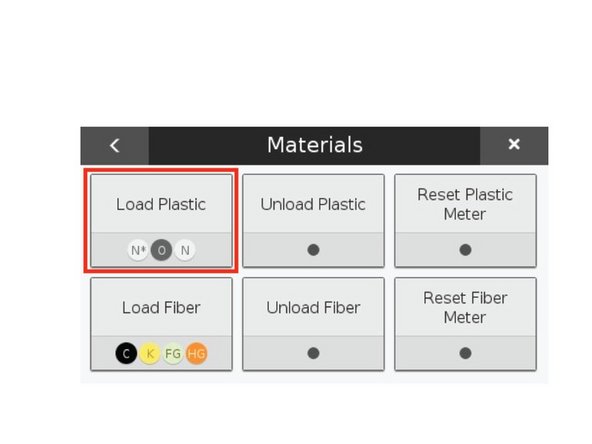
Select Load Plastic
-
-
-
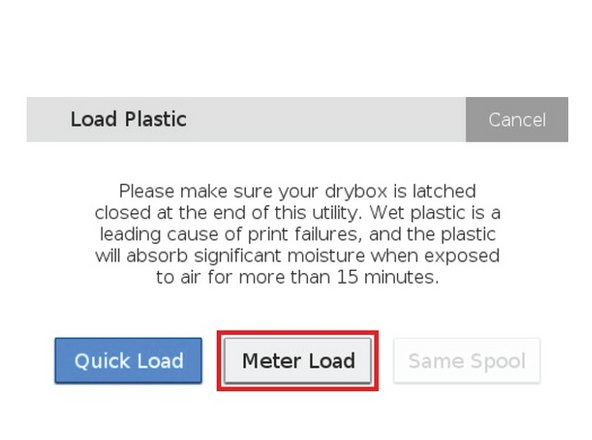
Select Meter Load
-
Select the material you are loading on the printer
-
Select either a full spool or a partial spool
-
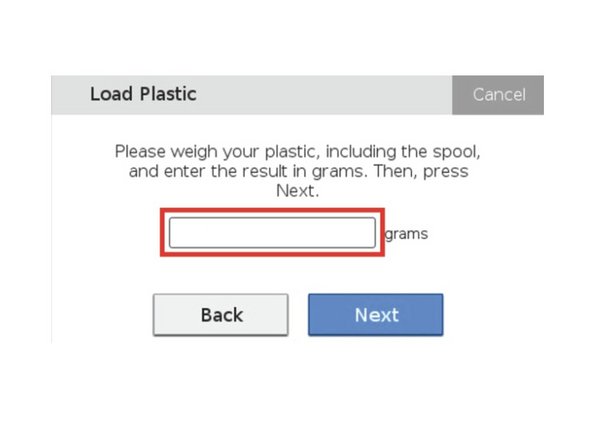
Enter the weight measure before for a partial spool
-
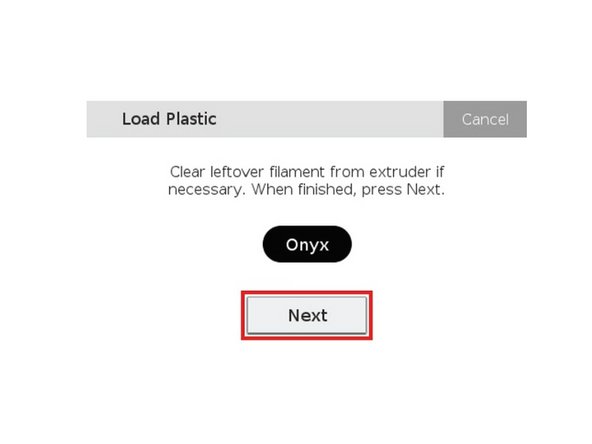
Then wait for the print head to warm up and press Next
-
-
-
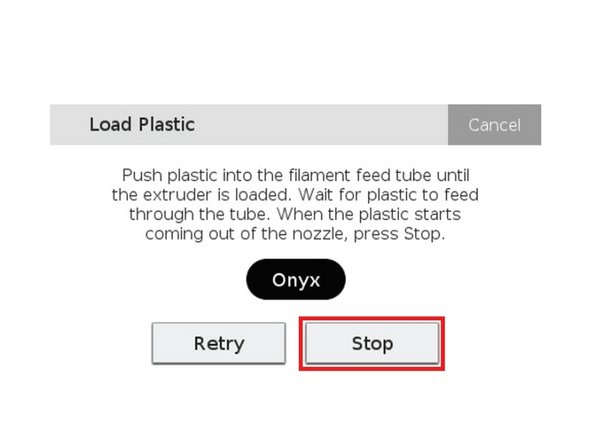
Feed the material from the plastic feed tube into the plastic extruder
-
Insert the feed tube into the extruder’s push-to-connect fitting
-
Press Stop once the material begins extruding from the nozzle
-
Do not be alarmed by the plastic extruder clicking as material is extruding, this is normal and expected behavior
-
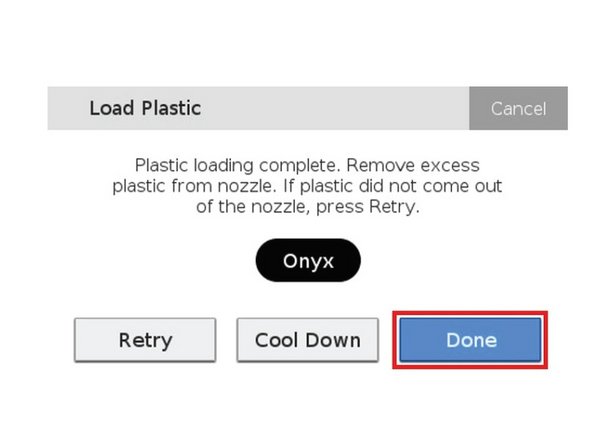
Use tweezers to grab and remove any extruded material that gathers on the nozzle
-
Press Done to exit the utility
-
Press Retry to continue extruding material
-