Introduction
This guide will inform the user of the steps necessary to properly start a print on the Markforged Mark Two.
Images by: Ashley Recklein, Lance Morris.
-
-
To print from Eiger generate a job and select print
-
Learn more in the Eiger: Getting Started Guide
-
To print from the queue:
-
Select Menu
-
Select Print Queue
-
Select Print to print the job onscreen
-
Use the left and right arrows to scroll for other prints
-
-
-
The Markforged printers have incredible build plate adhesion so you must add a layer of glue to be able to remove your part
-
Lift up the plastic Visor
-
Remove the build plate by lifting upwards then pulling out
-
Apply a line of glue to the back edge of the build plate where the purge line will be printed
-
Printing with reinforcement will also create a tower near the back left of the plate, so glue this area as well if needed
-
The area that is used for both the purge line and tower should be fairly obvious from slight wear on the build plate
-
Apply a consistent layer of glue where the part will be printed, and be sure to not miss any spots
-
-
-
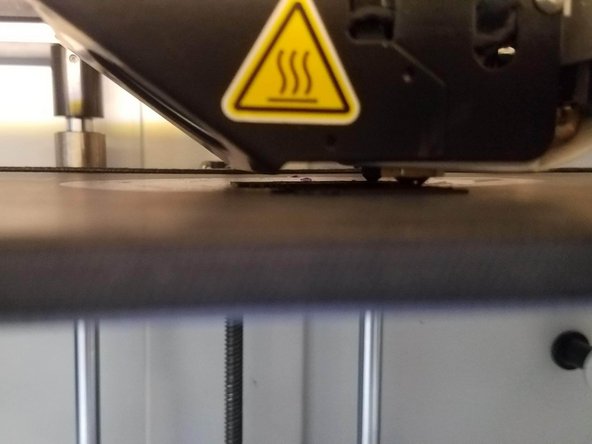
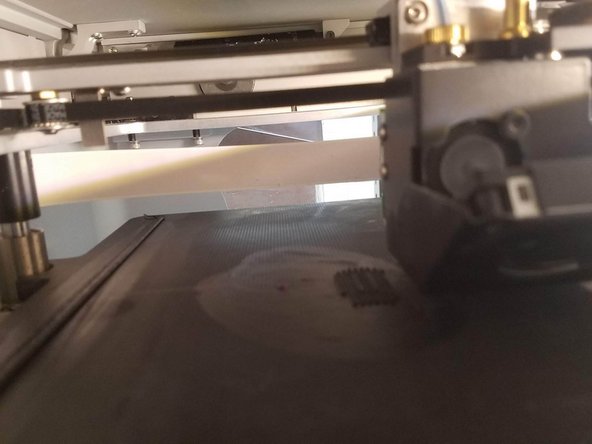
Check the first layer to ensure good adhesion and even extrusion thickness
-
Check intermittently to ensure print success
-