
-
-
Ensure that there are no sample holders or objectives in the Nanoscribe and that the top hatch is closed.
-
Open the NanoWrite software.
-
Select "Calibrate" when the calibration window appears.
-
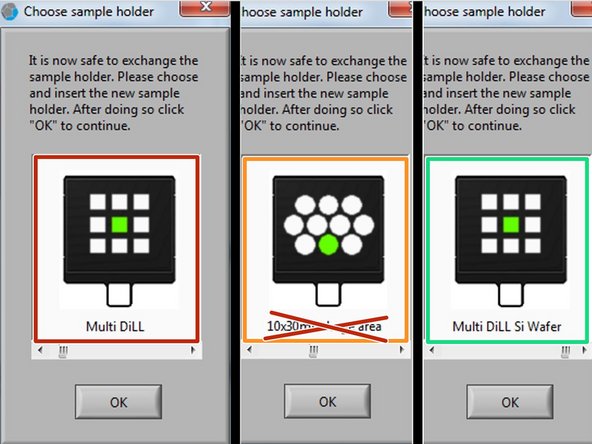
Wait until the "Choose sample holder" window appears before proceeding.
-
-
-
These guides have instructions for loading and unloading sample holders and objectives.
-
Insert the objective you will be using in the correct position.
-
Load your sample holder in the stage.
-
-
-
Choosing the incorrect sample holder option may make it difficult to find the interface, and can even lead to objective damage.
-
Ensure that the top hatch is down and the "Open" button light is off.
-
Select the sample holder setting that corresponds to the print set you are using.
-
DiLL Mode (63x, 25x)
-
Oil Mode (63x, 25x)
-
DiLL Mode (10x) - The picture is incorrect. The correct sample holder to select is "Multi DiLL 10x vlarge Area"
-
Select the position of your slide within the sample holder and click "OK."
-
The positions in this window correspond to the those as viewed from the top side of the sample holder.
-
-
-
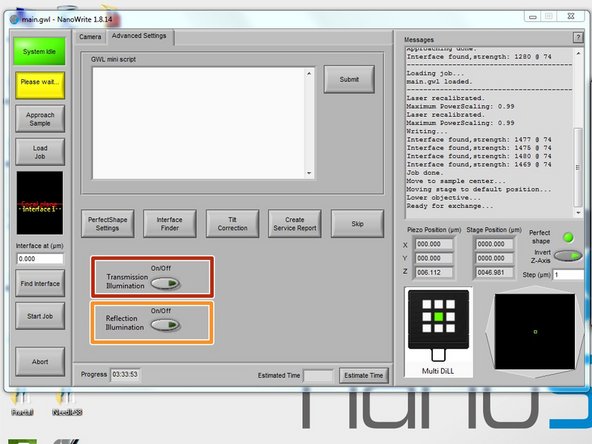
Select "Transmission Illumination" if you are using a transparent substrate (e.g. fused silica, glass coverslip, ITO-coated).
-
Select "Reflection Illumination" if you are using an opaque substrate (e.g. silicon).
-
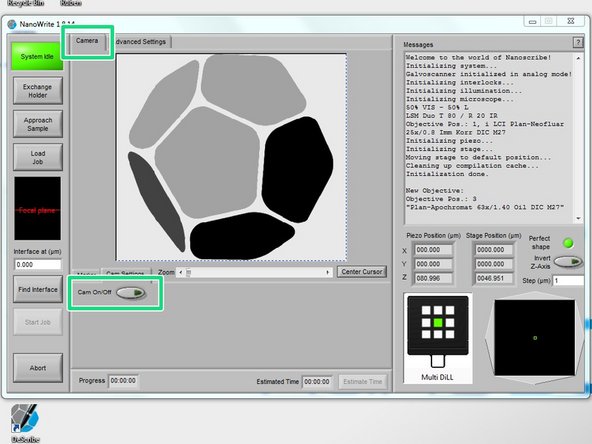
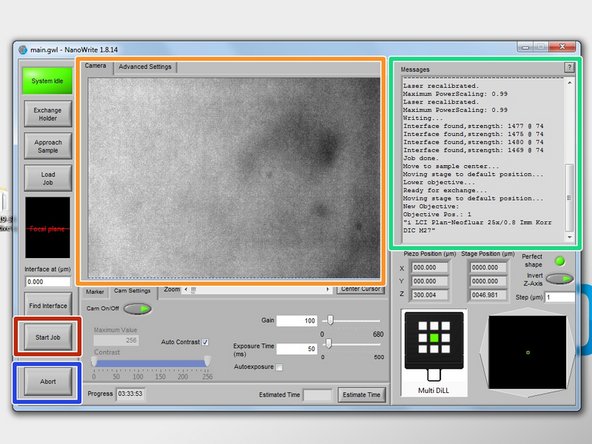
Open the "Camera" tab and turn on the camera.
-
-
-
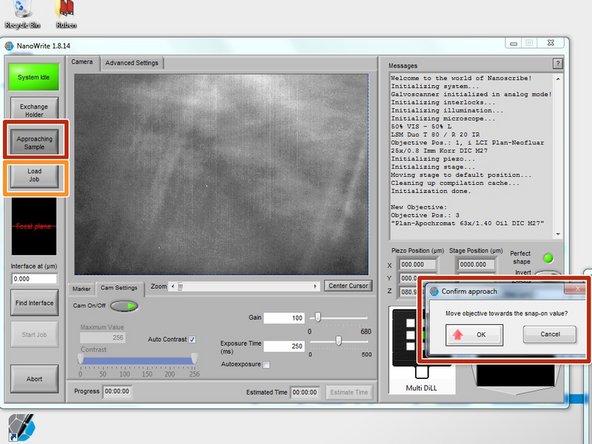
Select the "Approach Sample" button on the left NanoWrite sidebar and click "OK" on the confirmation window that appears.
-
This will move the objective towards the prepared substrate and find the interface of the slide and photoresist.
-
Select the "Load Job" button and open the .job file that you would like to print.
-
-
-
Select "Start Job" once the file has loaded.
-
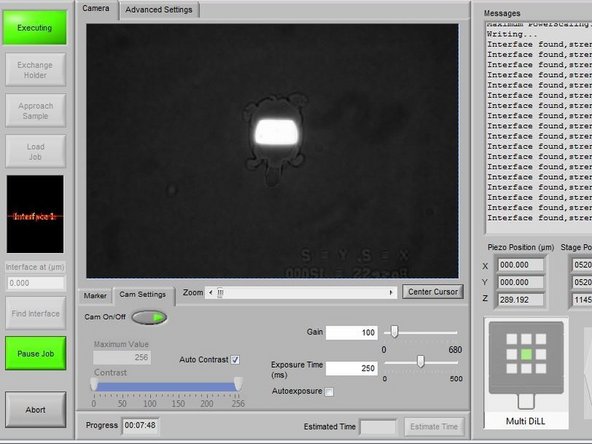
Watch the print in the camera view to ensure it is printing correctly.
-
For longer prints, only the first few minutes are generally needed to verify this.
-
The laser path should be clearly discernible when printing (see the second image). If it is absent, very faint, or fuzzy, abort the print and troubleshoot.
-
View relevant readouts about the print, such as error messages, in the message log.
-
Use the "Abort" button to stop the print if necessary.
-
-
-
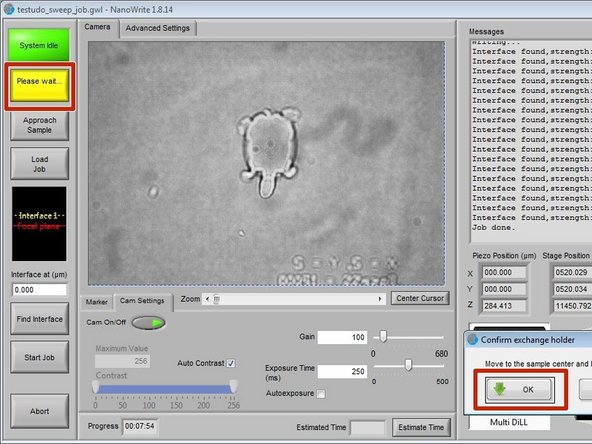
Your print is complete when you see the "Job Done" message in the message log.
-
Click the "Exchange Holder" button and select "OK" when the confirmation prompt appears.
-
Remove the sample holder as instructed in this guide.
-
-
-
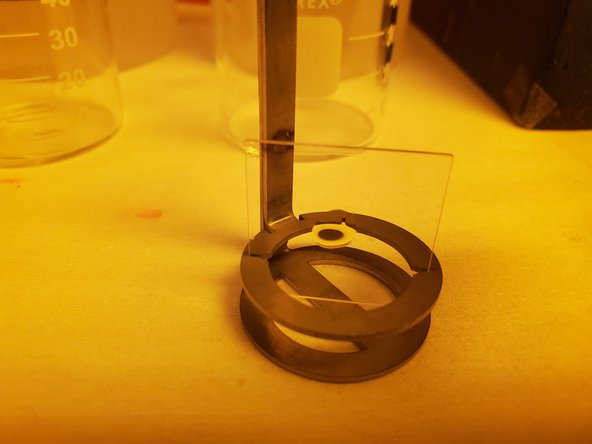
Prepare PGMEA, IPA, two beakers, and a substrate holder.
-
For oil mode prints: Remove the oil on the bottom of the slide by wiping it with a non-woven cloth.
-
Remove the tape from the slide.
-
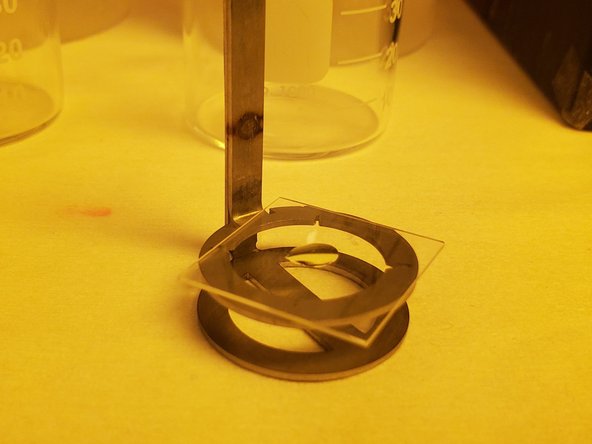
Place the slide onto the substrate holder.
-
This can be done either by laying the substrate horizontally across the top circle (the most convenient method), or by inserting it vertically in the slots provided (the most effective method).
-
-
-
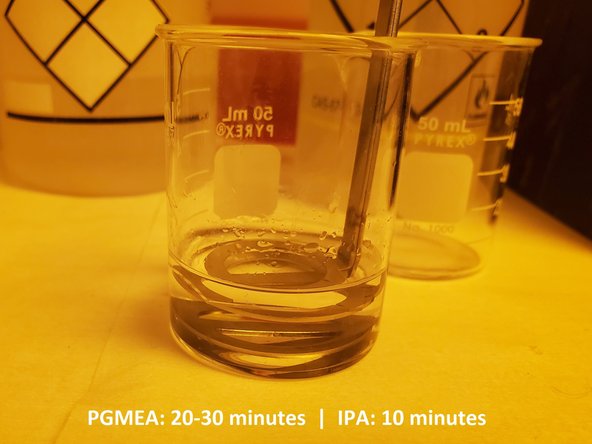
Fill a beaker with the developing solution, PGMEA; there should be enough to cover the slide entirely.
-
Place the substrate holder with the print into the PGMEA and let sit for 20-30 minutes.
-
Fill a beaker with IPA.
-
Move the substrate holder with the print from the PGMEA to the IPA and let sit for 5 minutes.
-
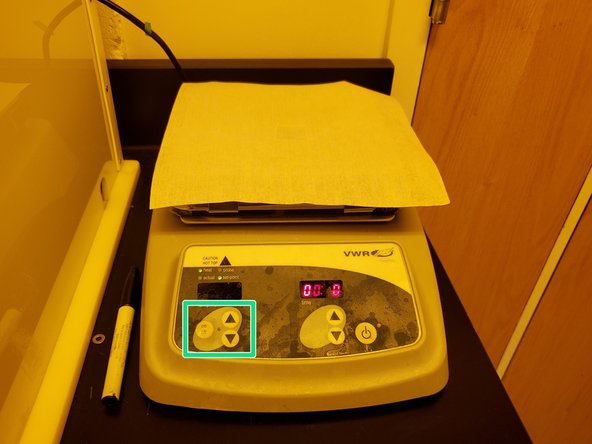
Remove the print from the IPA and either let it sit on the hot plate (50-80 °C) until the IPA evaporates or blow-dry the print with the nitrogen gas.
-
If using the hot plate, make sure you turn on the heating function (indicated in green in the third image) in addition to the main power.
-
-
-
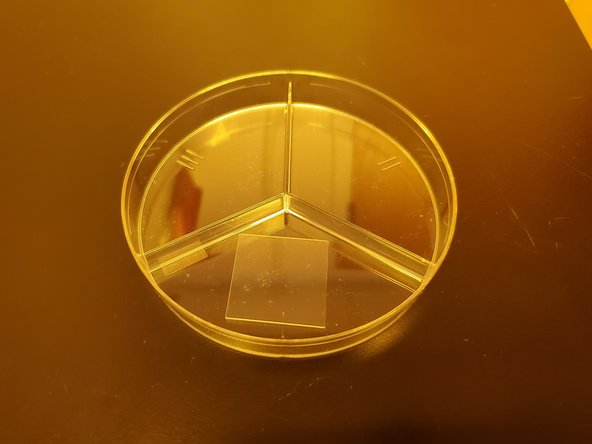
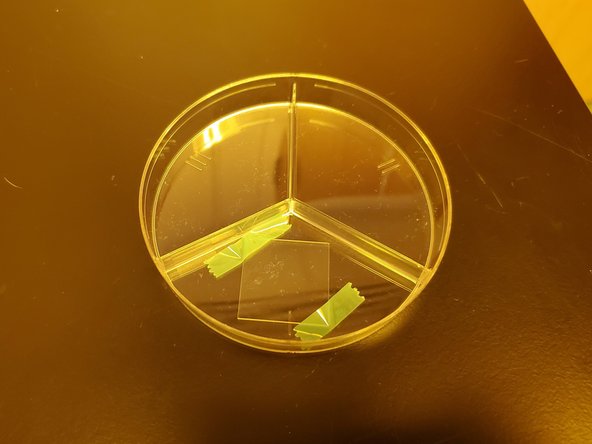
Place your developed print into a petri dish for convenient transport.
-
Secure the edges or corners of the print to the petri dish, if necessary (e.g. if you are placing it in a bag or are shipping it).
-
-
-
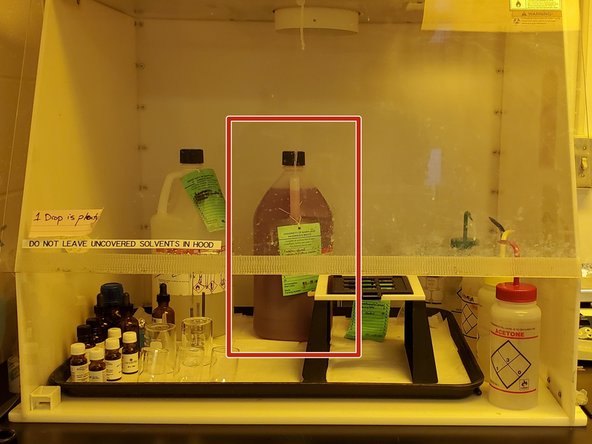
Pour the PGMEA and IPA into the right container.
-
Rinse the beaker with IPA, also discarding into the right container.
-
Ensure the cap of the container is secure.
-


Cancel: I did not complete this guide.
2 other people completed this guide.