
Introduction
This guide will walk you through preparing a sample to be printed. The general strategy is the same for all print sets: clean the slides, secure the slides to the sample holder, and apply the printing material. Considerations for specific print modes and print sets will be specified.
-
-
For the standard print sets, there are two main sample holders you will use. They are helpfully labeled to show which side of the slide the photoresists and oil should be placed.
-
Select the 10x30 mm large area holder for oil mode prints.
-
Select the 3x3 Multi DiLL holder for DiLL mode prints.
-
-
-
Select the slide type that corresponds with your print set and mode:
-
Oil mode (63x and 25x): Glass coverslips
-
63x DiLL mode: Fused silica slides
-
25x DiLL mode: ITO-coated slides
-
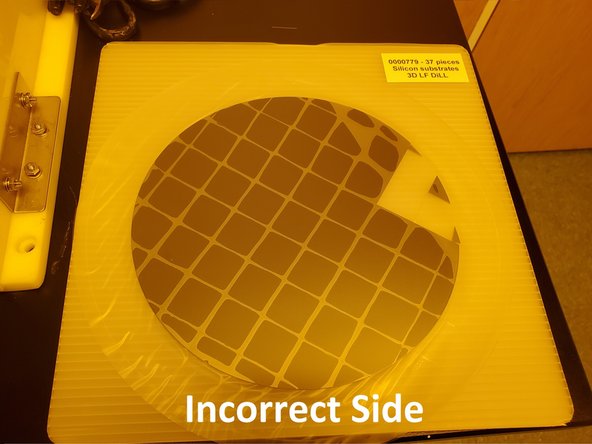
10x DiLL mode: Silicon wafers
-
For the glass coverslips and fused silica slides, you can use either side of the substrate as your print surface. ITO-coated and silicon substrates have a specific side you must use as your print surface.
-
-
-
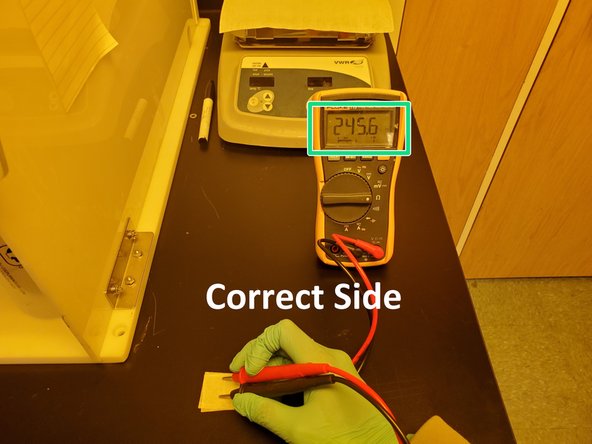
The coated side of the ITO substrate must face the objective. This is the side onto which you will place the photoresist.
-
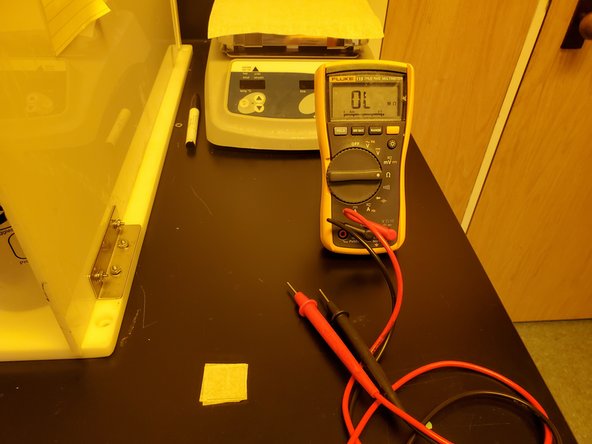
Use a multimeter to detect the conducting side, which is the side with the ITO coating.
-
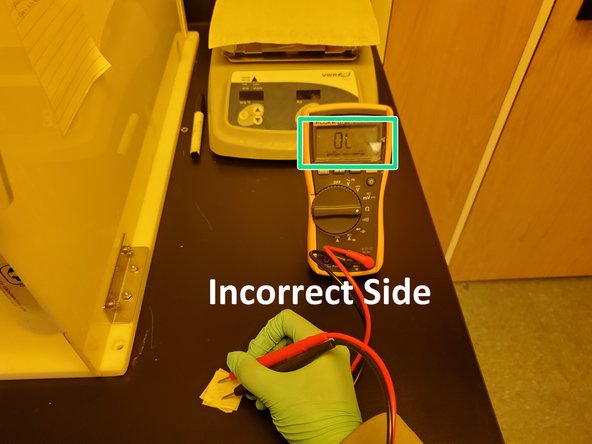
The coated side should have a resistance of 100-300 ohms. The glass side should have an OL reading.
-
Keep track of the coated side of the substrate so that you can place it facing upwards on the bottom side of the sample holder.
-
-
-
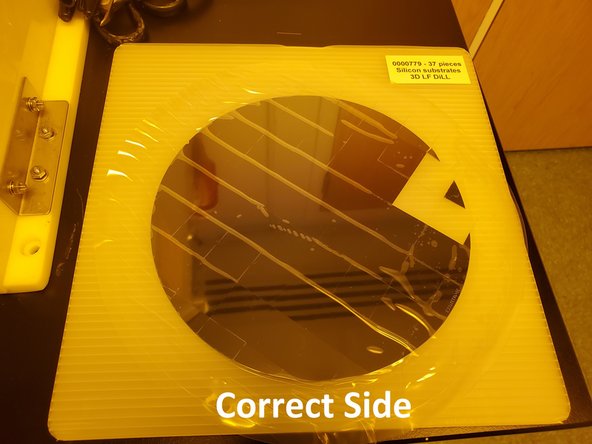
Use the polished side of the substrate as the print surface, which is the side you put the photoresist on.
-
The polished side with be much more reflective than the back of the substrate.
-
-
-
Substrates should always be cleaned before use. This helps keep the photoresist from spreading out too much over the slide.
-
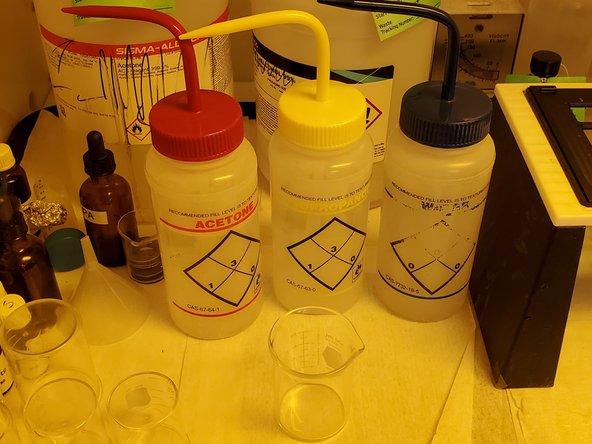
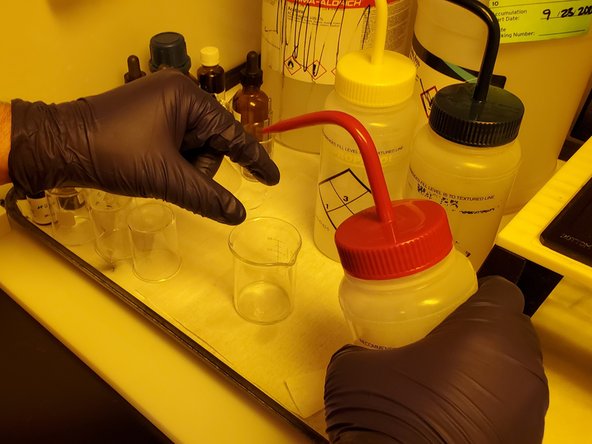
Ready a large beaker to catch the chemicals as you use them to rinse the slide.
-
Rinse the substrate first with acetone, then with isopropyl acohol (IPA) and water.
-
Blow-dry the slide using the nitrogen gas gun to remove all residual droplets.
-
Alternatively, it is also acceptable to wipe the slides with a clean non-woven cloth.
-
-
-
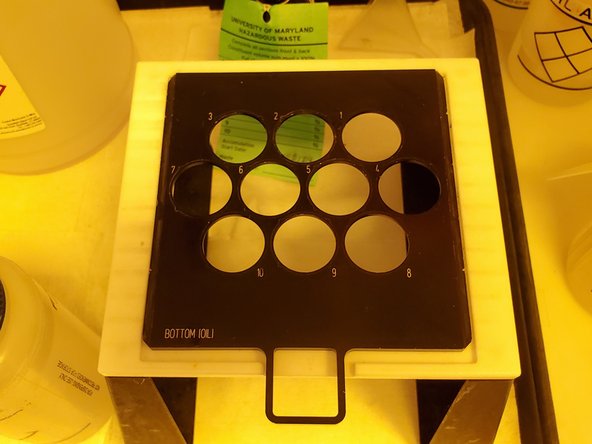
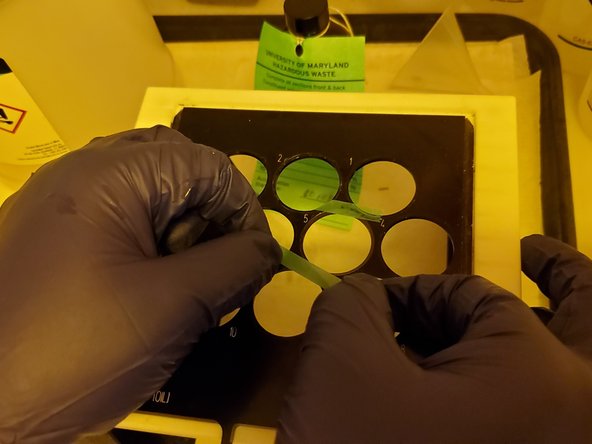
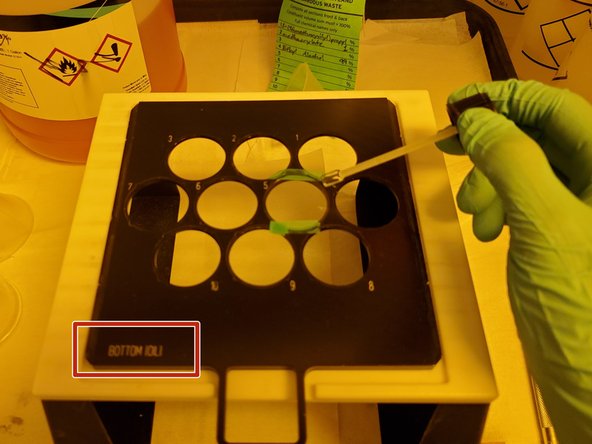
Place the cleaned substrate into the depression of the desired sample holder position. For ITO-coated and silicon substrates, ensure that the print surface is facing up.
-
The depression will be located on the side labeled "bottom."
-
It is best to place the slides in the center position when possible, as it offers the most uniform transmission illumination.
-
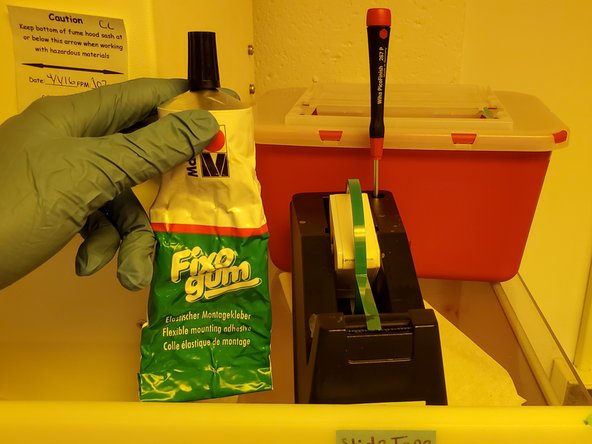
Fix the substrate to the slide holder using slide tape.
-
-
-
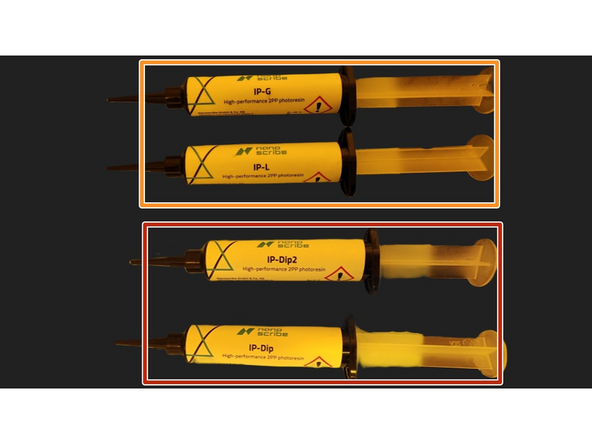
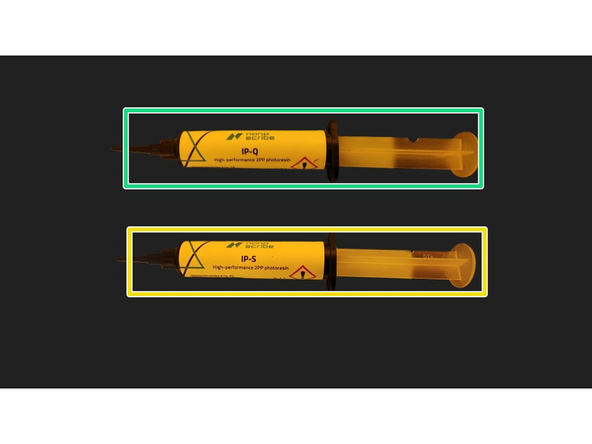
Select the photoresist that corresponds to the print set you are using:
-
63x DiLL mode: IP-Dip or IP-Dip2
-
63x oil mode: IP-L or IP-G
-
25x DiLL and oil mode: IP-S
-
10x DiLL: IP-Q
-
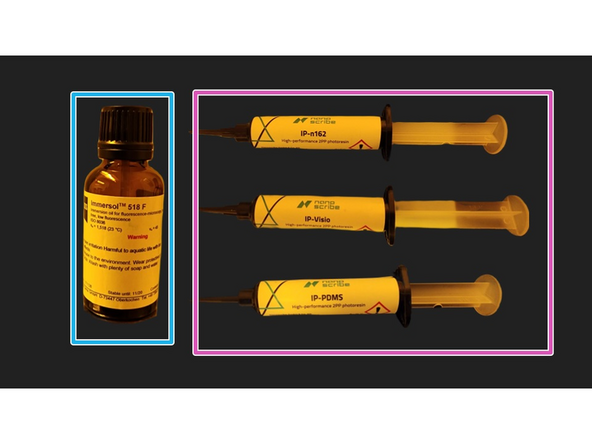
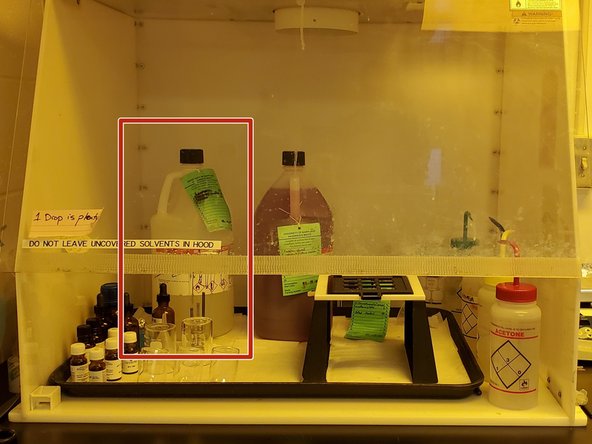
Use the Immersol immersion oil in addition to the photoresist if you are printing in oil mode.
-
We stock additional resins, such as IP-n162, IP-Visio, and IP-PDMS. Search for them on Nanoguide to find their print sets and applications.
-
There are many more print sets listed on Nanoguide for combinations of the above objectives and resins, resins that aren't normally stocked, or custom resins.
-
-
-
Ensure that the slide holder is positioned with the side labeled "bottom" facing upwards.
-
Apply a drop or two of the immersion oil to the center of the slide.
-
There should be enough oil on the substrate to form a slight dome.
-
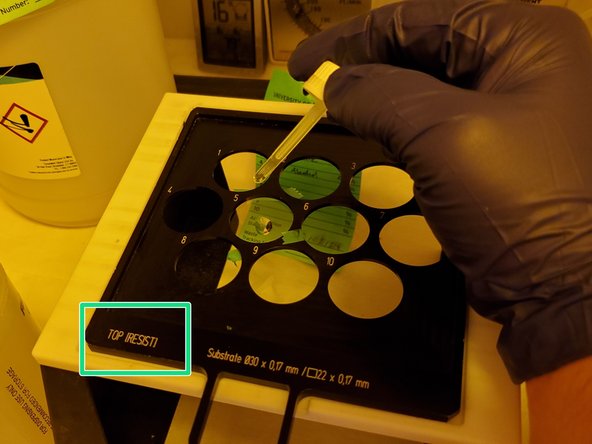
Flip the slide holder over, and apply a drop of photoresist to the top of the slide.
-
Unlike DiLL mode, the objective in oil mode is unable to bring the photoresist with it as it moves along the substrate, so you must ensure that there is photoresist wherever you intend to have a part printed.
-
-
-
Ensure that the slide holder is positioned with the side labeled "bottom" facing upwards.
-
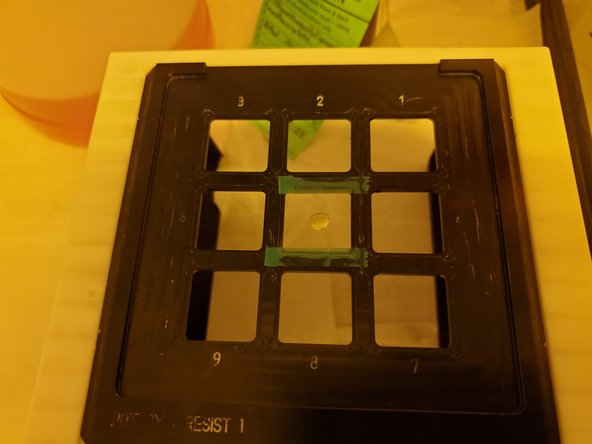
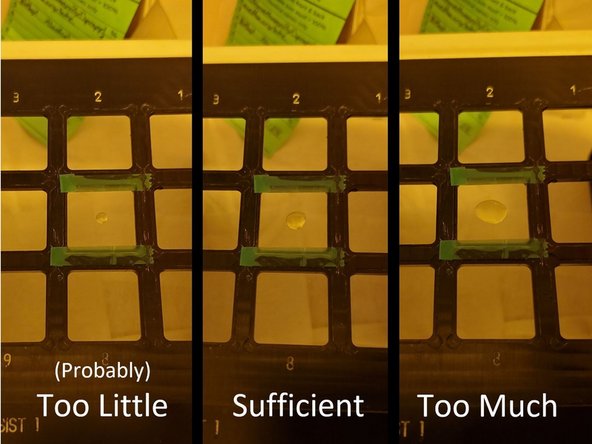
Place a drop of the resist on in the middle of the substrate.
-
For most prints, a single drop is sufficient. For very large prints, or prints covering a large surface area (e.g. printing in different corners of the slide), multiple drops may be required.
-
-
-
Only put enough oil/photoresist on the bottom of the slide as you need. Using more that one or two drops can cause the substrate to drip while it is in the Nanoscribe.
-
Use enough photoresist that you cover your intended print surface and that a slight dome is created.
-
If more than a few drops of photoresist is needed for 10x prints, place additional drops onto the 10x objective after inserting it into the objective carousel.
-
Make sure you're using the resin stop so that the additional photoresist can pool on the objective lens.
-
-
-
Pour the beaker with the pre-wash chemicals into the left container.
-
Rinse the beaker with IPA, also discarding into the left container.
-
Ensure the cap of the container is secure.
-


Cancel: I did not complete this guide.
2 other people completed this guide.
Team
One Comment
More emphasis should be placed on the chemicals hygiene part of this, including cleaning up the work area and differentiating between chemical waste
Brandon Charles Hill - Resolved on Release Reply