
-
-
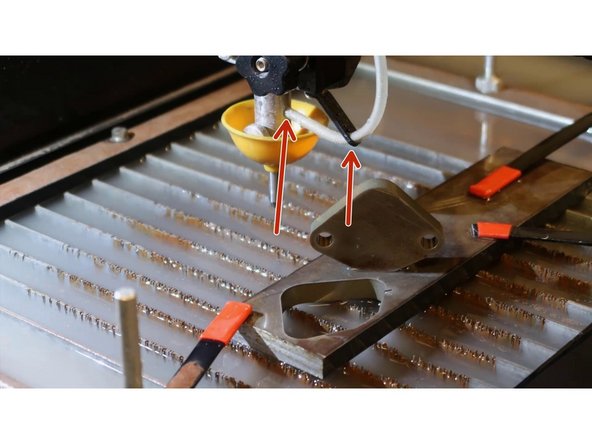
Move the nozzle, so that there is nothing below it
-
Ideally the nozzle should be between the metal slats, if installed
-
If you need further information on the location. Please refer to the link in the description.
-
-
-
Make sure the splash guard is up.
-
-
-
Remove the garnet tube from the nozzle body.
-
-
-
Close the Water jet cover
-
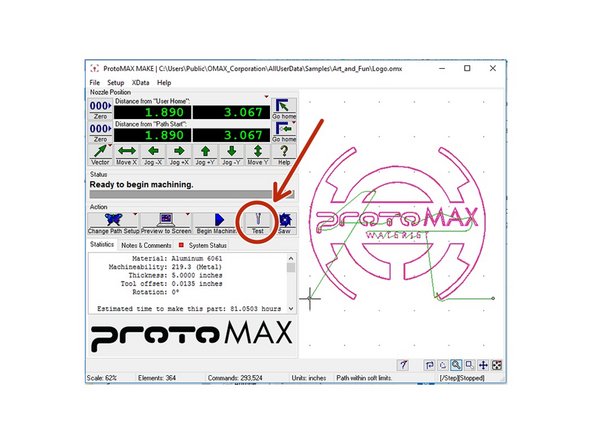
proceed to the application on the laptop.
-
-
-
Click the test button on the console/home screen
-
-
-
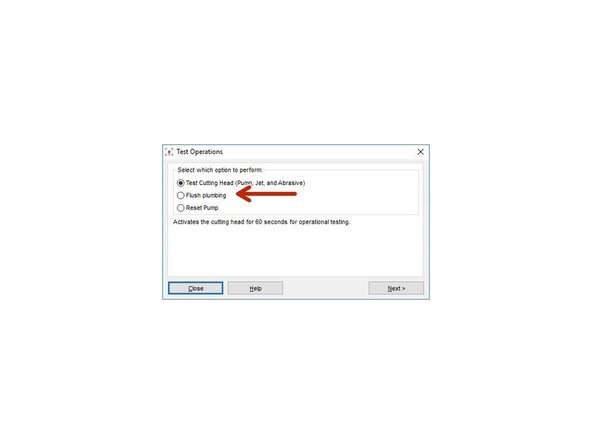
Choose the "Flush Plumbing" option
-
Continue to the next window
-
-
-
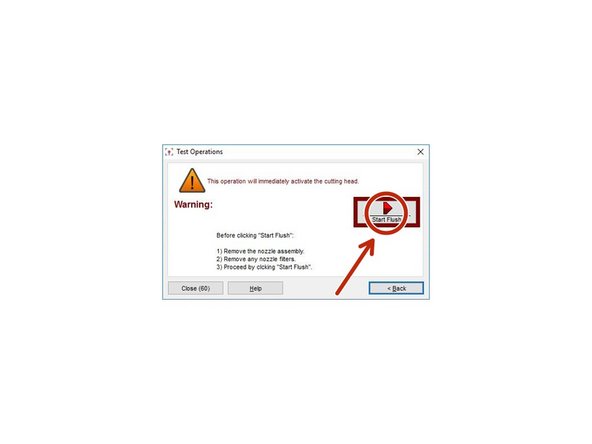
Start the process, by hitting the button shown.
-
Wait for about 10 seconds, for it to flush any garnet left in the nozzle.
-
After 10 seconds, go ahead and cancel the process.
-

Cancel: I did not complete this guide.
4 other people completed this guide.