Introduction
This guide will show how to use the Oscilloscope and cover basic measurement
Tools
Parts
No parts specified.
-
-
Press power button in to turn the scope on.
-
Connect probes by inserting into one of the four inputs and twisting clockwise until it clicks.
-
-
-
An oscilloscope measure voltage across two points.
-
Connect this part to the signal you want to measure.
-
Connect this part to ground.
-
Each probe's ground is connected together so be careful not to create a short circuit when probing multiples parts of the circuit.
-
If you need a ground to connect your circuit to, the oscilloscope has a built in ground located under the monitor.
-
-
-
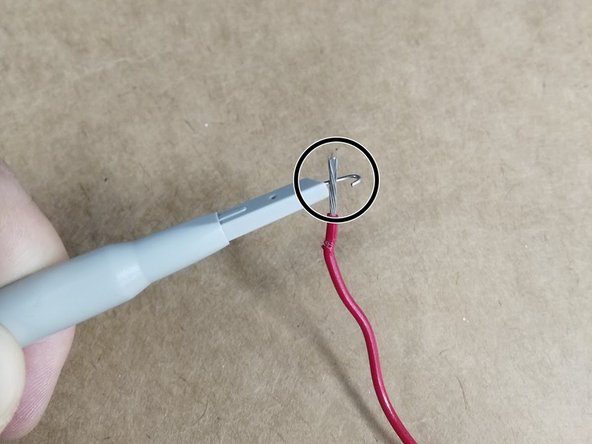
Pull back the plastic cover of the probe to reveal a metal hook. Hook this around what you want to measure.
-
You can also pull the plastic cover off to reveal a sharp point which can be inserted into the breadboard.
-
Make sure you connect the black probe to ground.
-
-
-
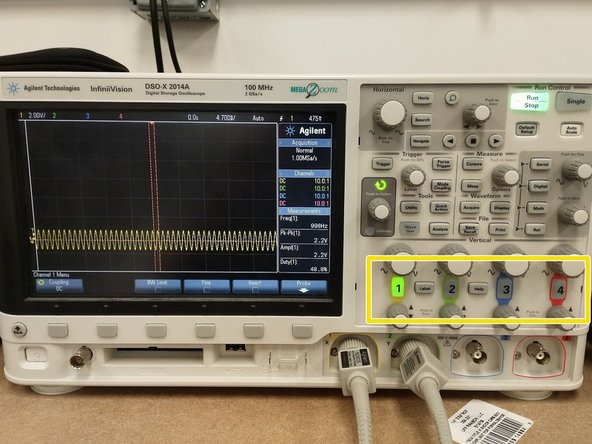
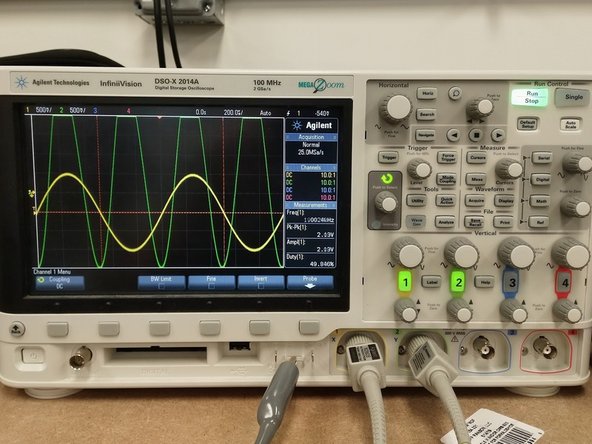
Press the numbered buttons to show/hide the four inputs on the screen.
-
Your signal may not be very clear initially. Most of the time pressing the auto-scale button will scale the signal so that it appears on the screen nicely.
-
-
-
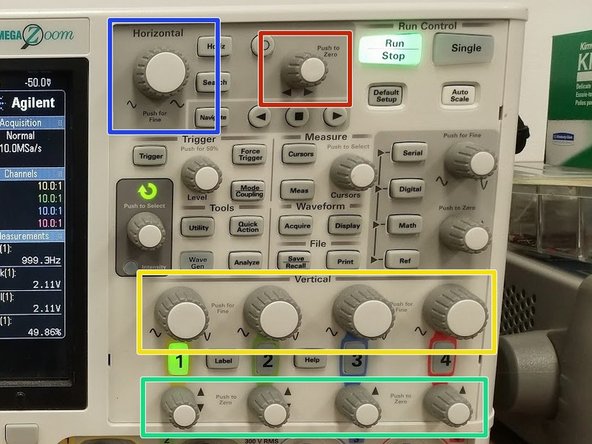
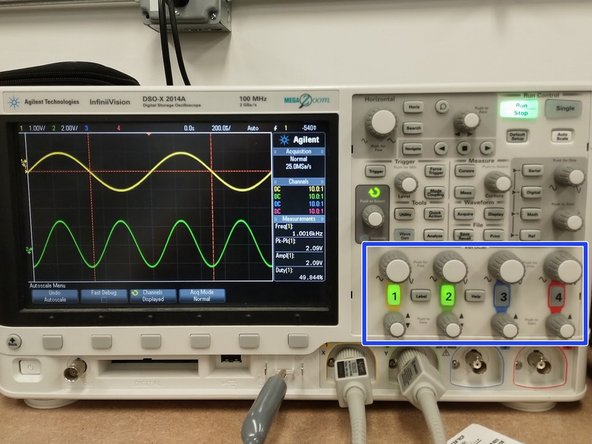
You can also adjust the scale manually.
-
Vertical Scale - Clicking the knob will toggle between fine and rough tuning.
-
Horizontal Scale - Clicking the knob will toggle between fine and rough tuning.
-
Vertical Offset - Clicking the knob will re-center the waveform.
-
Horizontal Offset - Clicking the knob will re-center the waveform.
-
-
-
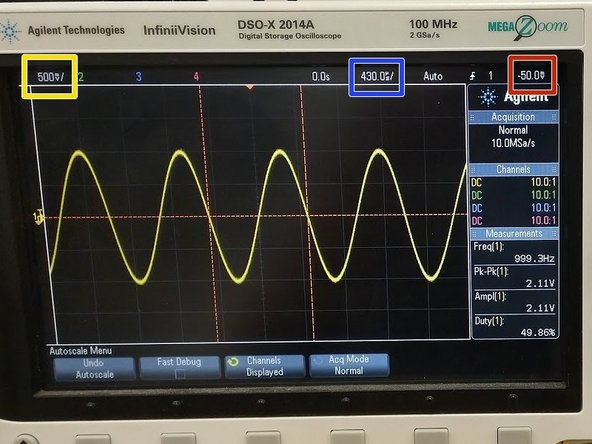
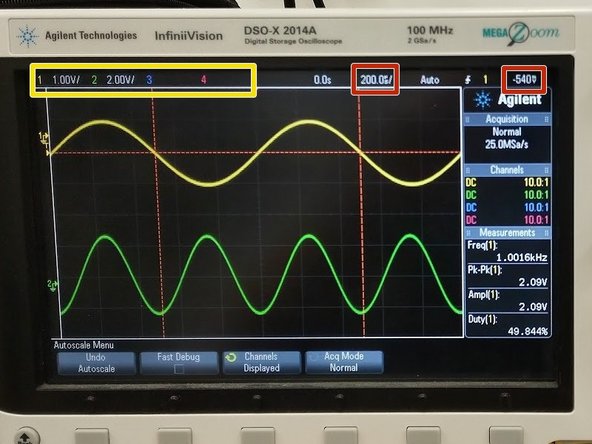
Some scale information is located at the top of the screen, above the signal.
-
Vertical Scale.
-
Horizontal Scale.
-
Horizontal Offset.
-
-
-
You can simultaneously measure up to four signals at a time.
-
All signals have separate controls for vertical scaling and vertical offset, so that you can adjust them to be easier to read.
-
Vertical scaling can be different for each signal.
-
Horizontal Scaling and Horizontal Offset will be applied to all signals.
-