
Introduction
This guide will explain all the steps necessary to properly remove a print, cure a model, and remove supports from a print using the Nexa3D XiP.
-
-
Inspect the model for any visible failures. It may be helpful to pull up the stl file on a computer to compare.
-
Look for floating debris in the tank.
-
If there was no floating debris and the part looks successful, select "YES" on the touch screen.
-
If the part was unsuccessful, select "NO" to begin tank cleaning procedures. Refer to a separate guide.
-
-
-
Gloves must be worn at all times when handling uncured resin or the build plate.
-
Safety goggles must be worn for removing cured supports from the model, but gloves are not required
-
-
-
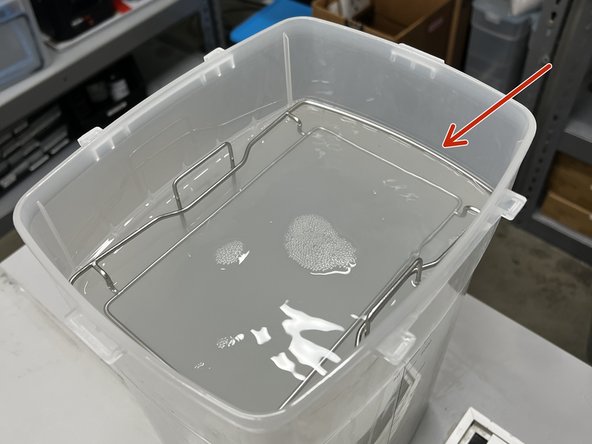
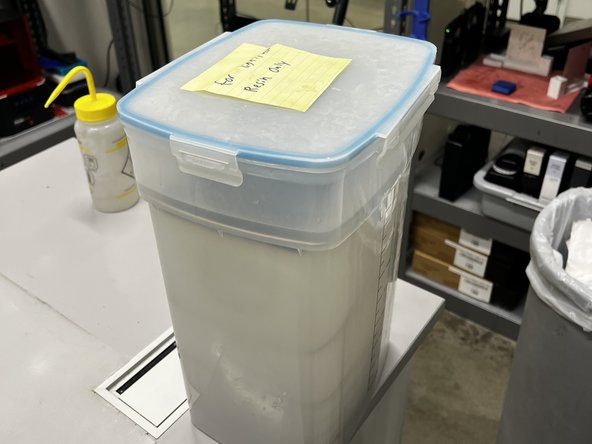
Find the correct IPA tank and place it on the table.
-
There is a "light" tank and a "dark" tank. The light tank is for white and clear, and the dark tank is for black resins. This prevents light parts from getting stained black during washing.
-
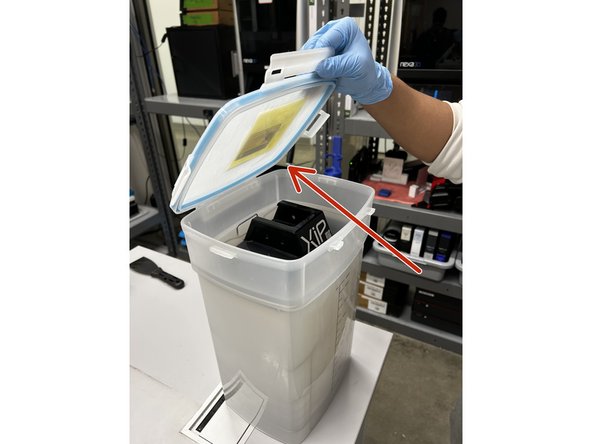
Open the lid and inspect the metal holder. There should be a basket at the bottom and a rectangular frame on top.
-
-
-
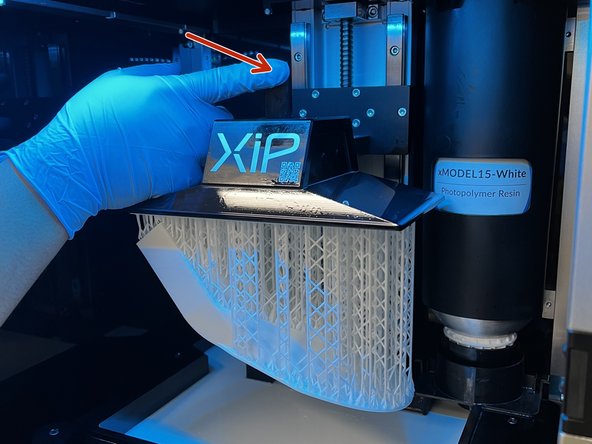
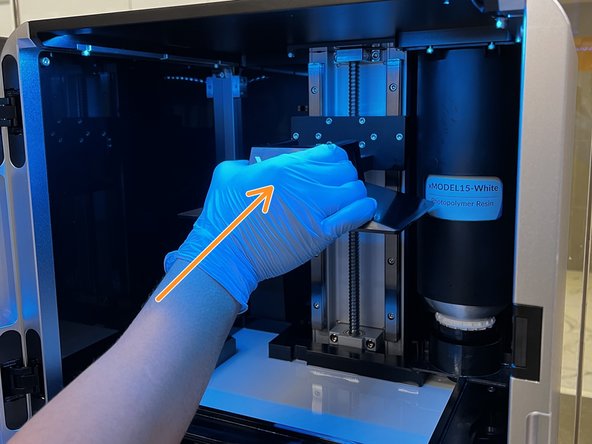
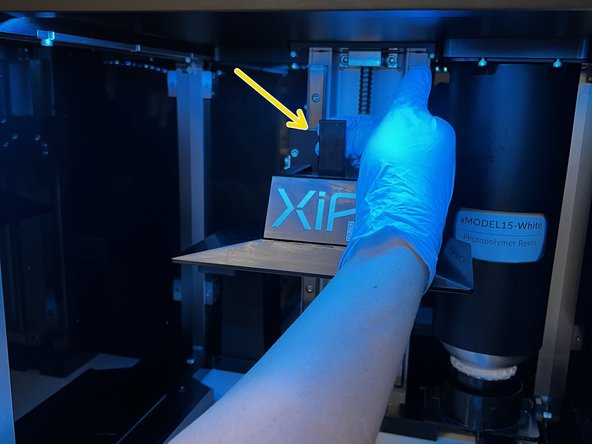
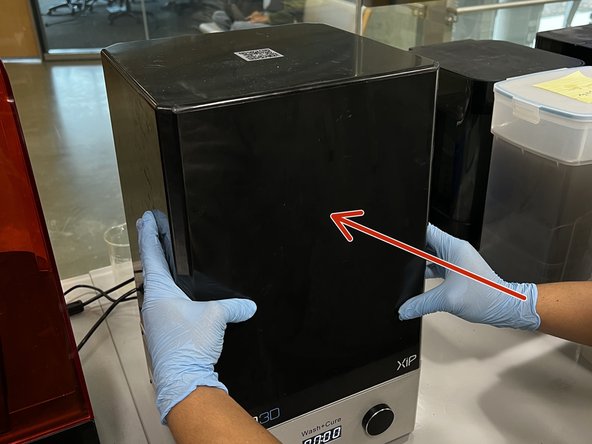
Push down on the latch holding the build plate in place.
-
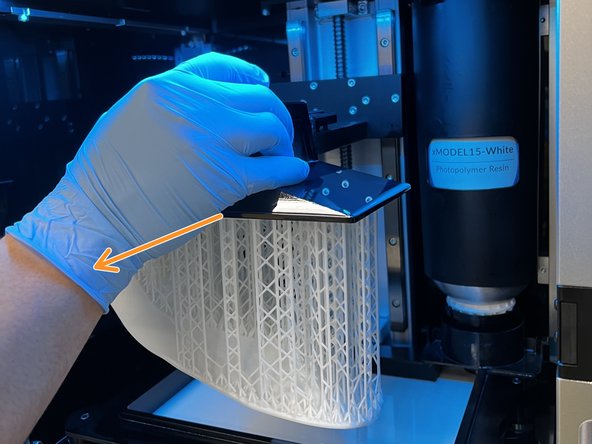
Pull the build plate out of the XiP.
-
-
-
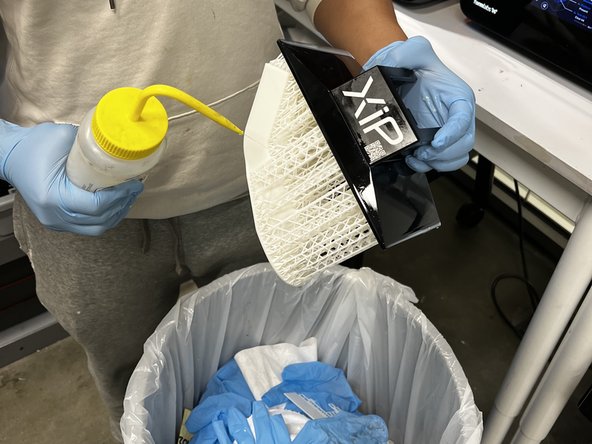
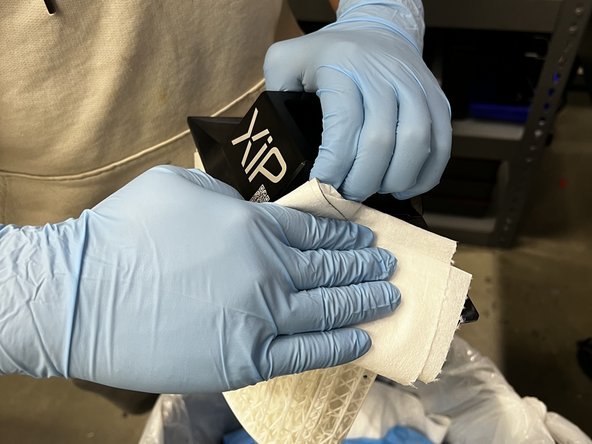
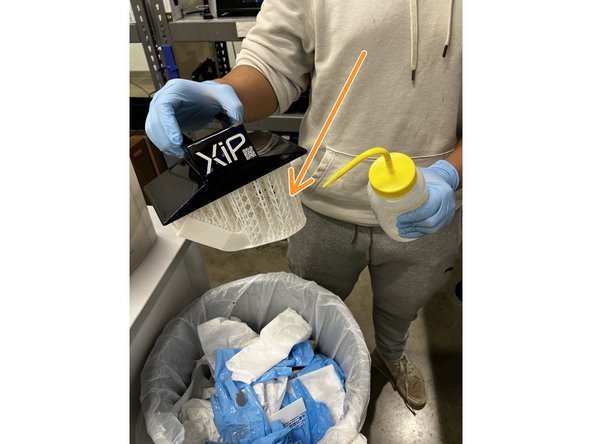
Rinse the part with IPA over a trash can to remove liquid resin.
-
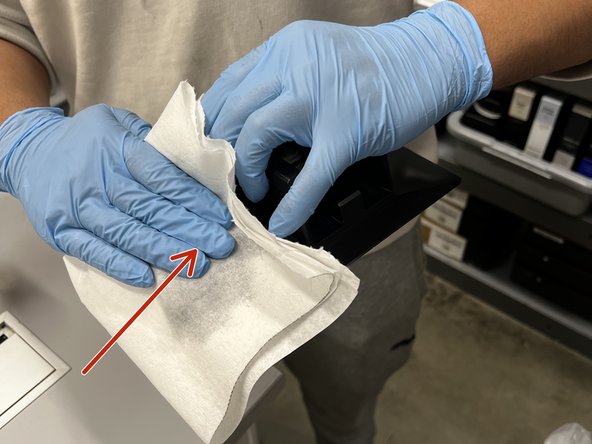
Wipe the top surface of the build plate with a paper towel.
-
-
-
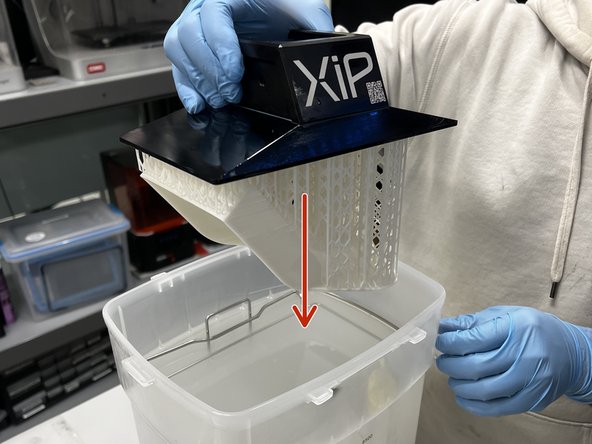
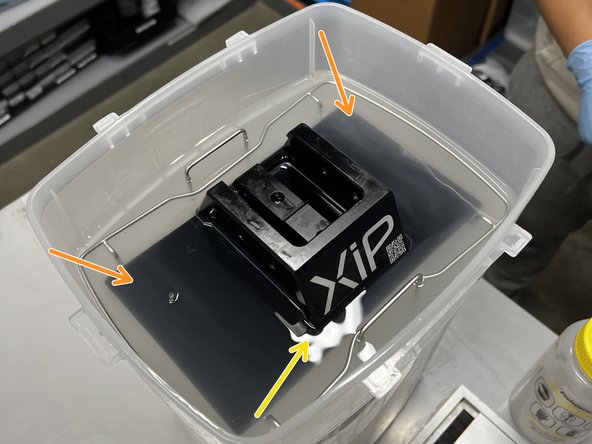
Gently place the build plate and the model in the IPA tank.
-
The build plate should rest on the rectangular metal frame.
-
Ensure that the IPA level is above the base of the build plate and the model is fully submerged.
-
Secure the lid in place.
-
-
-
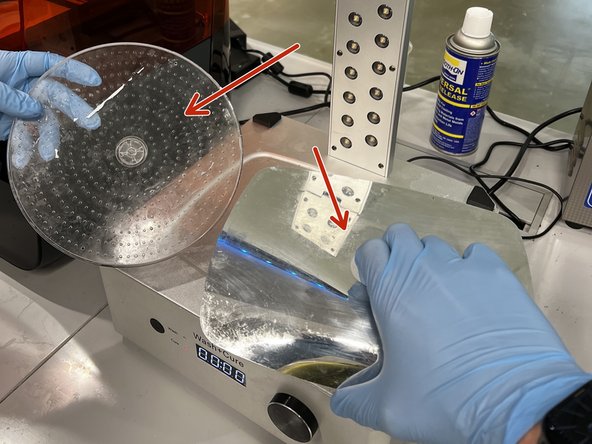
If the reflective film and rotating base are still in the Nexa3D Wash+Cure, remove them.
-
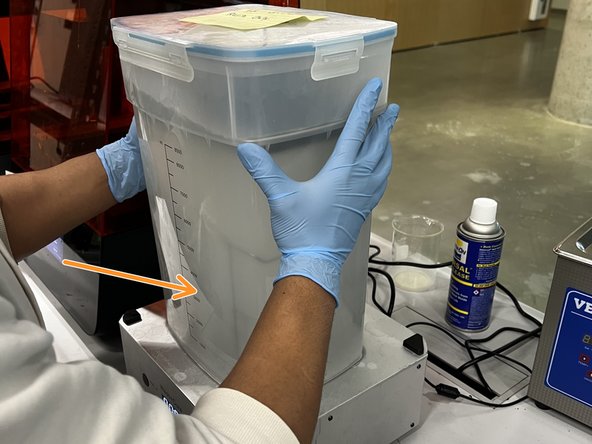
Place the IPA tank (with the build plate inserted) on the Wash+Cure.
-
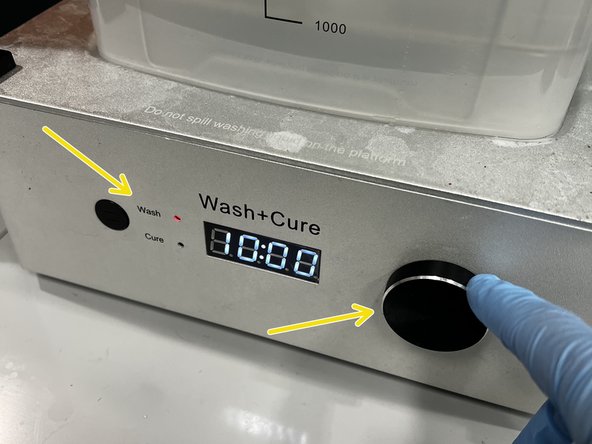
Ensure the Wash+Cure is set to "Wash" mode and start the timer for 10 minutes.
-
Multiple washes may need to be done if the resin is not completely washed off. 10 minutes is a good duration for every wash
-
-
-
Remove the IPA tank from the Wash+Cure and take out the build plate.
-
Rinse the model with more IPA and wipe the build plate with a paper towel.
-
Inspect the model for any liquid resin. If you see any liquid resin, or if the model feels sticky, run another wash cycle.
-
-
-
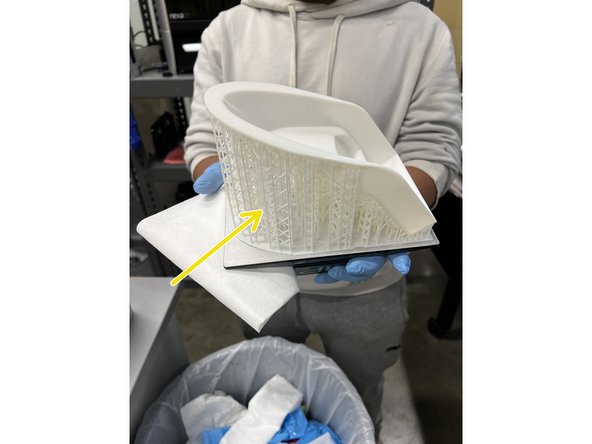
Use a razor blade to carefully separate a corner of the model raft from the build plate.
-
Use a very shallow angle when using the razor blade! Be careful not to scratch the build plate!
-
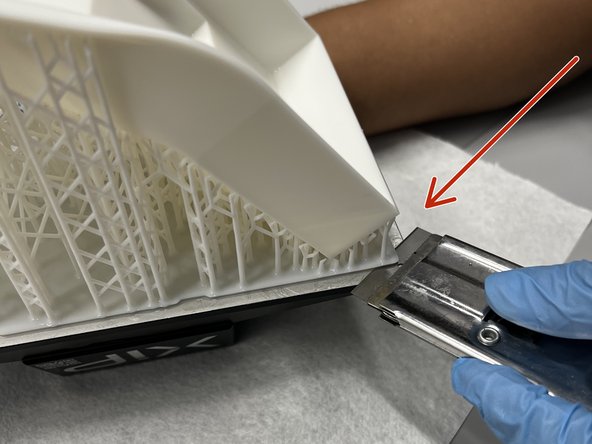
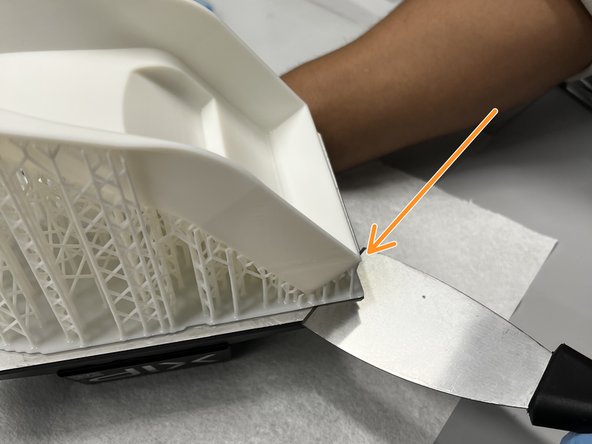
Once a corner is separated, use a metal scraper to slowly lift up more of the raft.
-
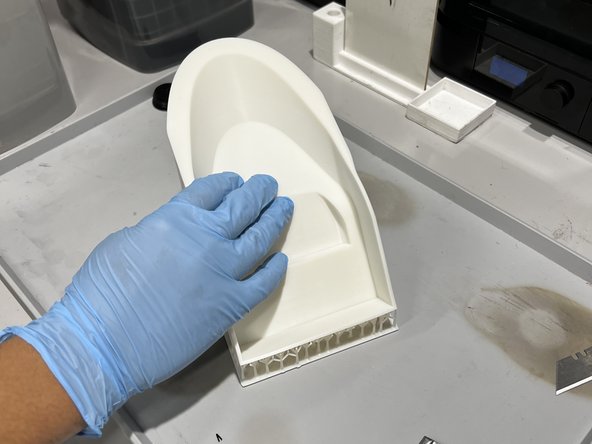
Gently work your way around the model until the model pops off the build plate.
-
-
-
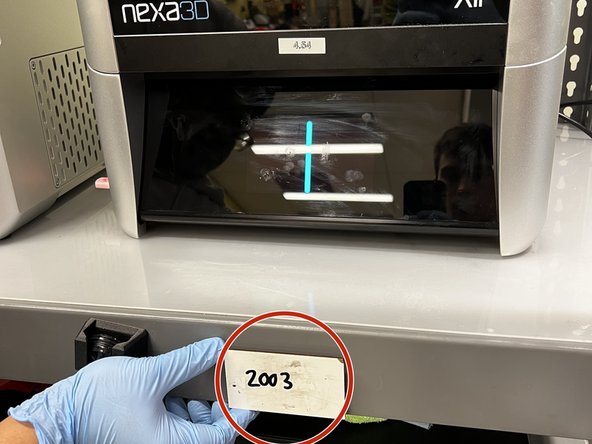
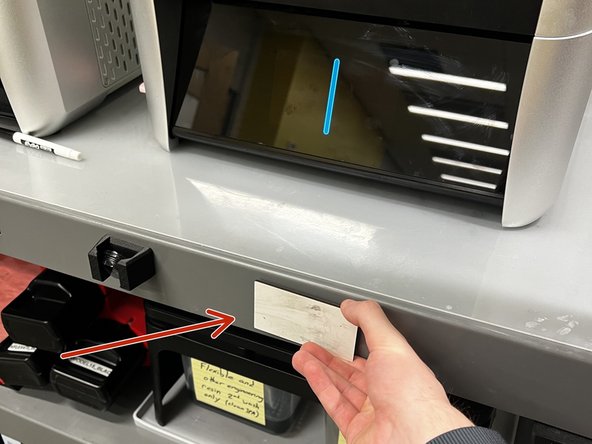
Retrieve the magnetic dry-erase tag with the order number of the model. It should be located below the printer that the model was printed on.
-
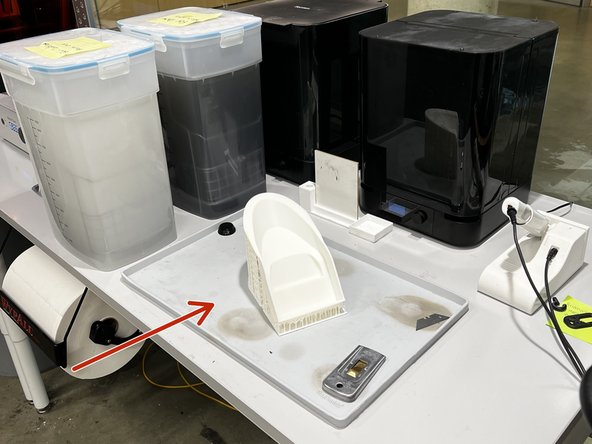
Place the model on the drying shelf with the tag nearby.
-
Ensure the fans are turned on using the switch.
-
Leave the part to dry for 5-10 minutes. you may need to reorient the model to completely dry all surfaces.
-
-
-
Wash all surfaces of the build plate with IPA and a paper towel. Ensure the build plate is completely dry, and all resin/debris is removed.
-
Slide the build plate back into the printer.
-
Engage the latch on the top of the rail to secure the build plate in the XiP.
-
-
-
Check the model for any sticky surfaces or liquid resin.
-
If the model is sticky, place it in the IPA tank and wash it again.
-
If the model is still wet from IPA, let it dry longer.
-
The model must be completely dry before moving on to curing!
-
-
-
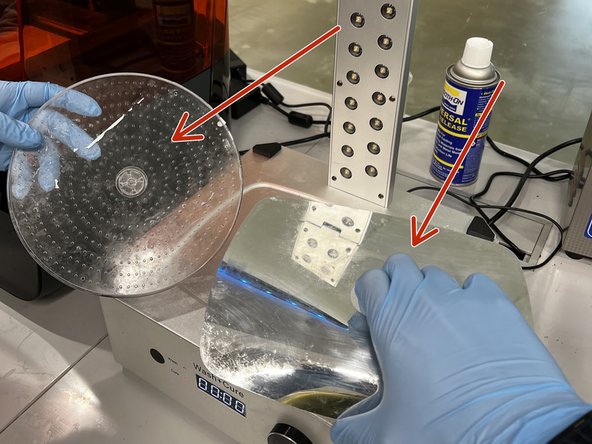
Place the reflective sheet and the rotating base on the Wash+Cure platform.
-
Ensure the rotating base seats into the exposed gear at the center.
-
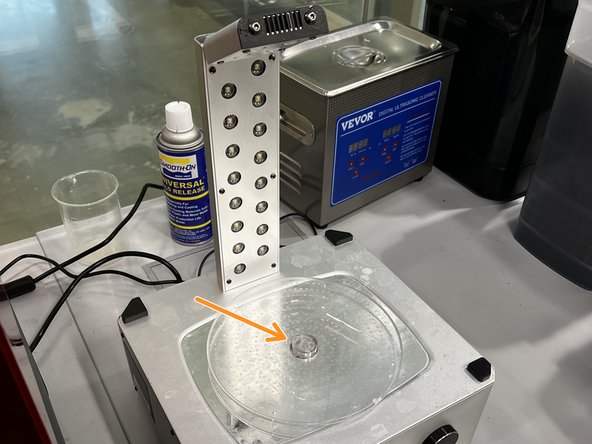
Place the model (with supports intact) on the rotating base.
-
-
-
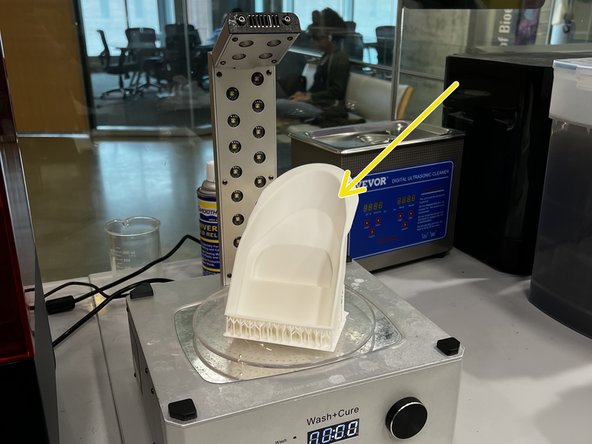
Place the UV cover on top of the Wash+Cure.
-
Ensure the Wash+Cure is set to "Cure" and set the timer. Push the dial inwards to start the curing process.
-
Information about curing times can be found here
-
Curing can cause thin parts to warp. Check on the model every 3-5 minutes. If discoloration or warping occurs, you can stop the curing process and move on.
-
-
-
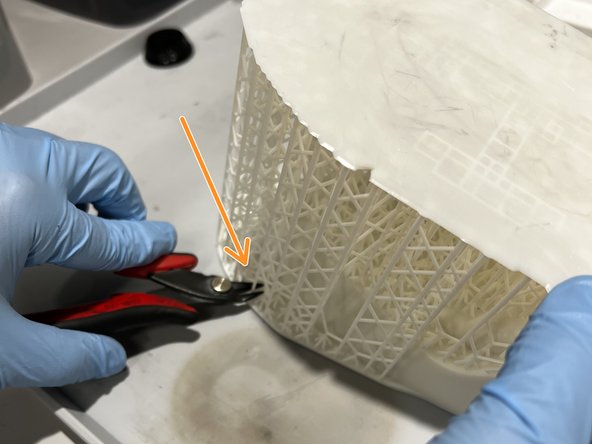
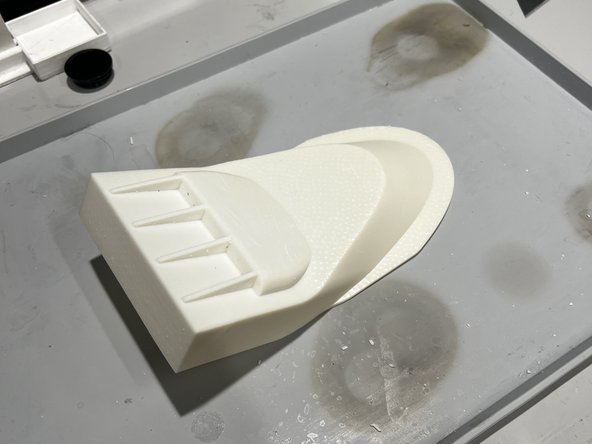
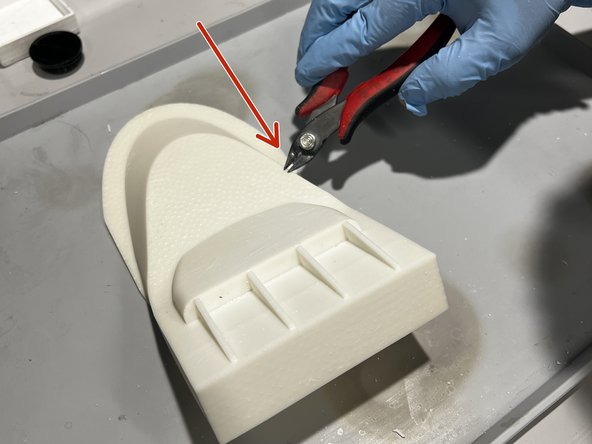
Take the part out of the Nexa3D Cure+Wash and place it on the silicone post-processing mat.
-
Using flush cutters, start cutting away at the support structures. Cut close to the model surface, but be careful not to damage the model.
-
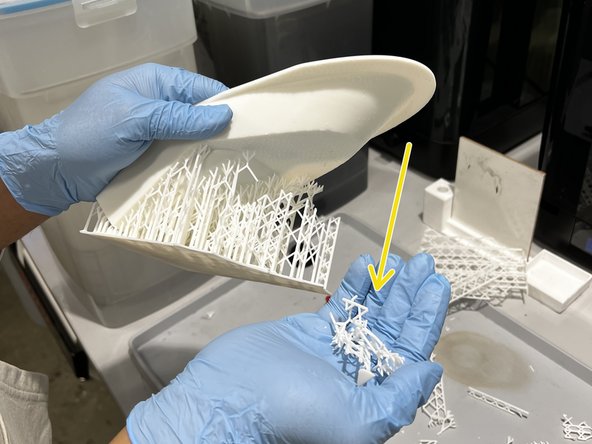
Once all accessible support structures are severed from the model, begin cutting away larger chunks of support.
-
-
-
After all of the support structure is removed, inspect the model for any leftover bits of support.
-
Use the flush cutters to clean up the surface of the model.
-
The support will leave an uneven finish on the model. It is best to avoid digging at the small bumps left from the support because you could damage the model.
-
-
-
Wipe off the dry-erase tag and return it beneath the XiP.
-
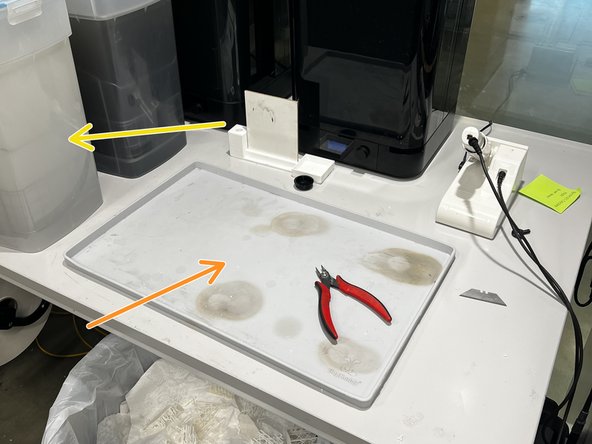
Clean up all resin and support structures from the post-processing area.
-
Return the IPA tank next to the post-processing area.
-
-
-
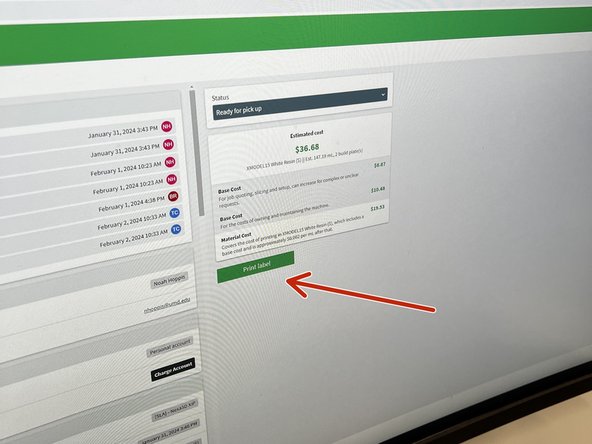
Print out the label for the order on the Papercut page.
-
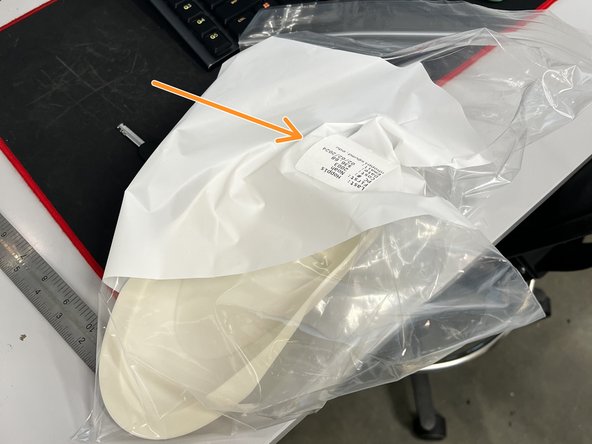
Place the model in a bag and apply the label to the bag.
-
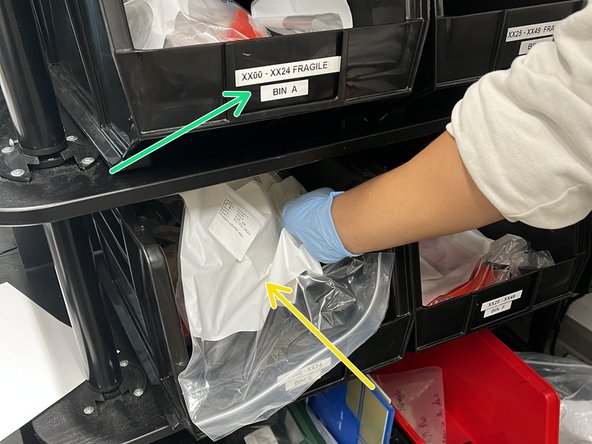
Looking at the order number, place the model in the correct bin.
-
The order number sequence is marked on the bins.
-
-
-
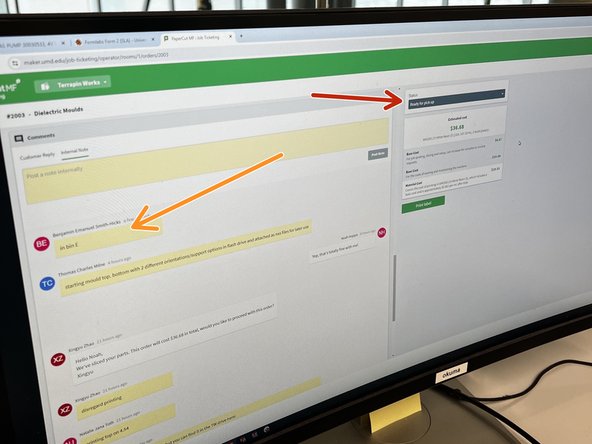
Mark the order as "Ready for Pick-Up."
-
In the notes section of the order, indicate the letter of the bin the model was placed in.
-
Post-processing is complete.
-


Cancel: I did not complete this guide.
3 other people completed this guide.