-
-
Select the Material you would like to print in here
-
If you are connected to the printer the material info will automatically update to what is loaded in the printer
-
Use the slider to match the Layer Thickness to the request
-
-
-
You can change the size of the part by scaling it from it's original size
-
Preform displays a bounding box with the maximum exterior dimensions of the part. It is normally a light blue, but is outlined in orange here for visibility
-
You can also set an exact dimension for one of the dimensions of the bounding box
-
Part size always scales proportionally, even when the bounding box dimension is altered, i.e. changing X will also change Y and Z proportionally
-
Preform will alert you if your part extends beyond the printers workspace
-
-
-
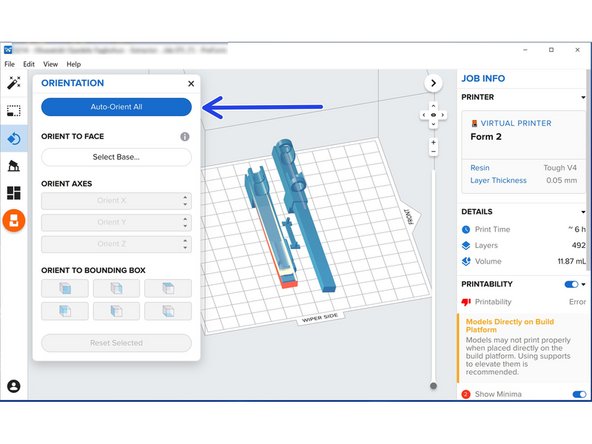
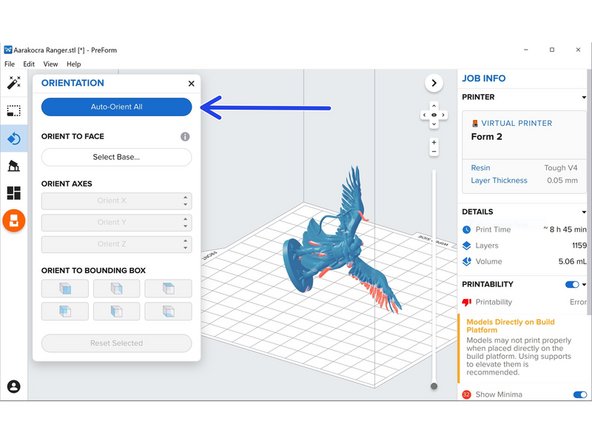
All Formlabs prints require support, and Preform optimizes the orientation for printing support
-
Click Auto-Orient All under orientation to automatically orient all parts on the build tray
-
Avoid having flat surfaces parallel to the build plate to avoid bubbles in layers and other errors
-
-
-
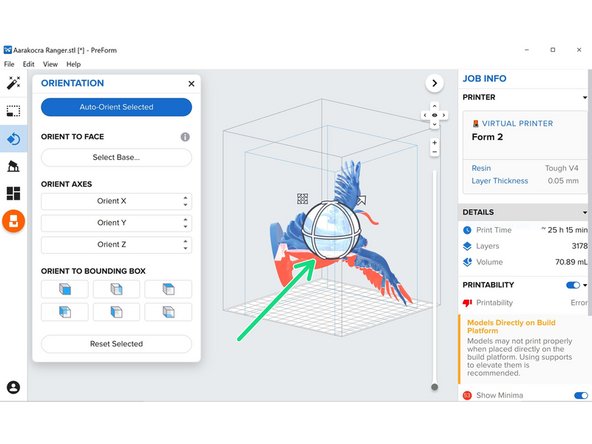
For some larger parts, the optimized orientation results in the bounding box extending outside the workspace
-
You are able to rotate parts about the X, Y, and Z axes of the bounding box using the circles surrounding them, allowing some larger parts to fit
-
Using the optimized orientation is recommended if possible
-
-
-
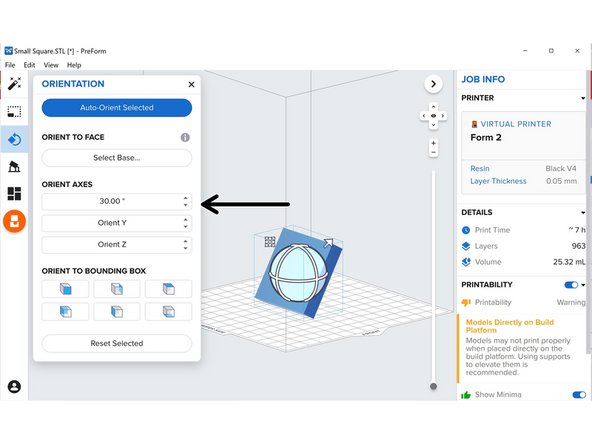
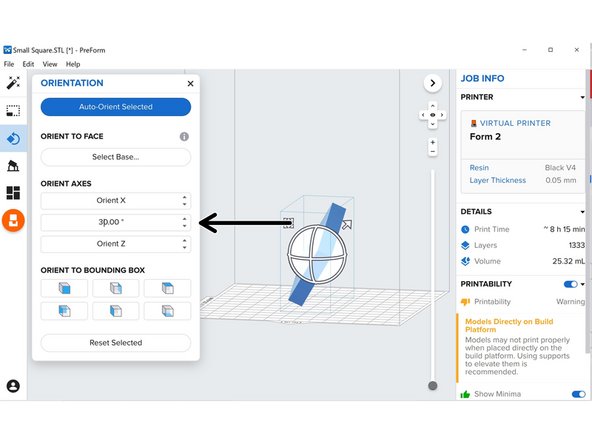
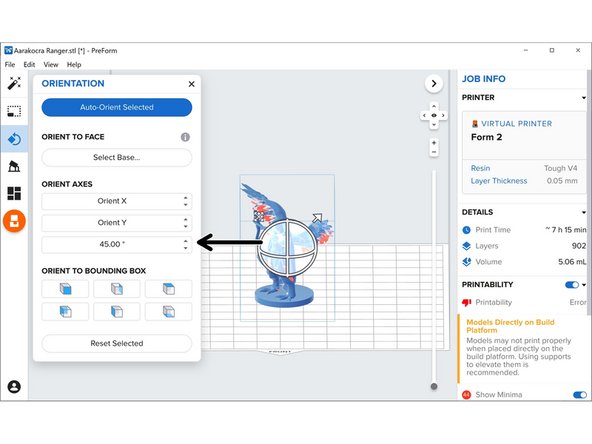
You can rotate the model an exact amount about the X, Y, and Z axes by typing a value where it says "Orient _"
-
-
-
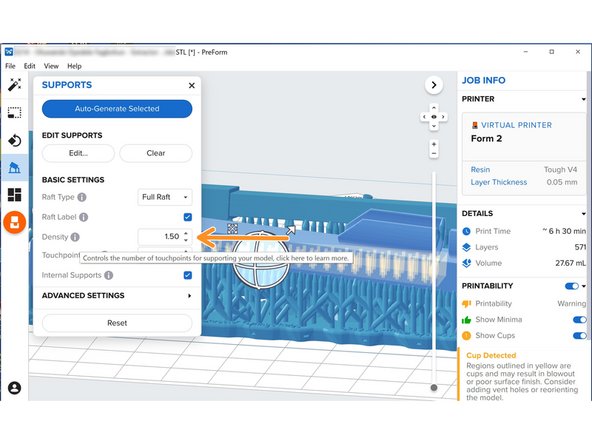
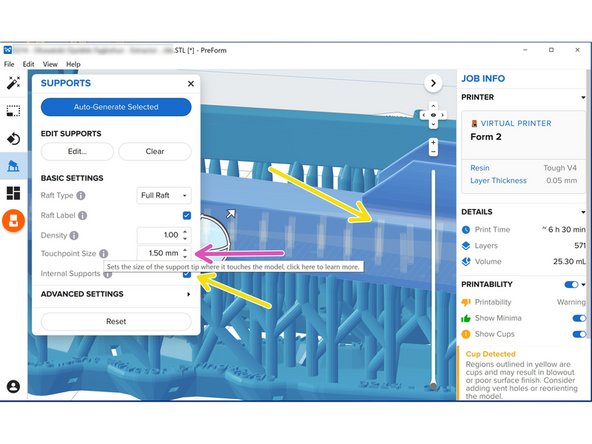
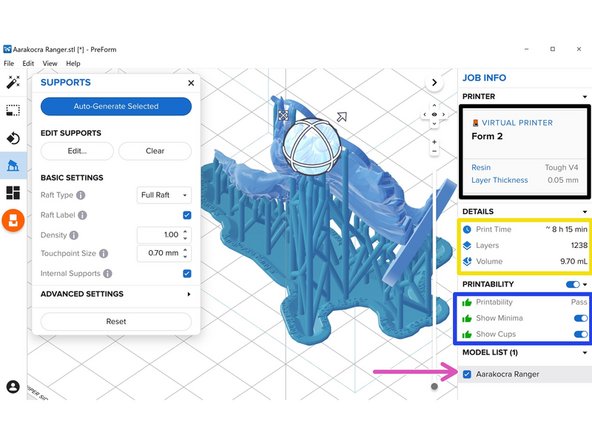
Click "Auto-Generate All" or "Auto-Generate Selected" to generate supports
-
You can hover your mouse above the gray "i" for a brief description
-
Make sure "Full Raft" is chosen and "Raft Label" is selected to print a label with the model name around the edge of the raft
-
Density is the number of points where the supports are in contact with the model
-
Touchpoint size is the size of the support at the point of contact
-
Increasing density or touchpoint size provides more support, but makes the model harder the clean and creates more/larger surface imperfections
-
Internal supports create supports with both ends touching the model. This can be two outside surfaces in the first photo, or the inside of the hollow structure in the third
-
-
-
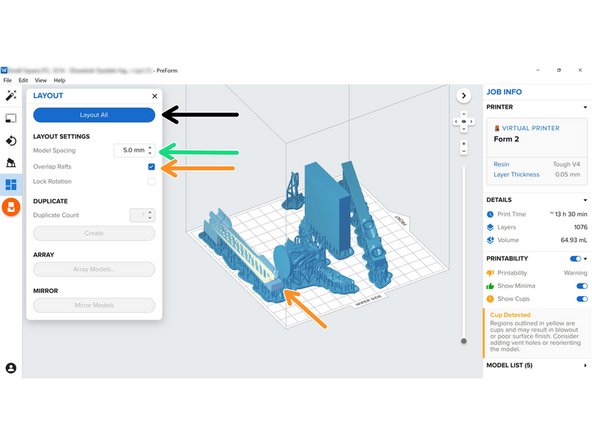
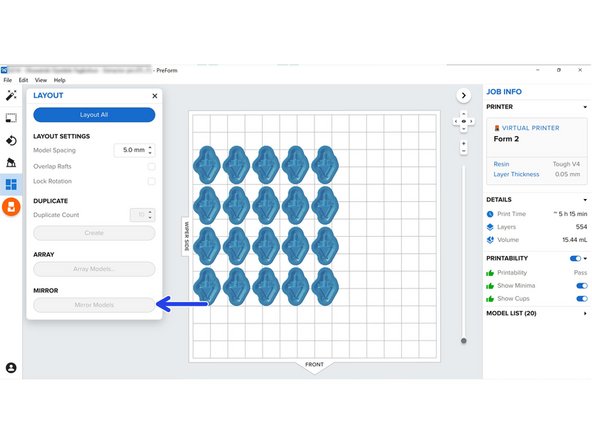
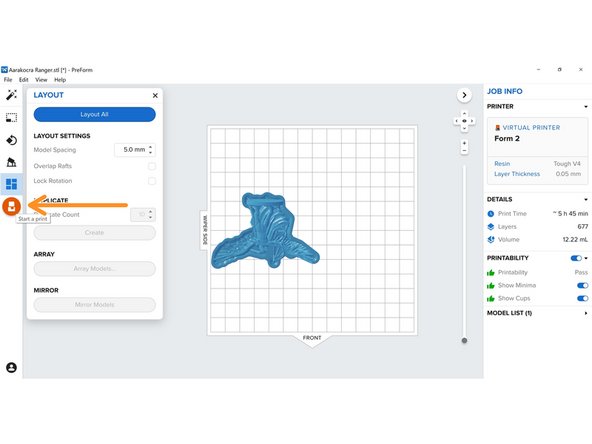
"Layout All" will organize the models on the tray automatically based on the Layout Settings
-
"Model Spacing" is the distance between the models
-
If "Overlap Rafts" is selected the program will allow rafts to overlap with one another
-
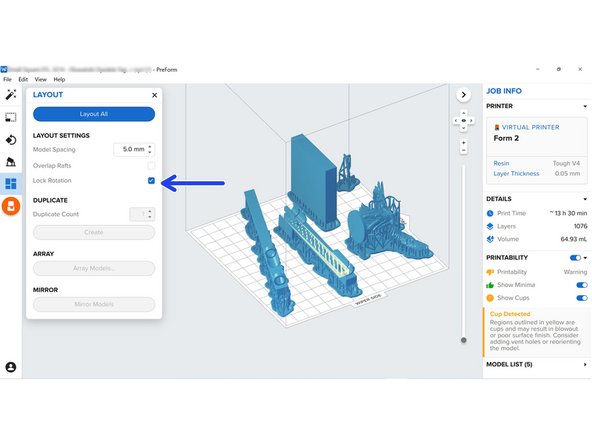
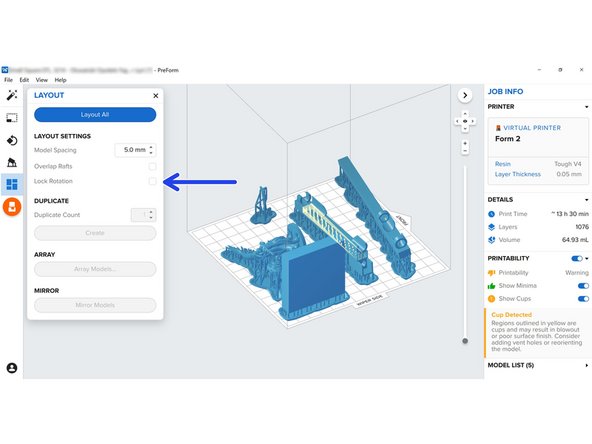
"Lock Rotation" translates the models without changing their orientation
-
-
-
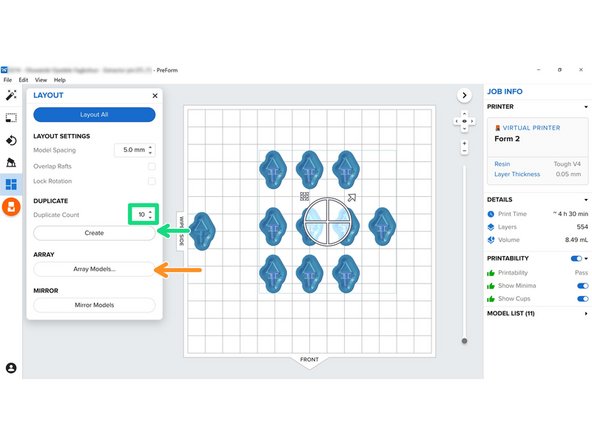
You can make copies of a model by inputting the desired amount of copies in "Duplicate Count" the clicking "Create"
-
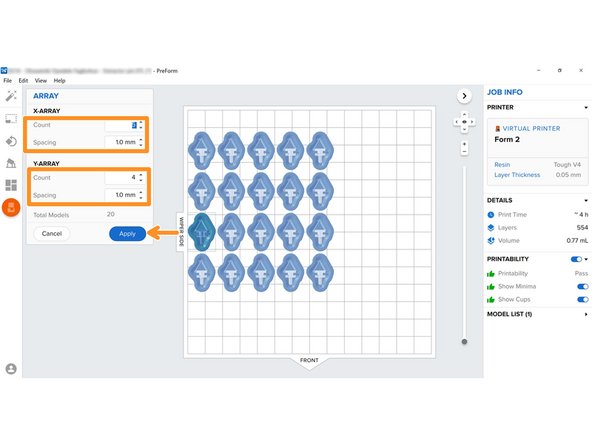
Clicking "Array Models" will take you to a menu where you can set the X and Y counts and spacing in the array, and click "Apply" to create the array
-
By click "Mirror Models" you can quickly flip the orientation of all models on the build plate
-
-
-
You can view the name of the printer (if you are connected to one), the selected resin, and layer thickness under "Printer"
-
You can view a print time estimate, number of layers, and print volume under "Detail"
-
"Printability" detects and explains any problems with the print. Green means no problem, Orange is smaller problems, and Red is a serious issue that will result in print failure.
-
You can view the parts on the build plate under "Model List"
-
-
-
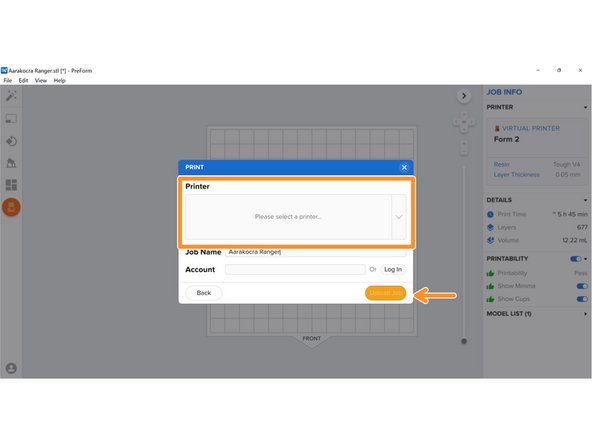
To upload to a printer, select the orange Formlabs button, select a printer you are connected to, and click upload
-