
-
-
Ensure you are wearing a pair of nitrile gloves.
-
Touch the Queue tab (2nd option) on the far-left side of the Fuse touch screen.
-
Find and select your print. 'Select Print'.
-
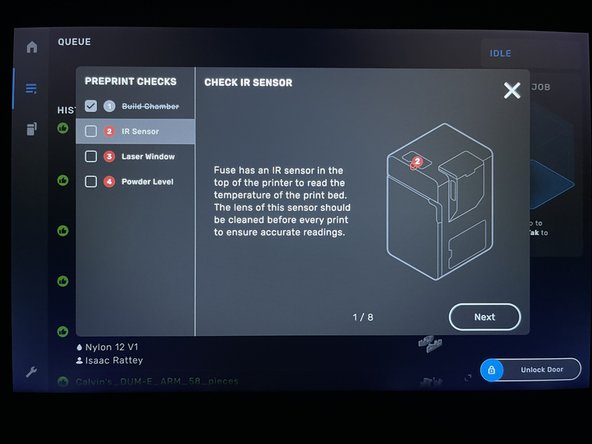
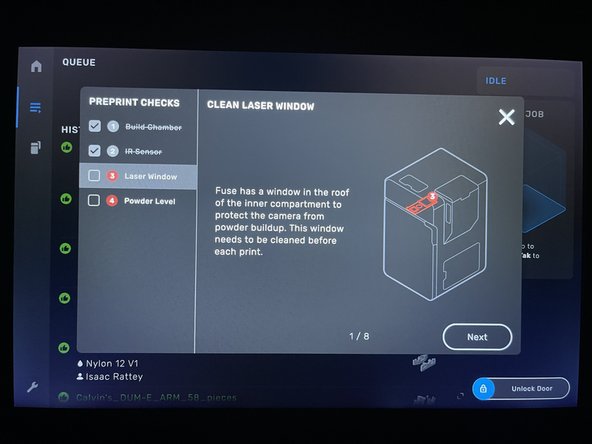
Preprint checklist will appear. You must complete this checklist before each print. Select begin.
-
You can follow along with the preprint checklist similar to the way you can a dozuki for each step.
-
Before starting the print checklist, check maintenance checklist. Refrence Maintence Dozuki.
-
-
-
Touch the "Unlock Door" button on the Fuse. Open the door to access the inside of the Fuse.
-
If the Build Chamber is not already inserted, open the blue and black latch.
-
Move to the post-processing station.
-
Press down on this tab on top of the diagnostic cable to quick-release it.
-
Pull the diagnostic cable out of its socket and place into its holder on the Build Chamber.
-
Grab the Build Chamber by the side and carefully transfer it from the post-processing station to the Fuse by inserting it into the tracks below the print bed.
-
Remove the diagnostic cable from its holder on the Build Chamber and insert it into the jack on the Fuse. Close latch, close door.
-
-
-
Accessing the IR Sensor
-
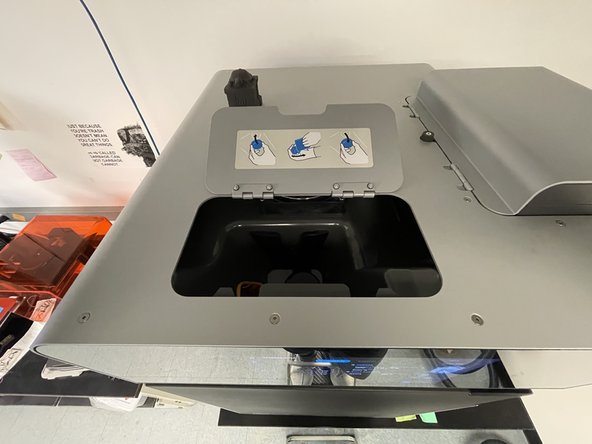
Use a step-stool to access the door on the top of Fuse directly above the touch screen.
-
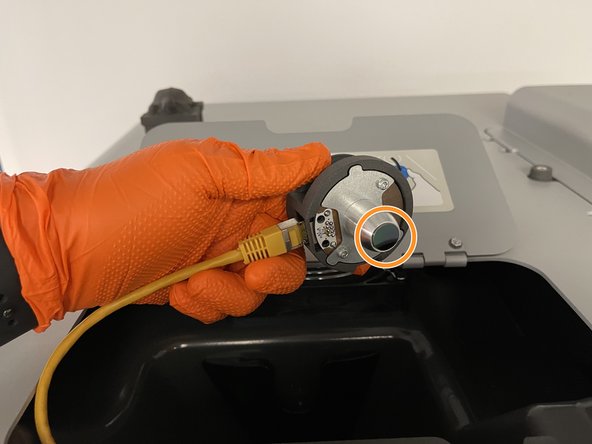
Access the IR sensor by rotating clockwise and pulling.
-
The IR sensor is magnetic so slight force is required to remove it.
-
Inspect the IR sensor for any debris such as dust or nylon powder. If debris is present, the sensor will need to be cleaned.
-
TIP: Rotating the sensor so that the ceiling lights reflect off of it will help identify debris.
-
-
-
Cleaning the IR Sensor
-
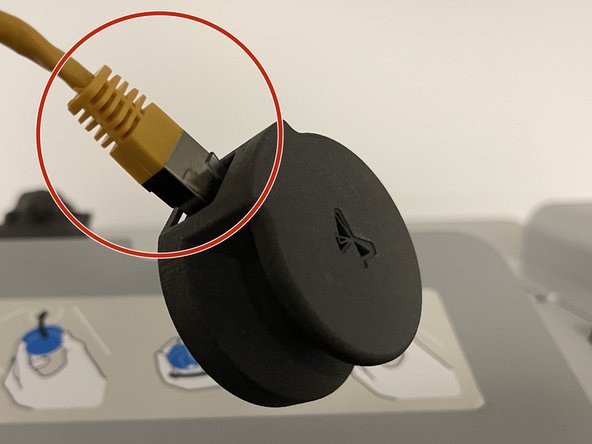
Push down on the prong on top of the yellow cable to remove it from the IR sensor and set aside.
-
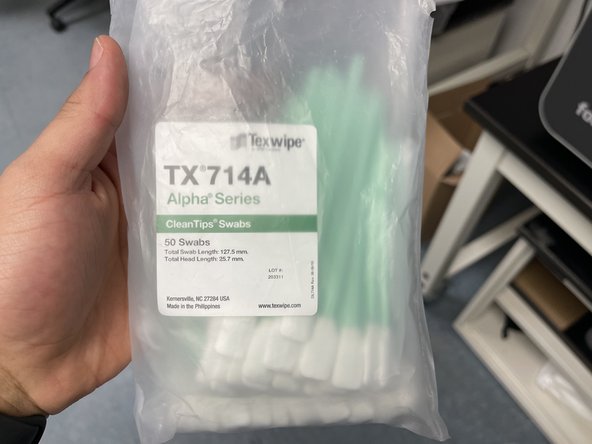
Grab swab and the bottle of ethanol from the cabinet.
-
Apply one pump of ethanol to the swab and wipe down the mirror on the IR sensor.
-
Wipe with a dry swab and repeat if necessary.
-
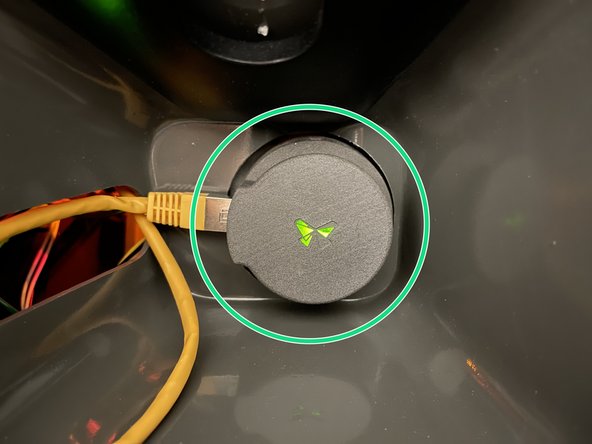
After cleaning, plug the sensor back into the yellow cable.
-
If seated properly the butterfly on top of the IR sensor will illuminate green , and yellow/orange if incorrect. Close access door.
-
-
-
Ensure you put on BRAND NEW nitrile gloves or that your current gloves are FREE OF POWDER.
-
Touch the “Unlock Door” slide on the touch screen of the fuse. Unlock and open the Fuse door.
-
Loosen the screw in the front-center of the print bed, SLOWLY LOWER the tray holding the laser window.
-
Be careful NOT TO TOUCH THE GLASS. Remove the optical cassette.
-
-
-
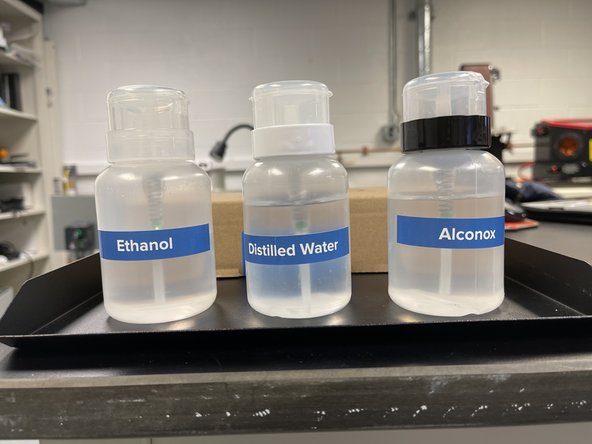
In the cabinet, there will be a tray containing several cleaning items:
-
Alconox
-
Distilled Water
-
Ethanol
-
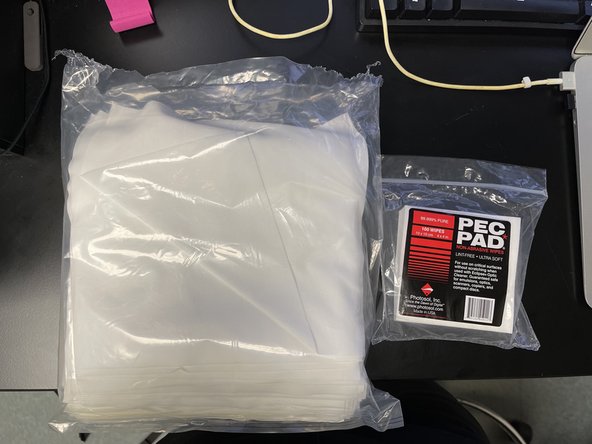
Woven Cloths/PEC Pads
-
Optical Cassete Box
-
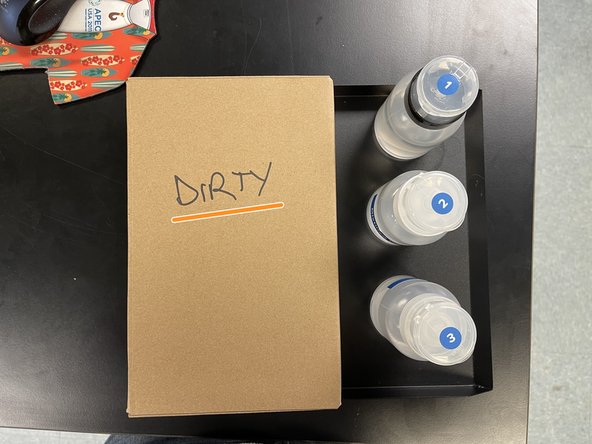
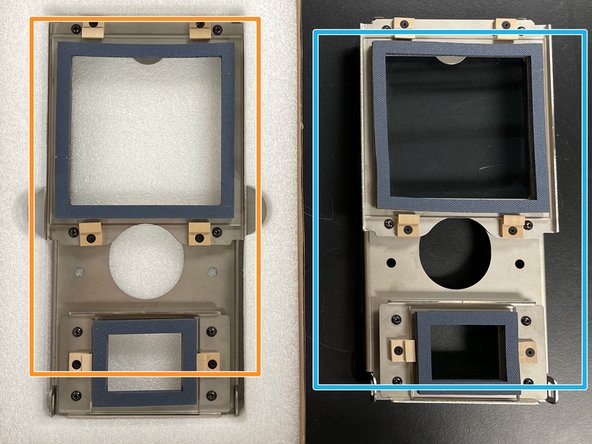
Open the “Dirty" box and grab the new optical cassette.
-
Place the optical cassette you removed from the Fuse and in the “dirty” box.
-
-
-
Make sure the side of the optical cassette that DOES NOT have the blue gaskets is facing you.
-
Use a PEC Pad and one pump of Alconox (Labled “1”). Begin wiping the larger area glass in a criss-cross pattern. i.e. completely vertical then completely horizontal.
-
Use a new PEC Pad and one pump of distilled water (Labled 2). Wipe the glass in the same pattern with 2 passes.
-
Using a dry PEC Pad, wipe the glass dry. May take 2 dry wipes to remove water.
-
Use a woven cloth and one pump of ethanol '''(Labled 3). Wipe the glass in the same pattern.
-
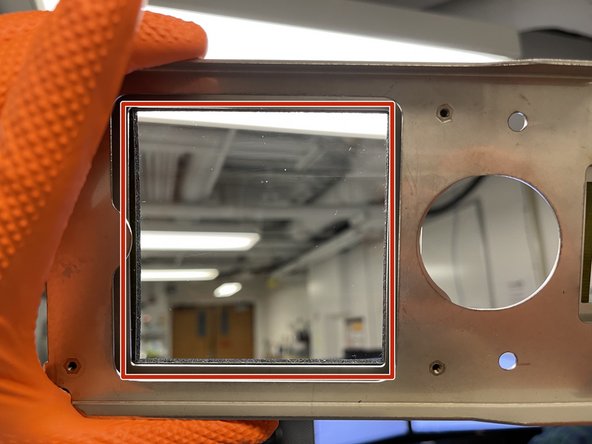
If debris is on the gasket side of the optical cassette, wipe with a woven cloth and ethanol ONLY.
-
Hold the optical cassette up to the light and inspect for any extra debris. If debris is on the same side you just cleaned, repeat cleaning process using ethanol ONLY.
-
Once optical cassette is clean, replace the optical cassette tray in the Fuse. The blue gaskets should be facing UP and be sure NOT to touch the glass.
-
-
-
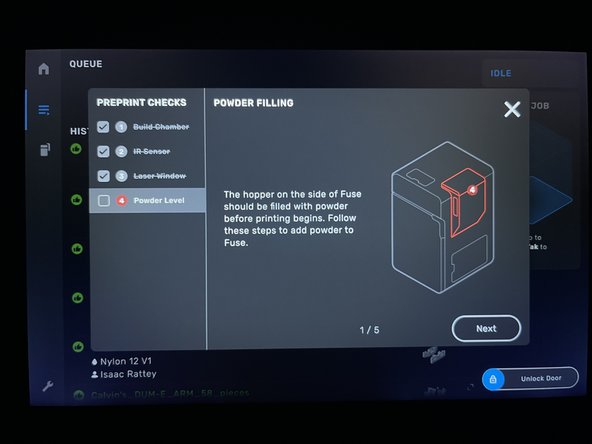
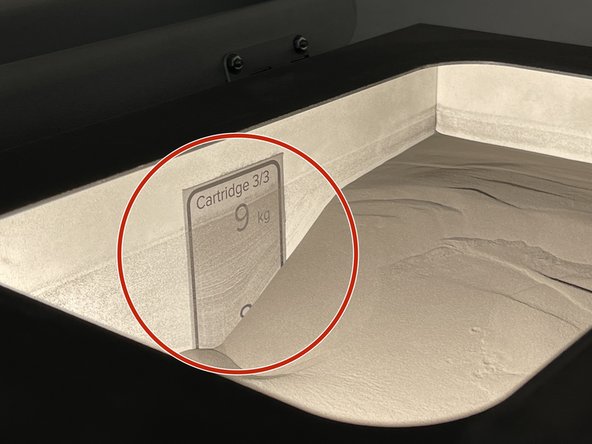
Take note of the current powder level in the hopper on the right side of the Fuse. If more powder is needed, you will add it now.
-
Reference Software Dozuki for needed powder quantity.
-
Reference post-processing Dozuki for proper powder mixing.
-
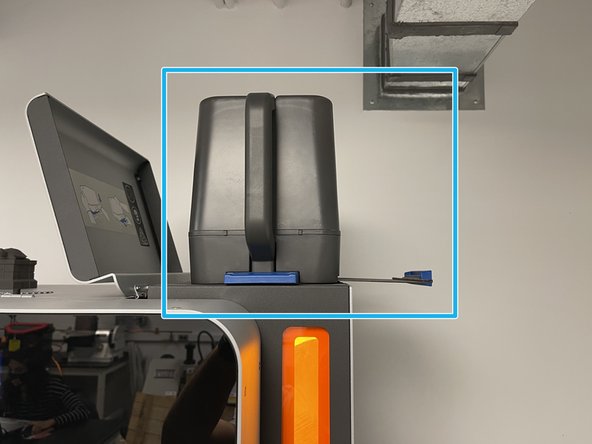
Grab the hopper from the post-processing station. Open the lid on top of the hopper on the Fuse.
-
Place the hopper containing the replacement powder on top of the hopper on the Fuse, making sure the blue handle is facing out.
-
Once the hoppers are secured, pull the blue knife handle to release the replacement powder.
-
After the majority of the powder has been released, tap the top of the hopper a few times to release any excess powder. Wait 30 seconds to let the powder settle.
-
Slide the knife handle closed. Remove the hopper and close the lid on top of the Fuse.
-
-
-
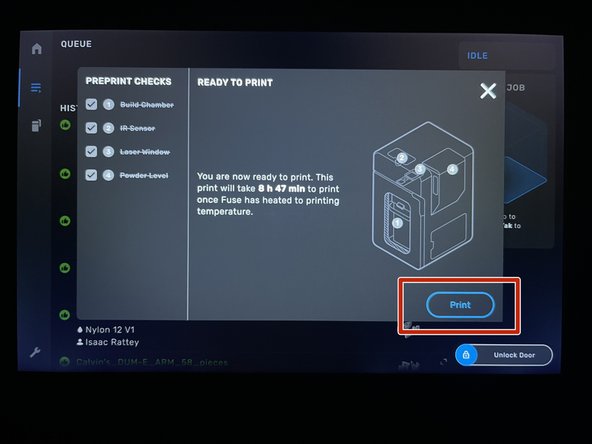
Once all items are completed, touch print on the Fuse touch screen to begin the print.
-
Before the Fuse prints, it will heat up to operating temperature and layer powder.
-


Cancel: I did not complete this guide.
4 other people completed this guide.
One Comment
Solid guide, serves as a standard for how the fuse should be maintained and operated. Also, we should review this to make sure it’s modern
Brandon Charles Hill - Resolved on Release Reply